This tutorial helps you on how to add custom images to your Subnautica PDA. These images can be used on picture frames in your base or in the Neptune rocket’s time capsule.
1. Taking a screenshot in-game
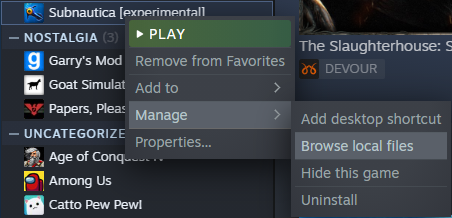
2. Opening Subnautica’s game folder
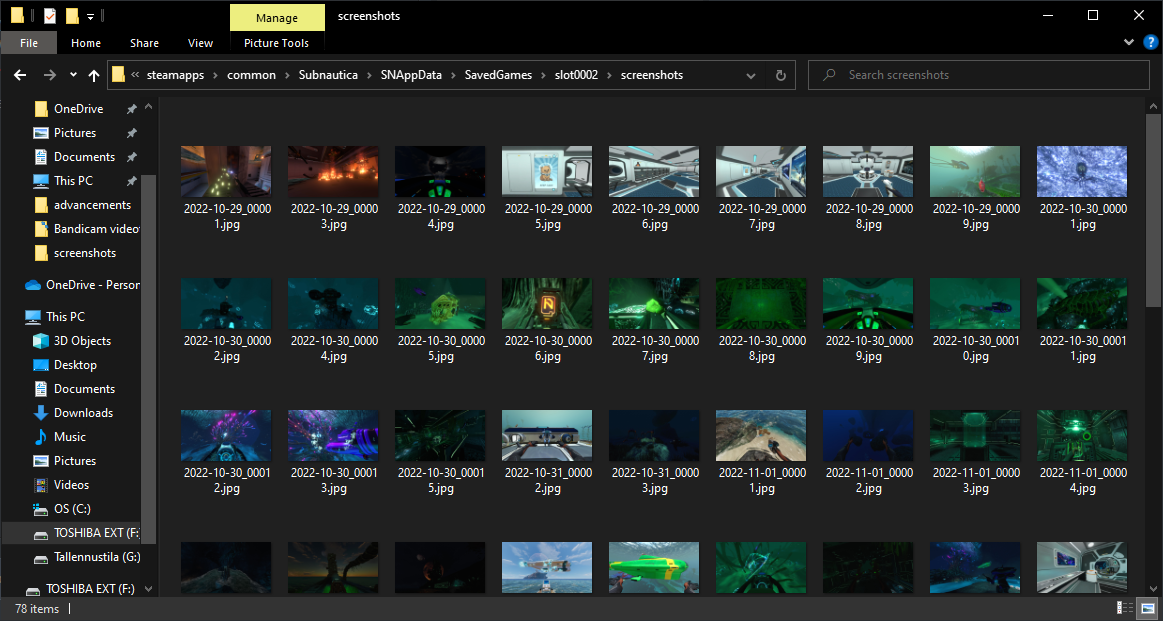
3. Locating your world’s screenshots folder
> SNAppData
> SavedGames
Once there, select the world where you want your image to show up. Note that you might have multiple worlds, thus the files. The world names are generated in order with the oldest being “slot0000” and newer ones “slot0001”, “slot0002”, “slot0003” etc.
After finding your desired world, open it and head over to:
> screenshots
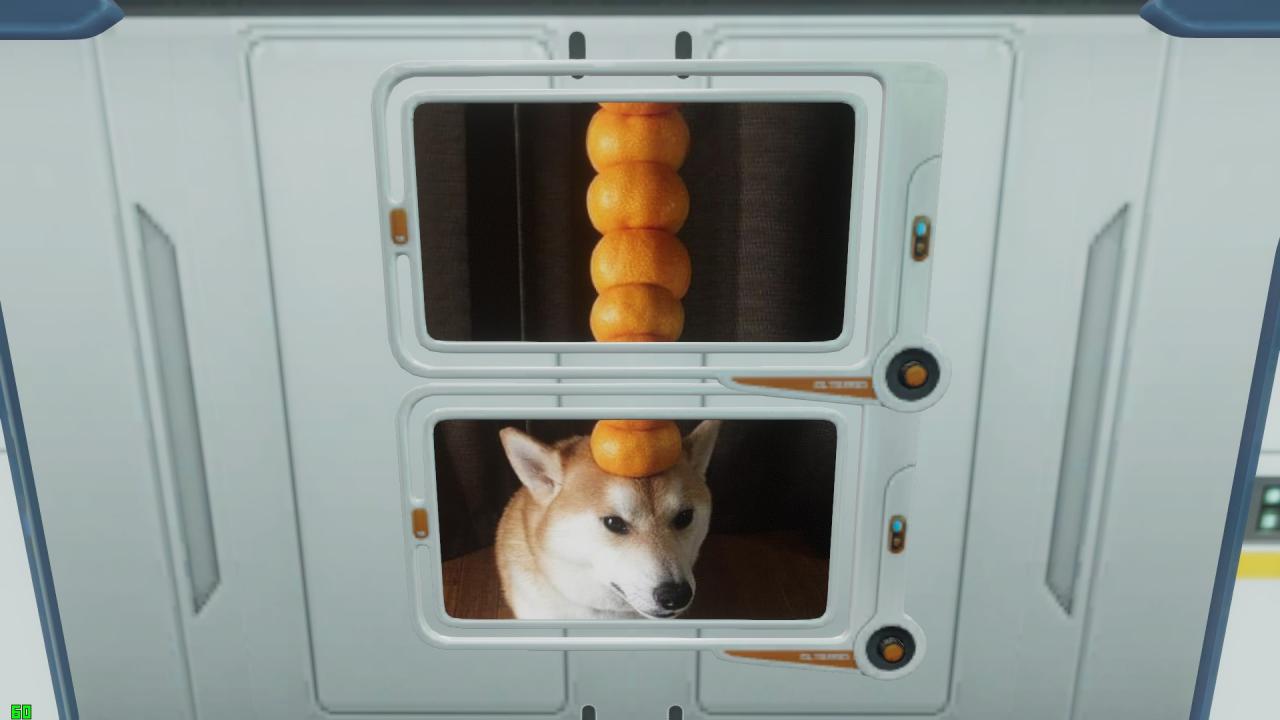
4. Replacing the screenshot
Note that the screenshots are in .jpg form, so renaming your custom image may or may not change it’s original file type, and if it does, it shouldn’t matter.
If you haven’t already, close and re-open Subnautica to see the photo in your PDA’s gallery.
Now you shall participate in a minuscule amount of tomfoolery with your newfound abilities!
More Guides:
- Subnautica: All Biomes Location Map
- Subnautica: Cut/Old Items That Can Be Spawned
- Subnautica: How To Create A Mini Observatory Base