Players used to other RTS games tend to find this one a little… brutal. I certainly did. Unfortunately, most of the “beginner” guides here are quite confusing for absolute beginners – all this talk of turrets and soldiers and so on is pretty useless when your first mission doesn’t feature any of them.
After getting some useful guidance from the forums, I finally managed to beat this level. I can’t speak (yet) for future campaigns, but I can at least give you some pointers to get you past the first mission.
Starting Your Game
Before you can start the first mission, you have two choices to make.
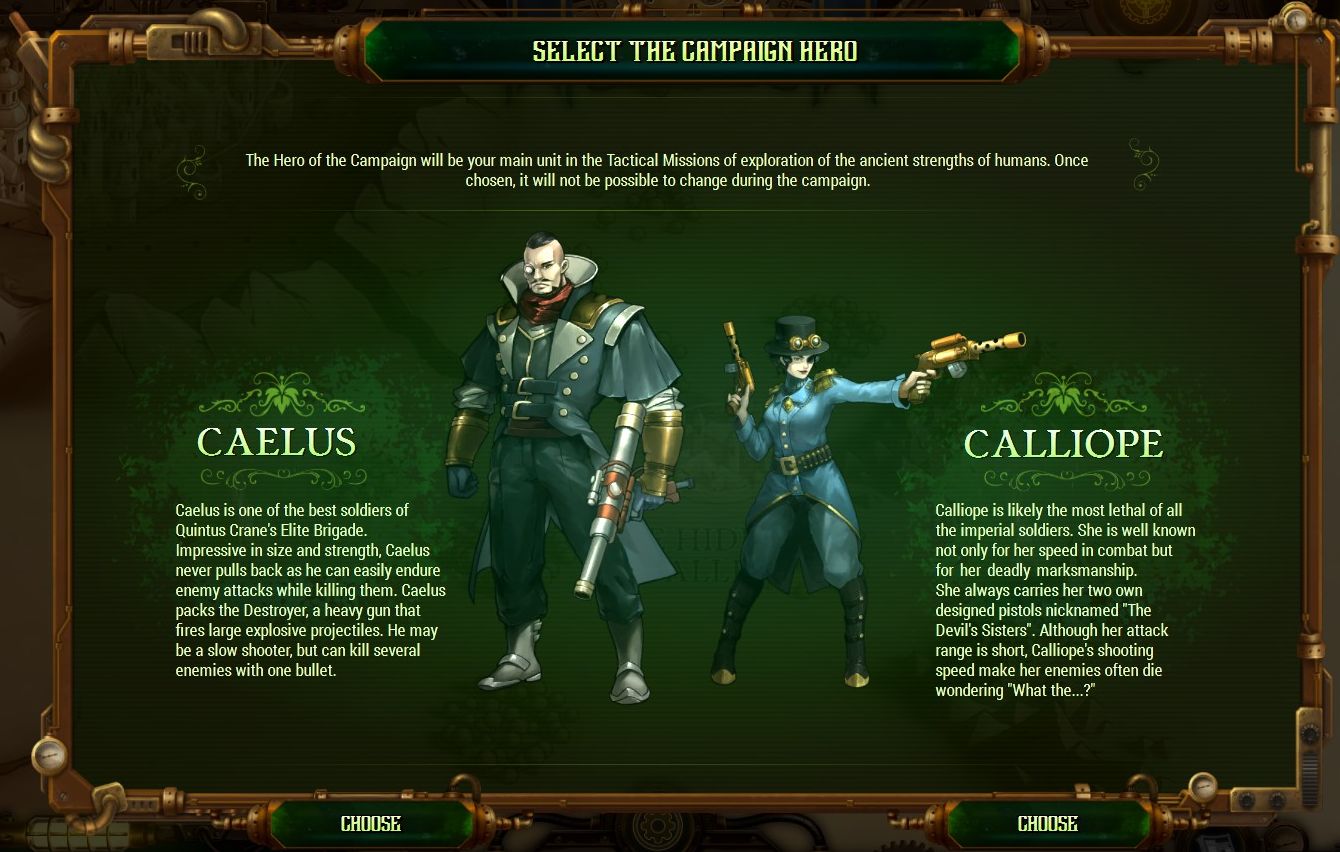
First, you need to choose a hero – either Caelus, the big slow dude who does a lot of damage, or Calliope, the faster woman whose hits aren’t that strong but come more frequently. Who are these guys, and what do you do with them?
For the first mission, it really doesn’t matter. What isn’t made clear is that you won’t be using either of these warriors here. They play a part in “hero missions”, and those come later. Before that, you need to survive setting up the first colony. I’ve tried both heroes and, though they differ in style, there’s no “best” choice. Just pick whoever you prefer.
Second, you need to choose a difficulty level. I went with the default setting of 50% for my first campaigns, and it still took me several attempts. Feel free to raise it to 100% if you’re feeling brave. You can set it a LOT higher if you’re feeling suicidal, but if you’re reading this, you clearly need help getting past the first mission already. Don’t make it harder on yourself.
For this run through, I set the difficulty at 100%. All the screenshots in this guide came from this single run.
All set? Good. Click on the mission and see what the criteria are.
The Mission Goals
Only one of these goals is really going to be a challenge – surviving the swarm. Building up your population just takes time, and you may even complete that as you’re fighting off the infected.
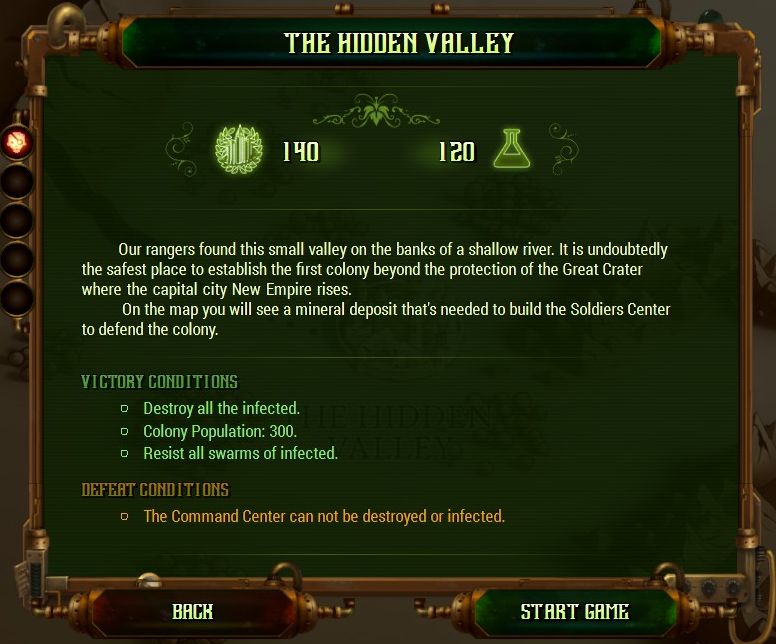
Zombie waves strike every X days in most missions, and there are usually several (with the last bringing ALL the remaining zombies your way). For this campaign, there’s only one wave. Your task is therefore to prepare your defences and train up a small army to deal with that wave when it comes.
This will not be easy.
The time until the first/only wave depends upon your difficulty setting. At 50% difficulty, the first wave comes in 22 days. At 100%, as I’ve used for this guide, it comes in just 20 days.
The good news is that, as this swarm of infected will bring all of them towards your colony, surviving it also means you’ll complete the first task (destroying all the infected). So really, there are only two tasks to complete. See! It’s getting easier already!
Rallying The Troops
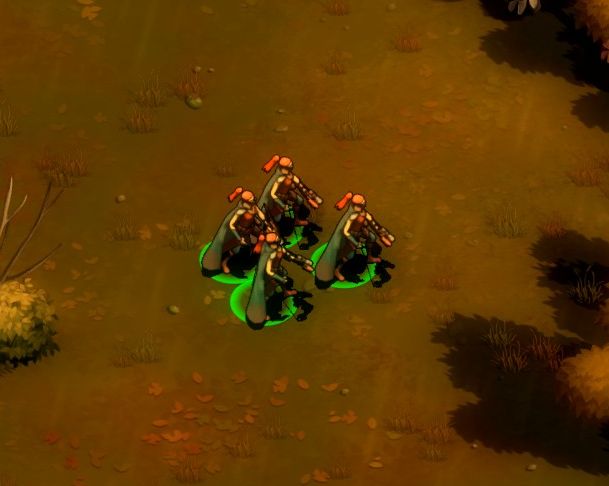
You also have four “units” (your troops; I would call them soldiers, but soldiers are another kind of unit you will encounter later in the game). They’re called “rangers”, and they’re not too shabby. They aren’t too tough and they don’t hit very hard, but they move fast and their bows don’t make much noise, making them pretty good at sneaking in and taking out the “infected” a few at a time.
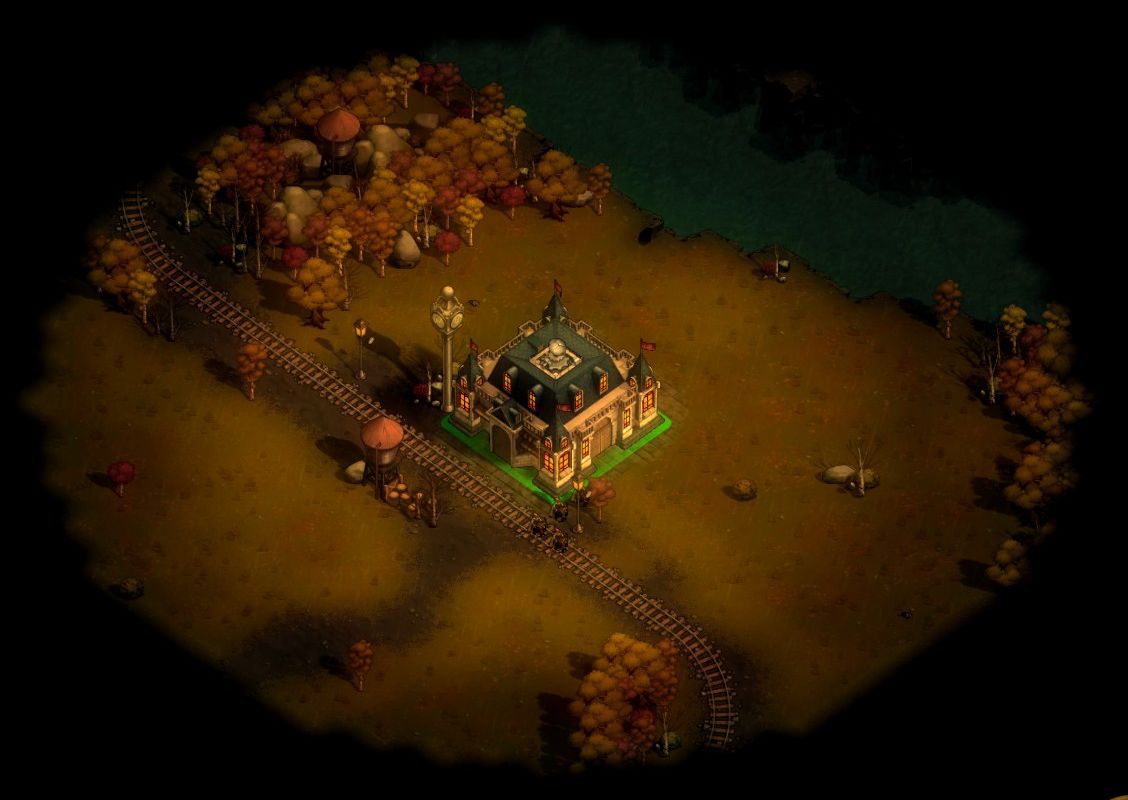
At the moment, four rangers are all you have, and all you will have until you can build something to train more of them. Rangers are also the only units you will get to play with in this mission. Look after them. Quite apart from needing all the firepower you can get, if one is eaten by zombies they’ll become a pretty speedy zombie themselves. Not good.
You also have various villagers milling about doing their work. You can’t control them. Try not to let the zombies get them, or you’ll have more zombies very quickly. One infected villager can take out your entire colony in a couple of minutes, as I know all too well.
Your priority, then, is to start training more rangers. For that, we need to talk about the economy.
The Economy
Due to the pace of this game, you should ALWAYS be building something. You cannot afford to leave things ticking over – the infected hordes will arrive all too soon, and you will need plenty of resources available to prepare for them.
The first thing you’re going to need are workers. These are your basic colonists, and a fresh batch of them will become available whenever the train pulls into the station – assuming they have somewhere to live. Fancy houses will come in later missions – for now, colonists need cheap and cheerful tents. Each tent only holds a few people, so you’re going to need to build a lot of tents.
Once you’ve got a bunch of those building, your next problem is going to be food. You can only house as many colonists as you can feed. There are two buildings you can use to gather food – the fishing hut (which needs to be built by the river, obviously) and the hunter’s cottage (best placed near the forests). A number is shown as you select where to place the building – you want this to be as high as possible. Note that buildings have an operating area, and you won’t be able to build two next to each other.
All buildings require free workers (which may limit how quickly you can build) and gold (which you earn every twelve game hours, and is based on your population). Some will also require resources such as wood and stone.
For wood, you need to build a sawmill. This should be placed near trees, and will provide a regular supply of wood based on how many trees are nearby. As you expand, you may want to build a few more.
There is only one location on the entire map that provides stone for your quarry.
On top of all this, many buildings require energy. Some is generated by your command centre, but you’ll need more – windmills can provide more power, but they will require wood to build.
Finally, there’s another limiting factor – you can’t build too far away from power. This is where the tesla tower comes in – a pylon that expands your range. You will need to build plenty of these to access the rest of the map.
Where do I start?
Your first priority is housing. Build as many tents as you can. Then get some food supplies going.
Next, get a sawmill going and build some tesla towers to expand your building area, especially to the south west (where the stone deposit is).
Get the quarry going as soon as possible.
Continue building tents and hunting/fishing huts whenever you can. Tents can go anywhere, so put them in any open empty spaces you’ve cleared.
Build more tesla towers and keep expanding. There’s plenty of suitable land to the south and east/west. Do NOT head north, however – that way lies trouble.
Get at least one more sawmill going. You’re going to need plenty of wood for defences.
A windmill to generate power may be required.
Keep building more tents and food production!
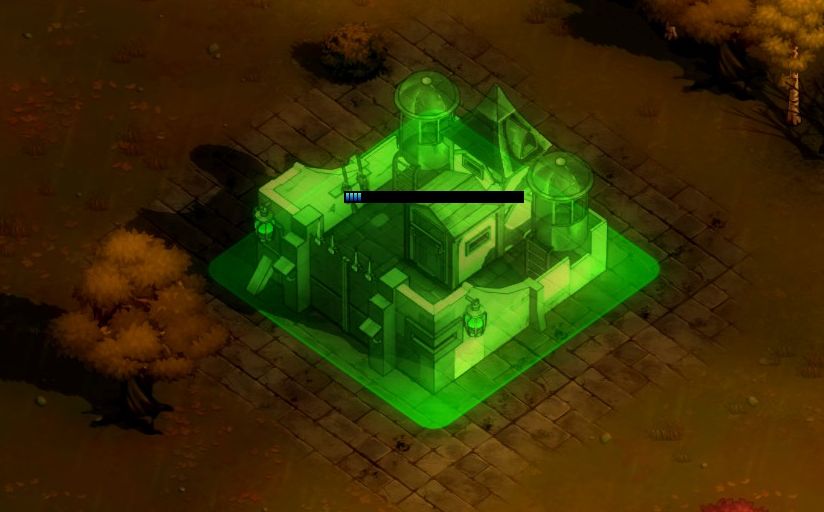
Finally, when you have enough stone, wood and gold – build the soldiers centre. Put it somewhere at the northern end of your colony, as that’s where you will need your new troops deployed.
You will need 20 stone for this, which will take a few days to gather (as the quarry only gathers about 4 stone every twelve hours). You’ll also need 20 wood, which won’t take long if your sawmill(s) are placed well. But you will also need plenty of energy (which may require a windmill) and plenty of free workers… and 450 gold, so you may want to hold off on the colony expansion for a day or so while that builds up.
Okay, so now you can train more rangers. How about we start shooting some zombies?
First Steps
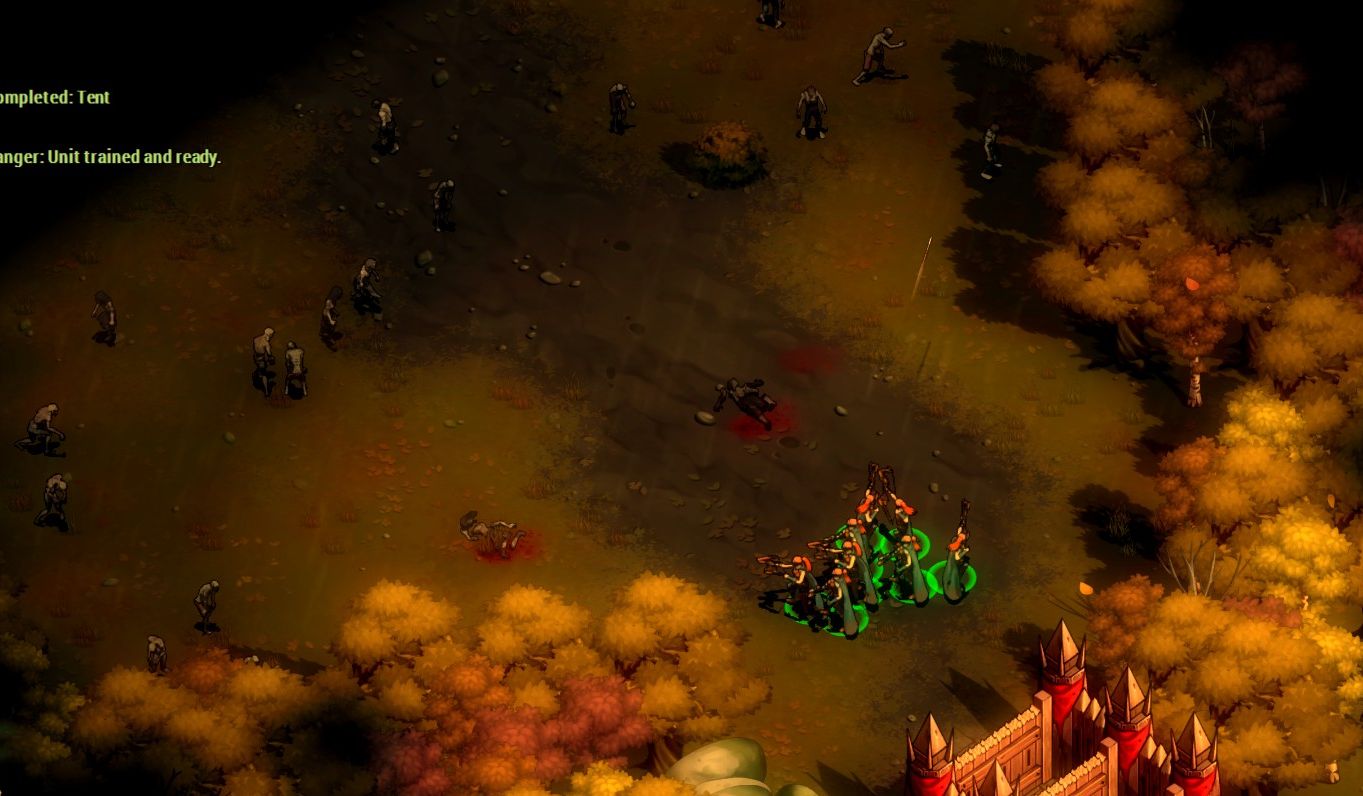
Your first task is to scout around. There are some low level infected around the area and you’ll need to clear them out. Some might suggest splitting your rangers up and sending them in all directions to cover ground more quickly; I found selecting all four at once and sending them as a group more effective, as they can dispatch enemies far more quickly that way. See what works for you. You may want to leave one or two on guard, however, in case any infected wander into town while your troops are all away.
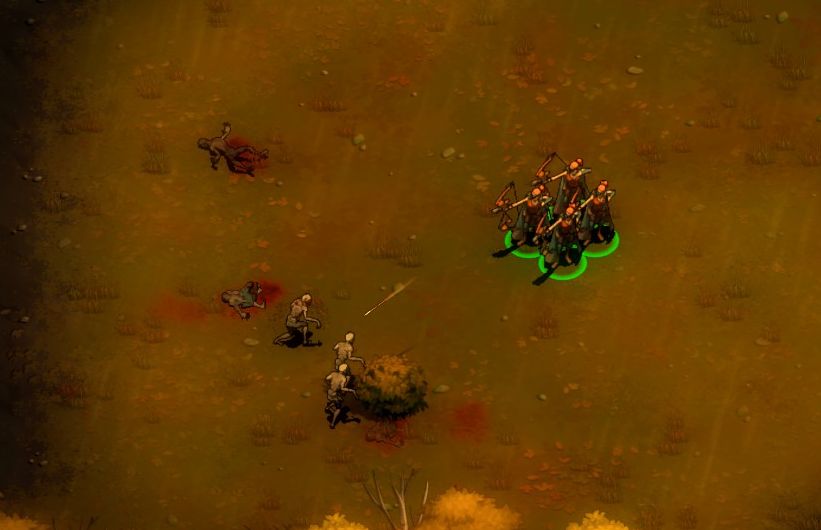
The biggest advantage these troops have is speed. Most of the infected in the area around your command centre are old and feeble, and they move slowly. Keep your distance and let them come to you a few at a time. It takes several arrows to fell each one but a group of rangers will cope easily with them – as long as they aren’t too numerous.
Scout around the area to find and eliminate any infected roaming nearby. The railway line to the south has a few, and others are meandering about to the west. Do NOT go too far north, however. The bridge over the river and the path beside it both lead to areas heavily infested by the undead. Four rangers will not stand a chance.
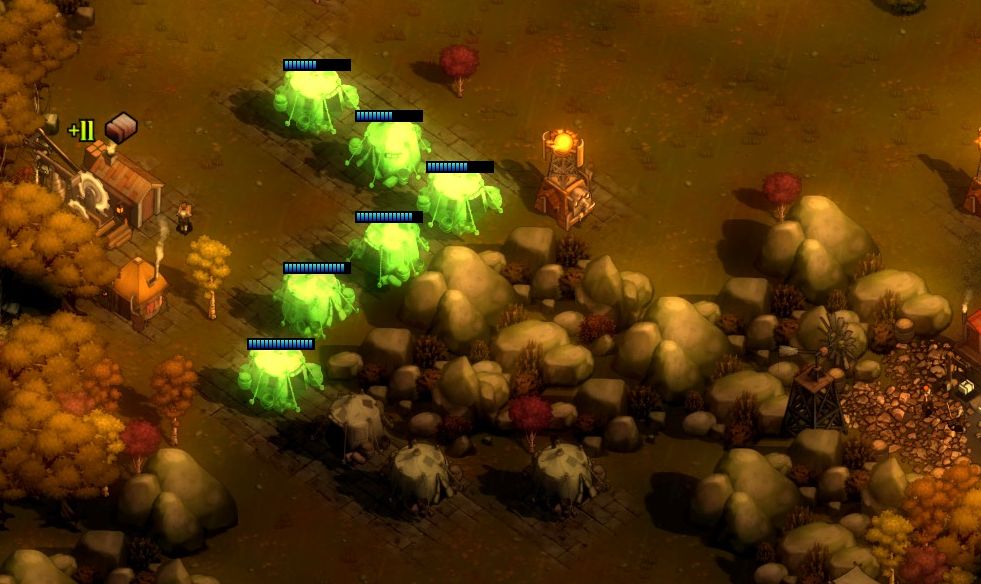
Around the back of the quarry site to the south west is a large group of infected. You’ll need to clear these out before the big wave hits or you could find yourself outflanked – however, be careful. Keep your rangers back and let them attract a few enemies at a time so they aren’t overwhelmed. If they rush in, they will be lunch.
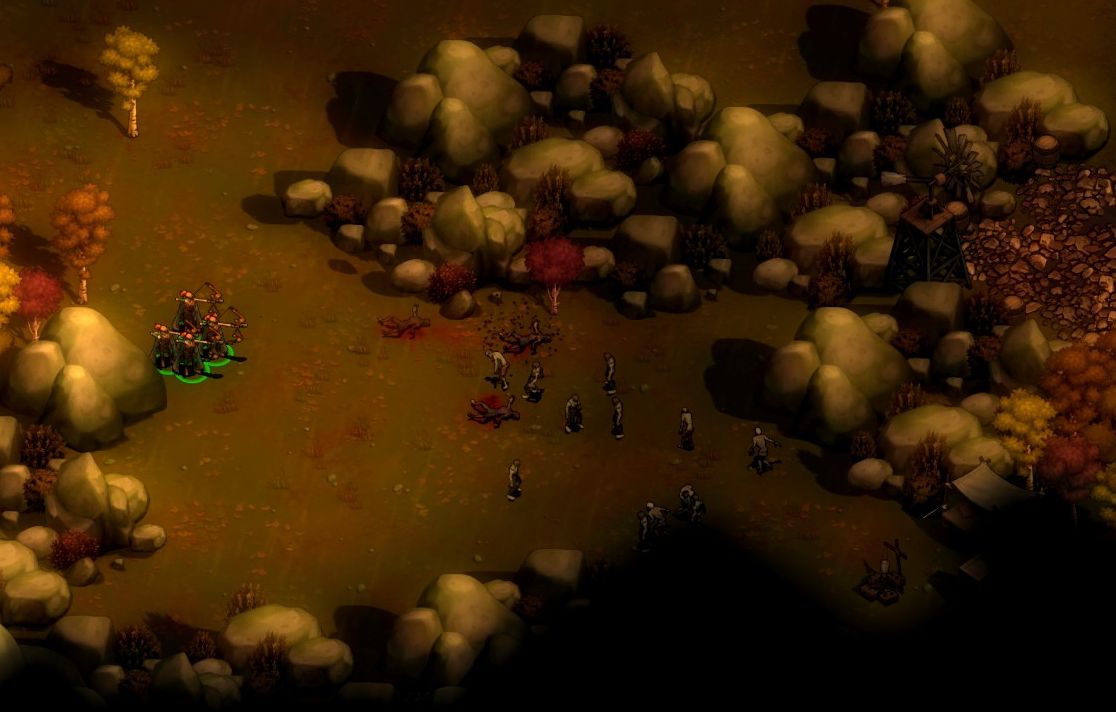
There’s a pickup hidden in this area containing food. Right click on it with a ranger selected to pick it up, but wait until the nearby horde has been eliminated first. There’s also a pickup at the quarry site containing a small quantity of stone (nowhere near enough for our needs, however; you’ll still need to build that quarry).
It is vital that you keep an eye on the northern end of your colony. Occasionally an infected may wander down from the north. If that happens, you’ll need to have your rangers waiting. Likewise, if you stir up any of the group to the west behind the quarry site, they will follow you back to the colony.
Once the surrounding area is clear, we can focus on defences.
Defensive Structures
Walls.
For a hefty wood cost (I hope you built that second sawmill? Maybe build a third?) you can put up some tree-trunk style wooden walls around your colony. As walls keep out friends as well as foes, there are also (more expensive) gates that only open for friendly units.
(For some reason that defies logic, walls (like all your buildings) need to be build near tesla towers, even though they don’t require power. Don’t ask me why.)
The temptation here is to build a big wall around your entire colony. Resist the urge. You haven’t got the time, and you won’t be able to expand the colony past it if you did. The sheer amount of wood, gold and workers required will see your brains being eaten before you get halfway done. You’re much better off using the natural defences that already surround most of your colony – the forests, the rocks, the river – that neither your units nor the infected can cross, and sealing off the narrowest approaches.
Besides, walls aren’t all that good. Zombies will break through them eventually – and very quickly when a hundred of them are chewing at the gates. All your walls can do is buy time for your troops to take out the enemy.
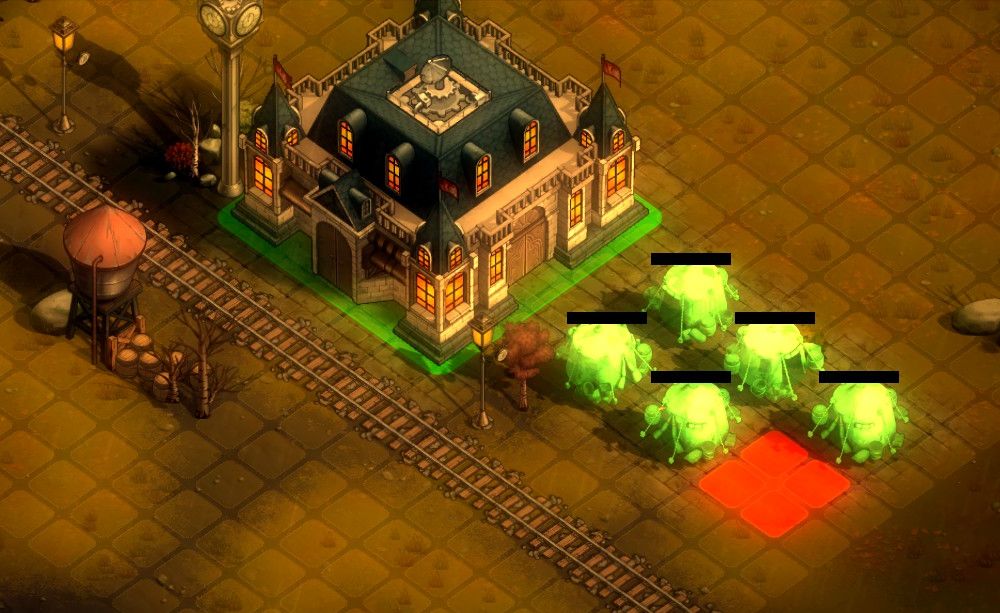
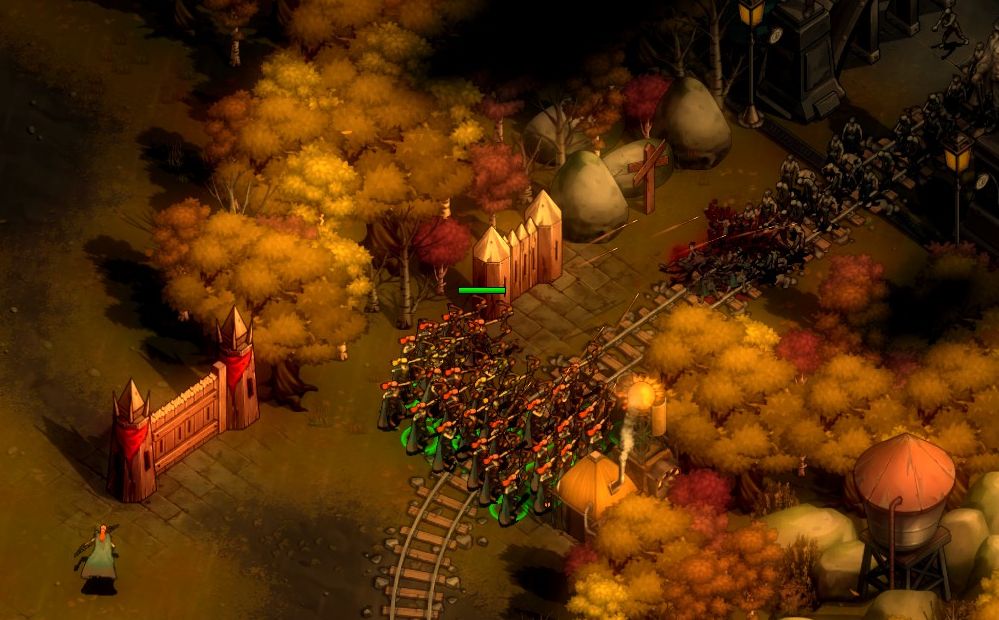
For this map, you only need to build two short sections of wall, like this:
Here we have three layers of gates, which are almost wide enough to block both entrances by themselves. I’ve blocked off the free squares to the sides with standard walls. The gates across the railway line allow the regular train to pass through.
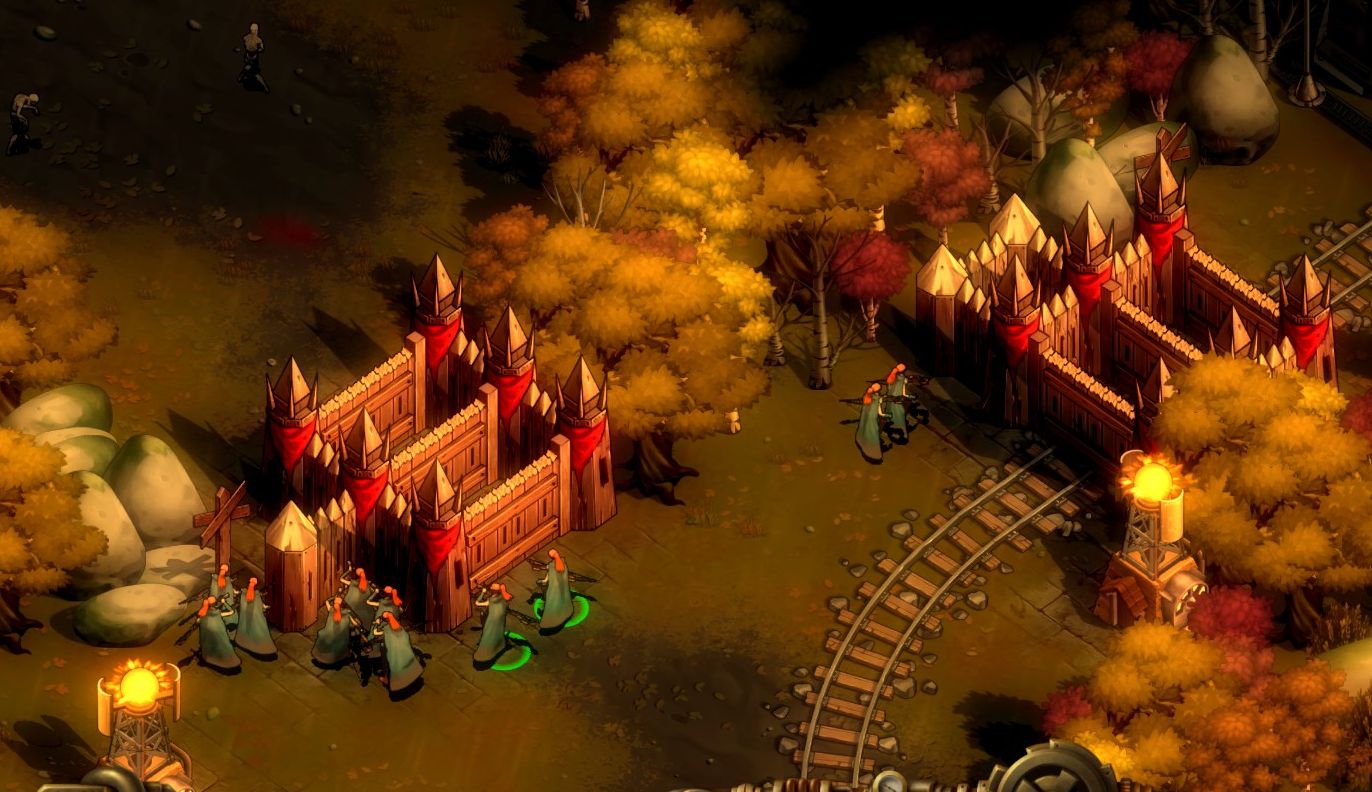
As there are only limited numbers of infected to the south of this point, there’s no sense in building any walls down there. We simply need to clear them out. However, the area over the bridge is heavily populated by the infected and the horde will approach from the northern side.
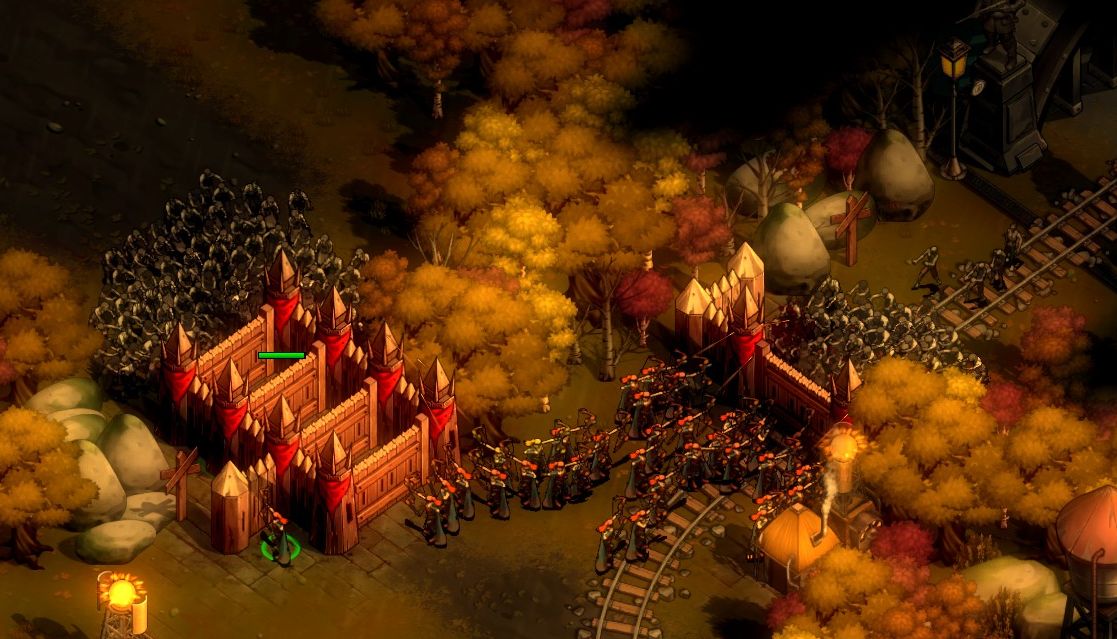
The rangers gathered around the gates will take out any infected that try to get through, hopefully before the gates are destroyed.
Three layers are generally enough. You might even manage with two, but better to be sure, right?
Uhh… yeah, let’s go with three.
It’s worth mentioning that you can still build walls and gates even while the infected are attacking, but don’t count on them being ready in time.
The Best Defence…
…is a good offence, as many military types have said before. You’ll want to have these gates in place well before the horde approaches on day 20 (or whenever your game’s difficulty has it happening) but you’re still going to be facing a LOT of enemies. I’m not sure whether those gates will hold.
So perhaps we should do something to improve the odds before the horde arrives…
Scouting Parties
I recommend you form a party of at least eight rangers, and have at least as many on guard at the gates while you’re gone. You won’t have time to clear out every infected before the horde hits, but you can do something to reduce the number of infected that arrives later.
There are two areas to be aware of. You can either focus on clearing out as much of one of them as you can in the time you have, or partially clear out both. If you only tackle one, the horde approaching from the other direction will be much larger – but you can also focus your troops more on that side. There are no right answers here.
For this run, I’ve gone for the northern route – largely as more infected will arrive from this area later, and I felt this direction may be too strong if I didn’t clear it out first. However, the route over the bridge contains several pickups of wood and food that you may find useful if you can collect them.
Keep your rangers together and don’t be afraid to run. If the infected get too close – and there are some faster ones out here – you can always go back through the gates and attack them from the other side.
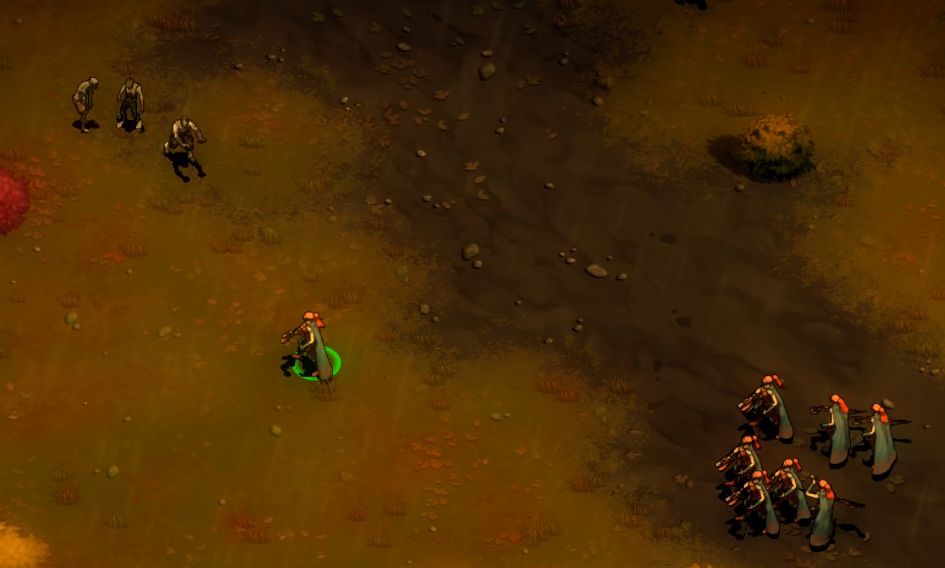
This is a useful tactic. Leave most of your rangers together, then send one single ranger out to attract the attention of the infected. Then you can run back to the main group and let them take out the approaching enemies. If you split up your rangers as below, you can send your lone scout between the two groups and let the infected get caught in the crossfire.
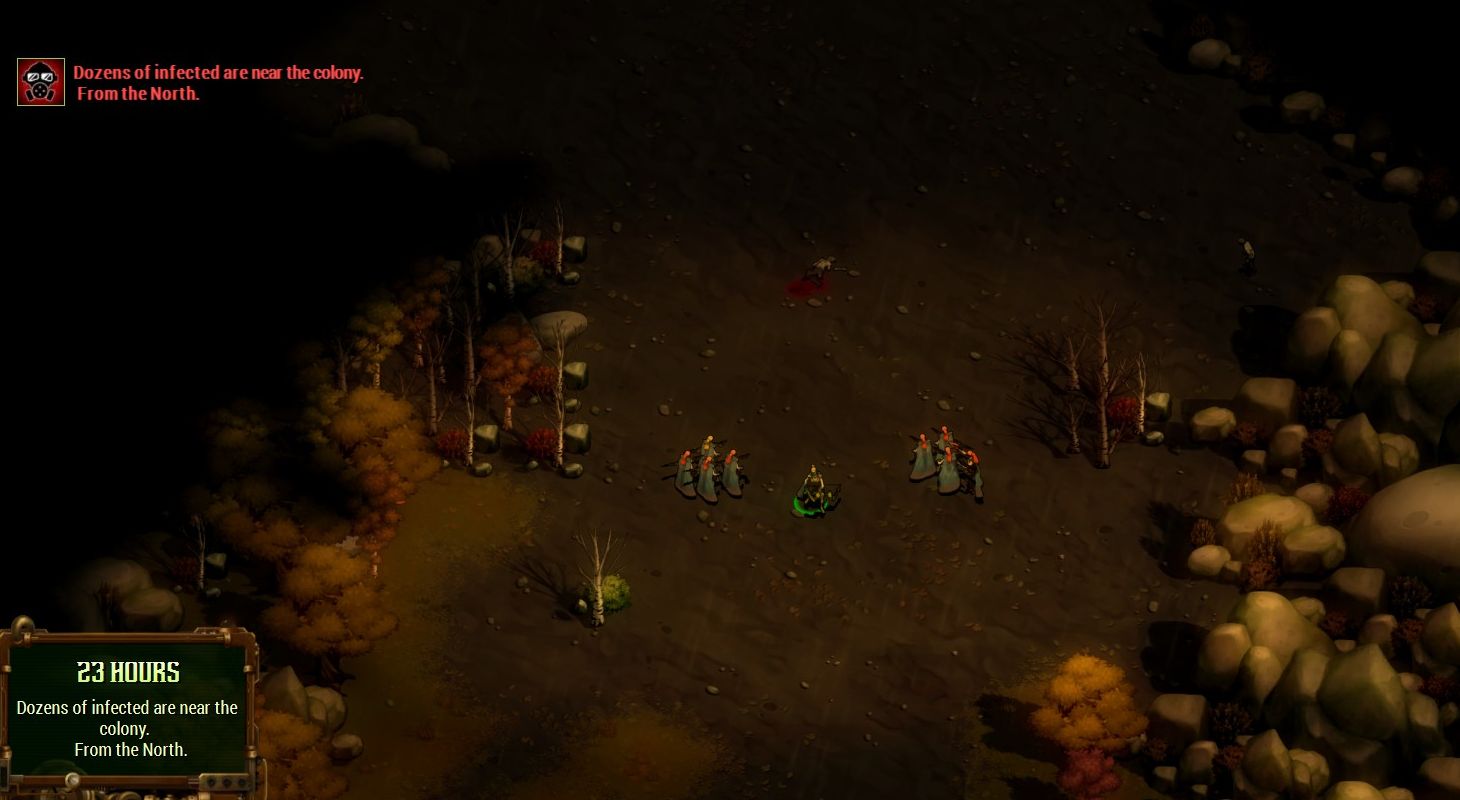
Once you see the warning that the infected are coming, get your troops back home immediately. You’re going to need all your troops at the gates when the horde arrives.
Finishing Off
First, stay on the defensive. Just because the main wave has been defeated, there may still be stragglers out there. Not all the infected are that fast, and a slower wave may still be on the way. Keep your gates and rangers handy.
Check your victory conditions (the tick icon on the toolbar) to see whether “destroy all the infected” has been completed. If this isn’t ticked, there are still more of them out there. Gather a small party of five or more rangers and explore the areas to the north and north east.
If all the infected are destroyed, the only other issue is your population. Continue building tents and food production until your population reaches the required 300.
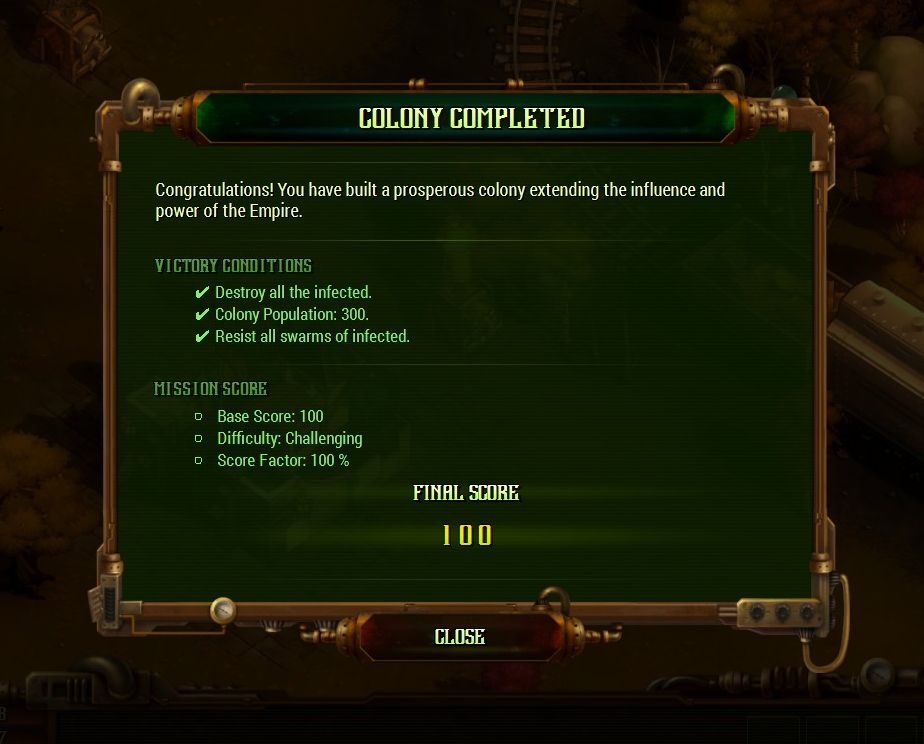
When all is achieved, the mission automatically ends. Congratulations! You’ve survived the first mission!