Learn how to create your own custom color schemes for Will You Snail.
About This Guide
How to Pick a Color Scheme
There are three default color schemes that come with the game:
1) Modern
2) Classic
3) Clean
A few things to note before moving ahead:
- Every color scheme can still have and usually has different colors in each chapter. Or in other words: One color scheme as shown in the menu acts more like a folder containing multiple color schemes each.
- Keep in mind that your post processing settings have a big impact on the colors, too.
- You can change the color scheme at any time. Just note that doing so restarts the current level.
How to Create a New Color Scheme
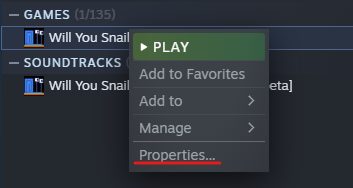
1) Right click on the game in your library and select properties.
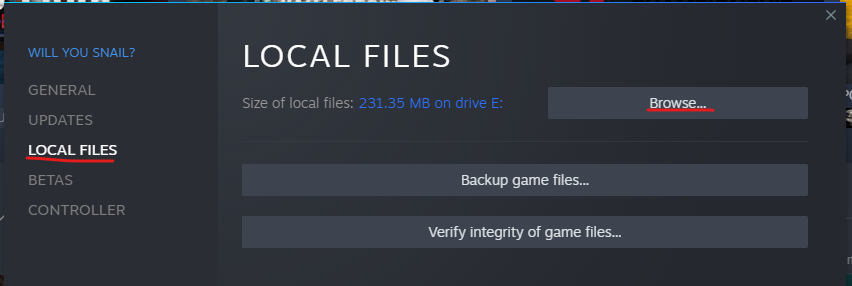
2) Click on the local files tab, then on browse.
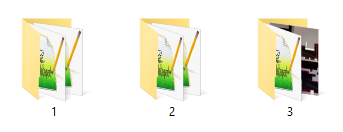
3) Open the “Colors” folder. You should see one folder for every color scheme in the game:
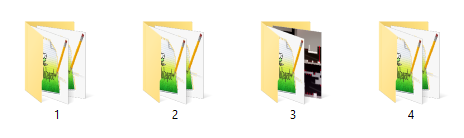
The best way to create a new color scheme is to duplicate an existing one. That gives you a solid basis to start with.
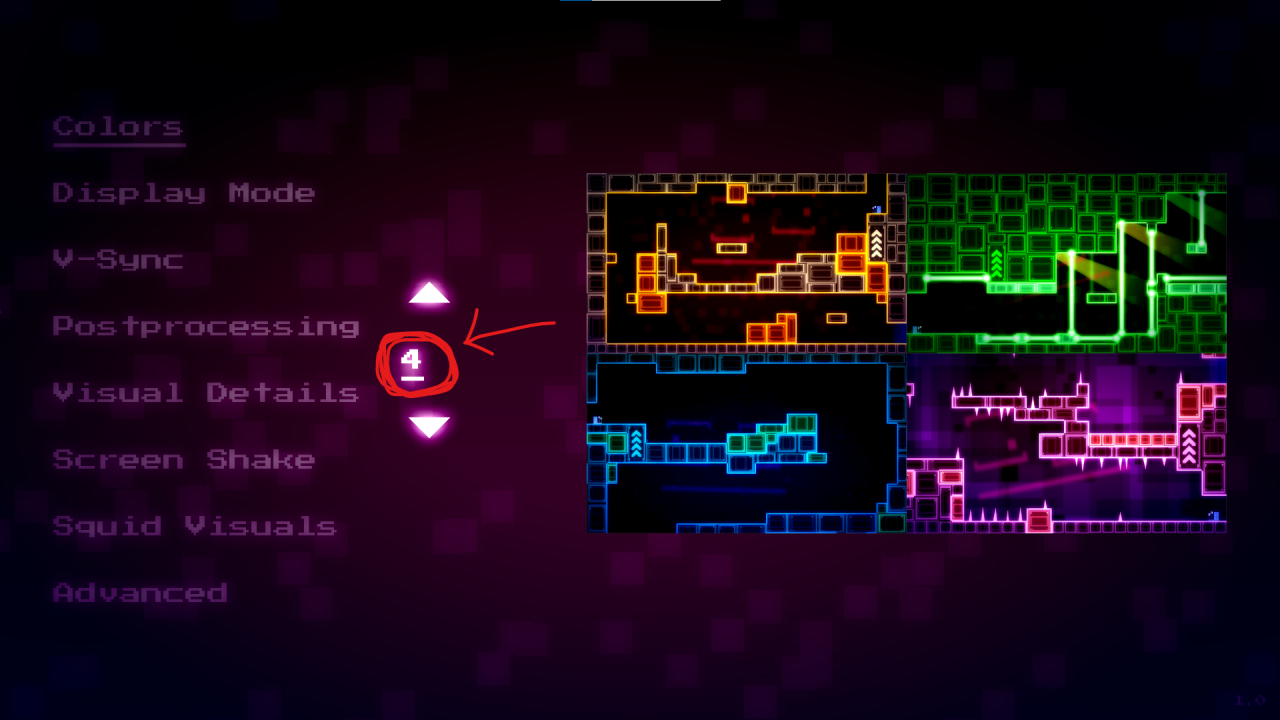
For this guide I decided to duplicate the classic color scheme (folder “2”). Just rename your new folder to “4” (or whatever the next unused number is):
That’s it. If you restart the game, you should see your new color scheme in the menu now:
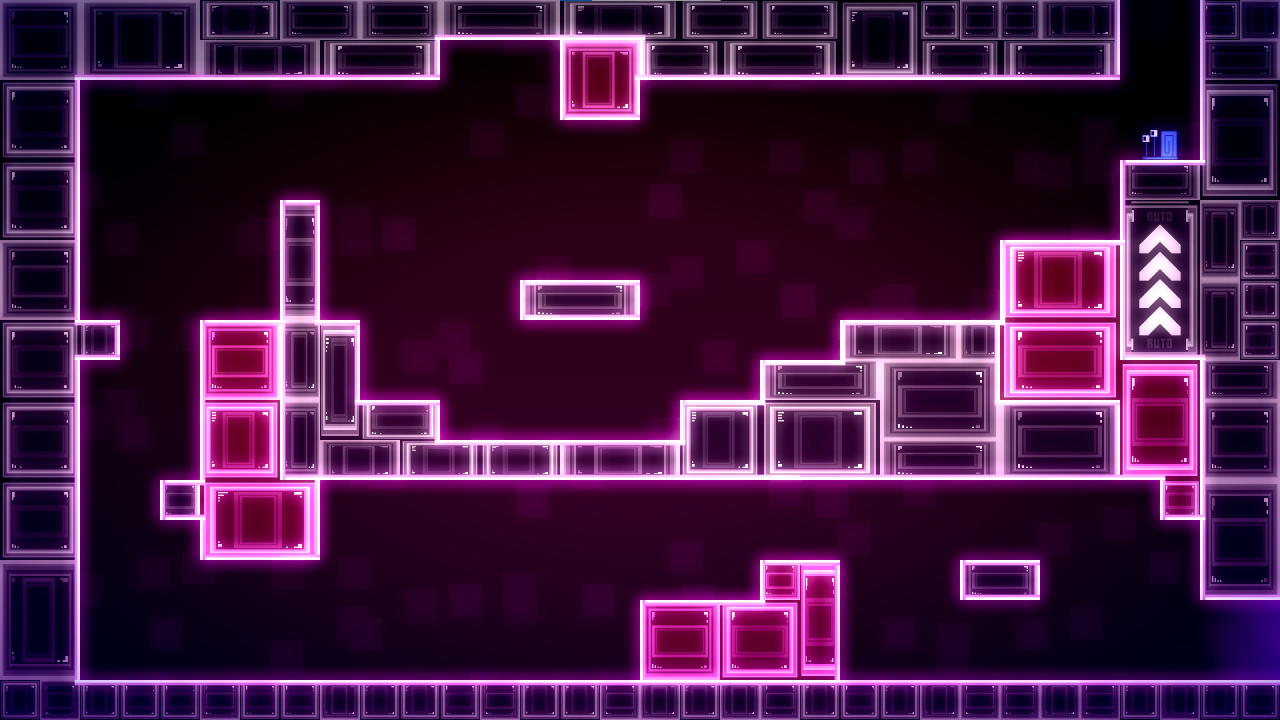
 Go ahead and select it! For now it should look exactly like the color scheme you copied.
Understanding the Files
 Let’s go through the contents one by one.
There are six different areas in Will You Snail and every area has different colors. The text files are named by their area or chapter names. It’s really just simple text files so you can edit these with any text editor you want.
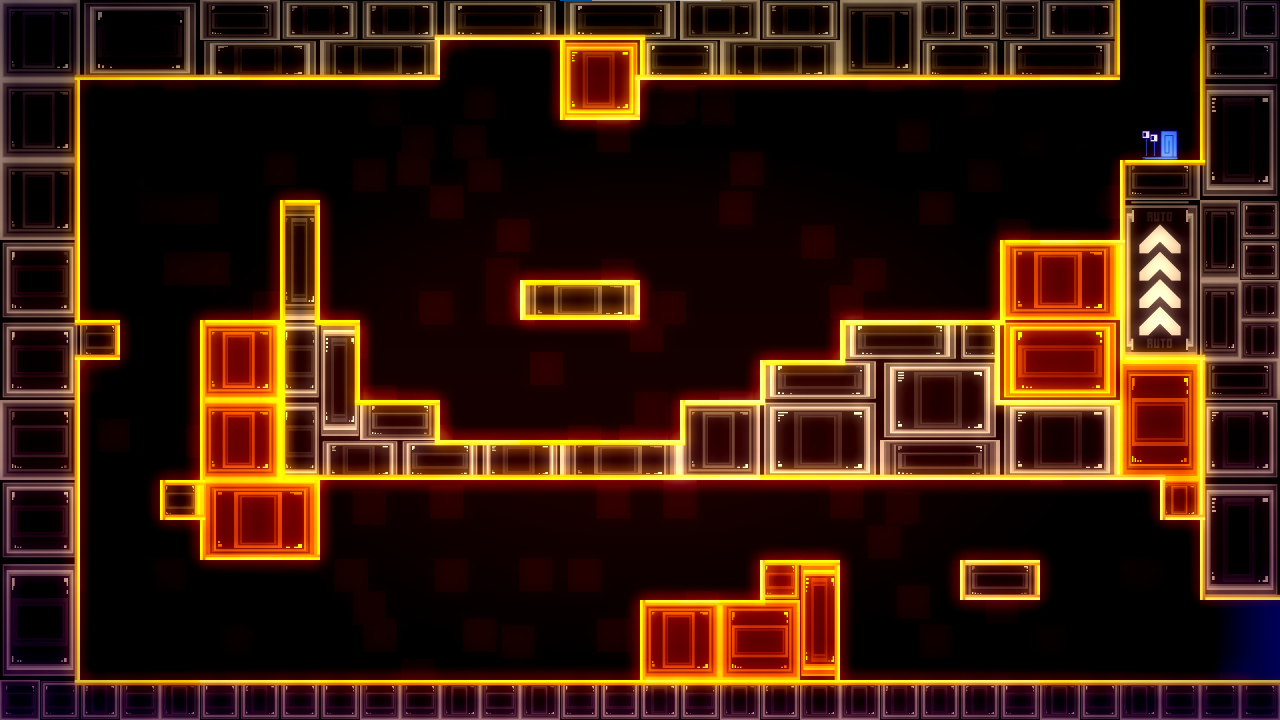
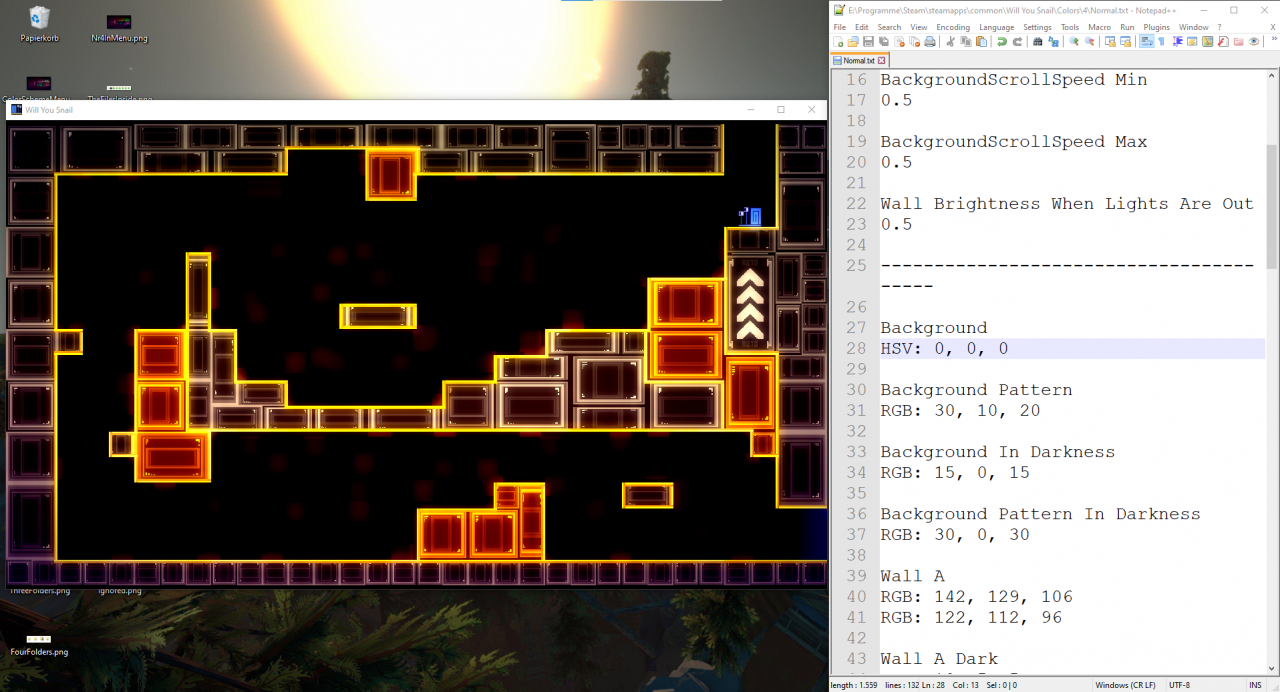
Let’s have a look what’s inside the file “Normal.txt” for example:
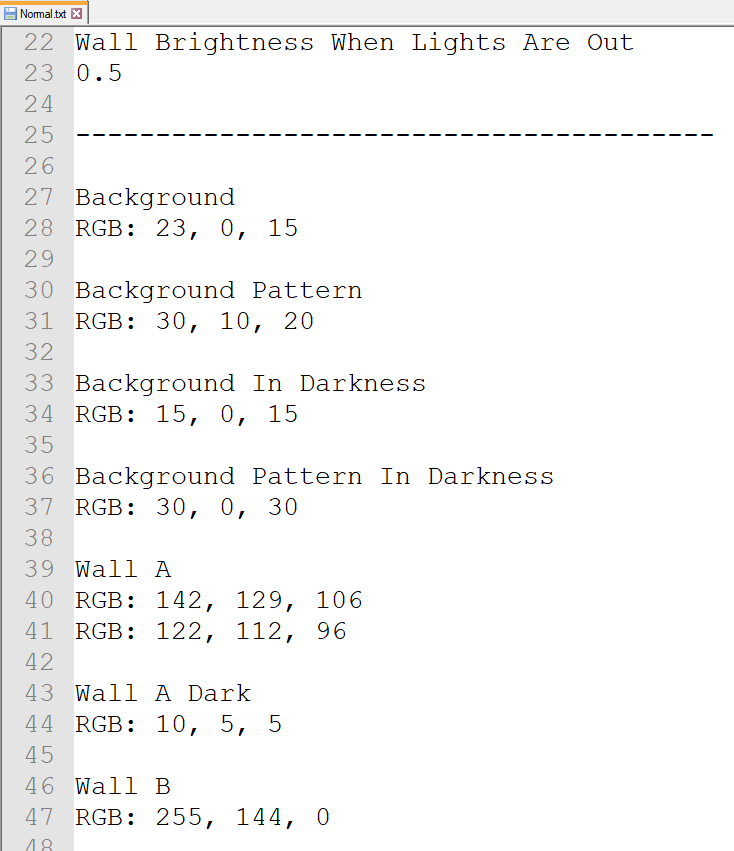
It’s a ton of different color values. If you change these, the corresponding colors in the game are gonna change as well.
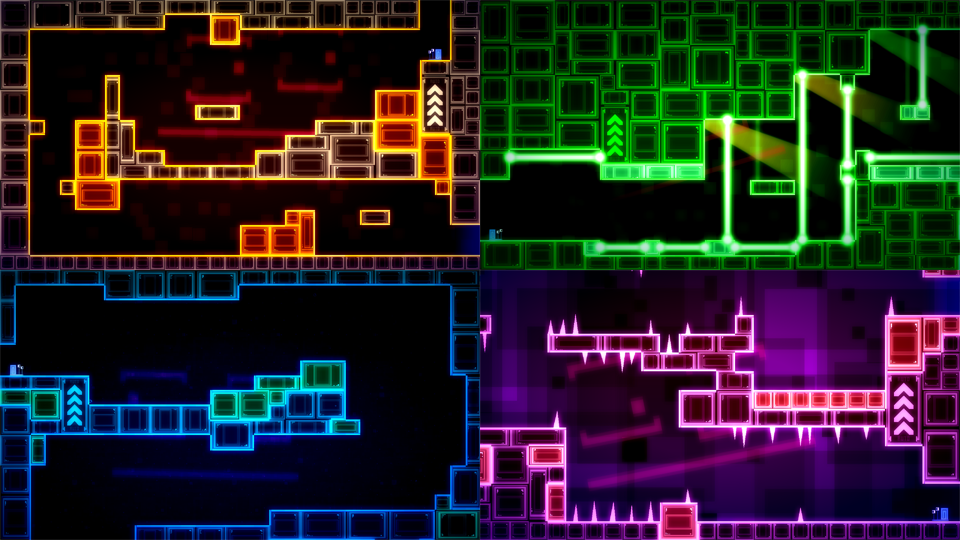
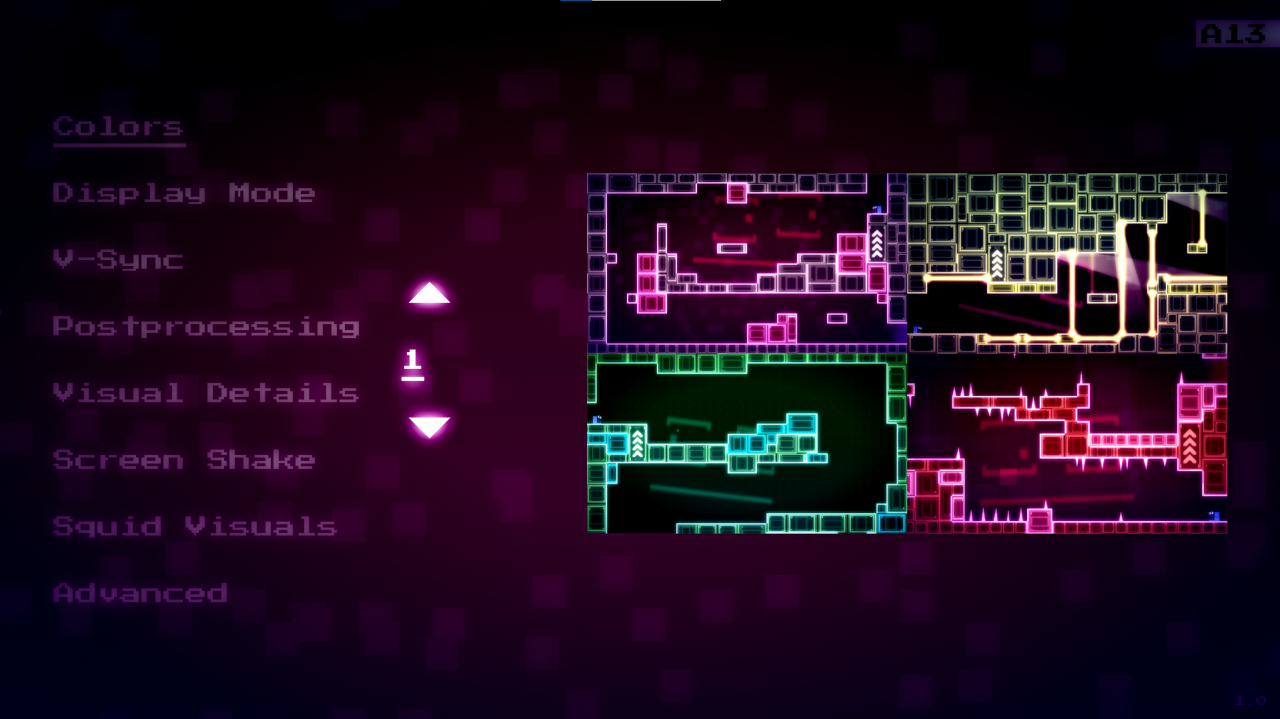
This file is used as a preview image in the color selection menu of the game. It needs to have a size of 960×540 pixesl and be in png format. Once your new color scheme is done you might wanna update this image to reflect your creation.
This folder contains a bunch more text files.
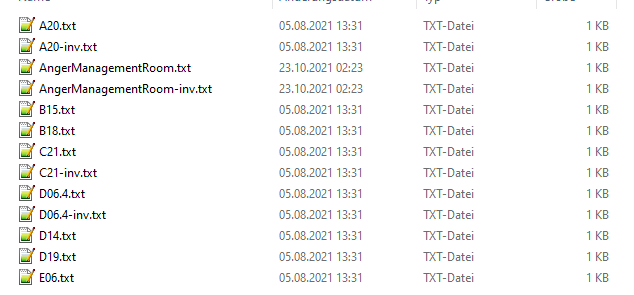
These are formatted and work in the exact same way as the 6 chapter files we looked at above. What’s different is:
- The “Overrides” apply only to individual levels. The name of the override file tells you which level it applies to.
- Override files don’t need to contain every value for every color. Missing values will automatically be taken from the chapter files.
- The values in override files have higher priority and override the colors specified in the chapter files.
So let’s for example say you made the underwater chapter blue, but there is one specific underwater level you’d like to be yellow, you can easily do that by creating an override file for that level here.
Understanding the Syntax
There are three different kinds of values:
These are the most common ones. The first line is the name of the color (these need to be specific keywords in order to work). The second line are the color values.
There are two different ways you can use to define a color value. You can use the prefix “RGB:” to define the colors using their red, green and blue values or you can use the prefix “HSV:” to define the colors using their hue, saturation and value. The numbers for both the RGB as well as the HSV values always need to be whole numbers from 0 to 255 (inclusively).
So if you want to make the background red for example, you can either write it like this:
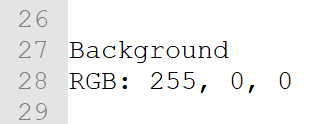
Or like this:

Both works and you can change a RGB into an HSV value and vice versa at any time if you want.
There is a keyword in the first line. In the second line there is just one simple number. This number can be any positive or negative number e.g. 2, -2, 10.5, -0.12, 5999 etc.

Obviously not every number makes sense for every value so you’ll have to experiment a bit to see what works.
These work like number values but the difference is that the keyword is followed by three numbers instead of just one:
Usually these three values stand for the red green and blue channel. What’s different compared to color values is that the numbers can be anything you want and don’t have to stick to a limited range of whole numbers.
I think it’s very useful to know how the algorithm that reads these color files works because it has some important implications.
1) Color files are read into memory whenever you enter a level.
Implication: You need to exit and enter the level or use a different way to force a reload to see your changes in game.
2) There are “invisible” default values for everything.
Implication: When a certain keyword is not in the color file, the default value will be used.
3) The files are read from top to bottom.
Implication: If a key-value pair appears in the file multiple times, the last one overrides the others.
4) If a line doesn’t contain a know keyword, the algorithm skips it.
Implication: You can put empty lines, comments, filler lines, whatever you want in the files. You can also reorder key-value pairs any way you want.
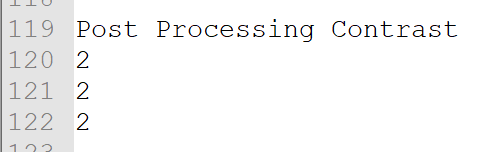
5) After a know keyword, only the next line (for vectors: three lines) will be read.
Implication: You can try out new values without deleting your previous ones. In this example here the third line is simply ignored by the algorithm:

6) Override files are read as if they were extensions at the end of the chapter files.
Implications: You can use override files to override any value you want for specific levels.
Understanding The Workflow
Step 1: Turn Off Audio
Just go into the volume settings and turn the volume of everything down to zero. Thank me later.
Step 2: Use Windowed Mode
Go into the graphics settings and switch from fullscreen to windowed mode.
Step 3: Download a Decent Text Editor
The default text editors on most operating systems just aren’t any fun. At the very least you need a text editor where when you double click a number it only selects the number and not the comma as well. I recommend Notepad++ for example.
Step 4: Delete the Overrides
I think it’s a good strategy to focus on the chapter files first and add overrides later if there is a need to. Just open the Overrides folder and delete everything inside.
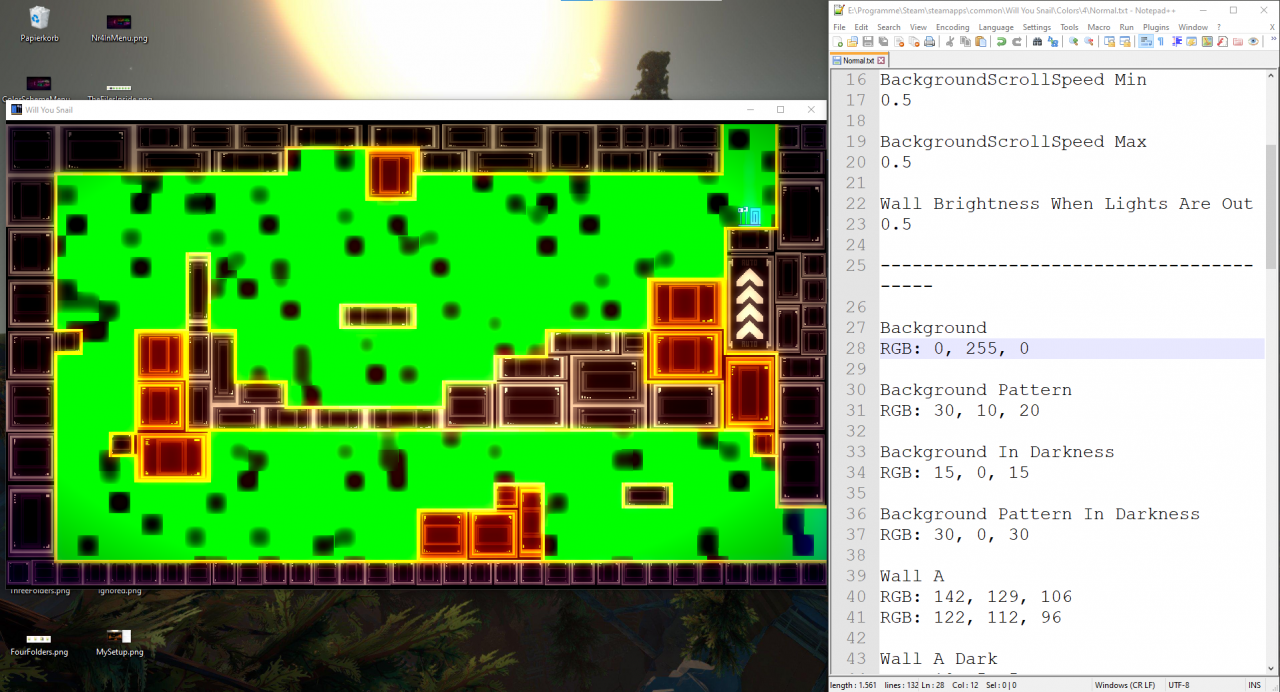
Step 5: Put It Side by Side
You wanna see both the game as well as your text editor at the same time. A setup that looks something like this works great:
Step 6: Check Your Setup
Make sure that you picked the correct color scheme (your new one) in the settings. Make sure the level you’re in matches the chapter file you edit. Level A13 (shown above) is affected by “Normal.txt” for example. Let’s use that for our first experiments.
Step 7: Enter Color Editing Mode
The game has two secret keyboard shortcuts to help with color editing. One is CTRL+L which reloads the current level (and therefore loads the updated version of your color files).
The other one is CTRL+SHIFT+L which enables or disables color testing mode. When color testing mode is enabled, the level is constantly reloaded in regular intervals. This is absolutely fantastic cause now you don’t have to touch the game window anymore at all. You can just use it as a preview window that constantly updates itself without you having to do anything.
Click into the game window to make sure it is focused. Then click CTRL+SHIFT+L to enter color testing mode.
Step 8: Edit Away
Now you can go crazy changing values in the color file to see what happens. As a first exercise, try to find the “Background” variable and make it green. Don’t forget to save the text file for your changes to take effect! Just get into the habit of hitting CTRL+S after every edit you make in the text editor. Here is our horrendous green background in action:
Step 9: Leave Color Editing Mode
When you’re done just focus the game window and hit CTRL+SHIFT+L to exit color editing mode. Otherwise the game is pretty much unusable. Lol. 😀
Step 10: Make a Backup!
Always make a backup of your color schemes somewhere. When Steam updates the game there is a chance it might mess up your color files, especially if I decide to patch in some new color schemes myself for example. It makes sense to keep a backup of your creation.
All Keywords
Color Values:
- Background
- Background Pattern
- Background In Darkness
- Background Pattern In Darkness
- Wall A
- Wall B
- Wall A Dark
- Wall B Dark
- Wall Outline A
- Wall Outline B
- AI A
- AI B
- Snail Theme, Snail Glow
- Player Spotlight
- Player Spotlight Dark
- Snail Death
- Snail Trail
- Enemies
- Enemy Warnings
- Snail Outline
- Snail Body
- Snail Shell
- Snail Eye
- Dallin
- Dialog Files
- Overlay Gradient Color Top
- Overlay Gradient Color Bot
- Overlay Vignette Color
- Bloom Color
- Lvl Locked Front
- Lvl Locked Back
- Lvl Normal Front
- Lvl Normal Back
- Lvl Story Front
- Lvl Story Back
- Lvl Secret Front
- Lvl Secret Back
- Lvl Questionmark Indicator
- Lvl Questionmark Indicator Selected
- Bubbles
- Underw Currents
- Snail Flare
- AI In Background
- Light Ocean
- Conveyor Belts
- Final Boss 1A
- Final Boss 1B
- Final Boss 2
- Final Boss 3
- TD Turret 1
- TD Turret 2
- TD Turret 3
- Exploration Points
- Corrupted Antenna
- Dialog File Overlay
- Doors
- Unicorn
- Smiley 1
- Smiley 2
Number Values:
- Background Scale Min
- Background Scale Max
- Background Style (whole numbers from 1 to 19 inclusively)
- Background Parallax Min
- Background Parallax Max
- Background Scroll Speed, Background Scroll Speed Max
- Background Scroll Speed Min
- Wall Brightness When Lights Are Out
- Disco Light Hue Offset
- Disco Light Hue Spread
- Disco Light Saturation
- Disco Light Alpha
- Dialog File Overlay Alpha
- Color Rotation Allowed (1 = true, 0 = false, only applies to disco chapter)
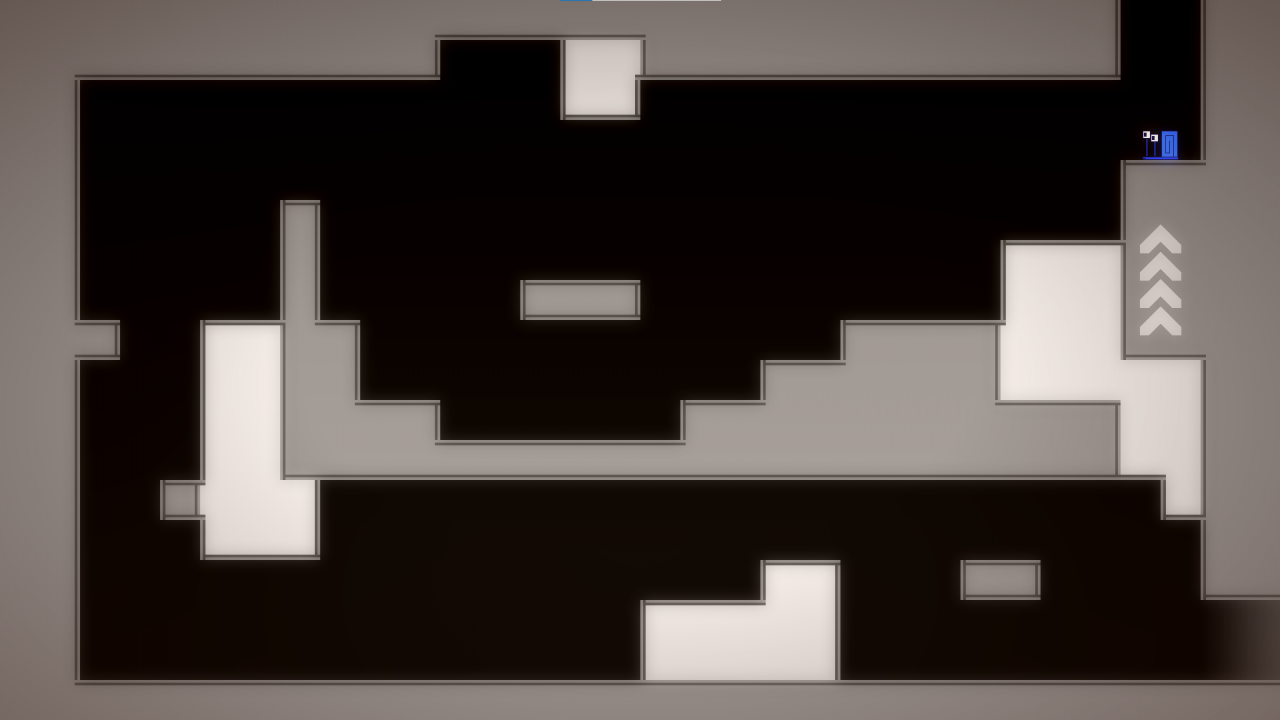
- Minimalist Color Mode (1 = true, 0 = false, changes which colors are used for certain objects)
- Hue Shift All Colors (fun for quick experiments)
- Overlay Vignette Alpha
- Overlay Vignette Size
- Bloom Alpha
Vector Values:
- Post Processing Contrast
- Post Processing Contrast Offset
The great thing about modifying existing color schemes is that all of the important values are likely already in the files!
Level Names
Spoiler Warning! When the pump is broken, your overrides likely don’t make too much sense anymore, that’s why they will automatically be ignored in that case. If you still want to override some colors with a broken pump, just add the “-inv” ending to the file name. E.g. “A13-inv.txt” This file will be used when the pump is broken.
You can also override the colors for a bunch of other levels that don’t appear in level select. The names of these levels are:
- main_menu_dark (the save slot selection)
- menu (the pause menu)
- level_select
- story_library
- AngerManagementRoom
- end_of_game_story_file
Share Your Creations!
What’s the best way to share color schemes?
I honestly don’t know (yet). For a start make sure to join us on Discord here https://discord.gg/G3mRDrK! I’d love to see your creations on the Will You Snail Reddit, Twitter and the Steam community, too!!
Can you add my color scheme to the official version of the game?
Yes, if you made a really good one that the community seems interested in I’m definitely interested in licensing it from you. Make sure to reach out in those cases (e.g. via Discord, Twitter or the support email)!
More Guides:
- Will You Snail? Official Guide
- Will You Snail?: How to Change or Translate Game Texts
- Will You Snail?: How to Change or Translate Voice Lines