
You’ve spent hours grinding ore, breeding perfect Pals, and building bases that would make an engineer weep. But there’s a whole economy floating in those lakes and oceans, and most players are leaving it untouched. Fishing in Palworld 1.0 isn’t a side activity — it’s a loot pipeline that can deliver rainbow passives, high-IV Alpha Pals, and rare items you won’t find anywhere else. The problem is that the game doesn’t tell you how any of it works. This guide fixes that, from the first cast to the Grandmaster spots where Lunkers spawn.
How Fishing Works
Find a body of water with fish shadows moving beneath the surface. Equip a fishing rod and bait from your inventory, then aim and cast toward the shadow. When exclamation marks appear above the water, press the prompt button to hook the fish.
A green bar appears over a horizontal line with a fish icon moving along it. The goal is to fill a sphere at the top of the interface by keeping the line centered within the bar. Hold the reel-in button to move the bar right; release to let it drift left. Tap the reel-in button when the line is over the fish to keep the line in the middle of the bar. Miss the timing, and the line drifts — let it hit either edge, and the fish escapes.
The catch difficulty scales with the spot’s level. Beginner spots give you wide bars and slow fish movement. Grandmaster spots shrink the bar to nearly nothing and make the fish dart erratically. Practice on easy spots first.
Fishing Spots and Fish Types
Fishing spots occupy fixed locations across the map and refresh every day/night cycle — roughly 30 minutes on default base settings. When a spot refreshes, the fish shadows randomize with different visual effects that tell you exactly what you’re about to catch.
A shadow with no sparkles means a normal fish. Purple sparkles indicate an Alpha fish with higher stats and a guaranteed rare drop. Green sparkles guarantee at least one rainbow passive on the caught Pal — skills like Lavish Hospitality that you normally grind for hours to find. A purple beam shooting up from the water means a Lunker, which always carries the Lunker rainbow passive (excellent for water-type Pals), is always an Alpha Pal, and rolls IVs between 70 and 100. Lunkers are the hardest fish to catch in the game.
Spots have six difficulty tiers: Beginner, Intermediate, Advanced, Expert, Master, and Grandmaster. Difficulty affects both catch mechanics and drop tables. Region level generally corresponds to spot difficulty — Grandmaster spots cluster around the World Tree, while Beginner spots sit near the starting area. Don’t try to fish a Grandmaster spot with a basic rod and Simple Bait. You’ll lose every fish.
Fishing Gear: Rods and Bait
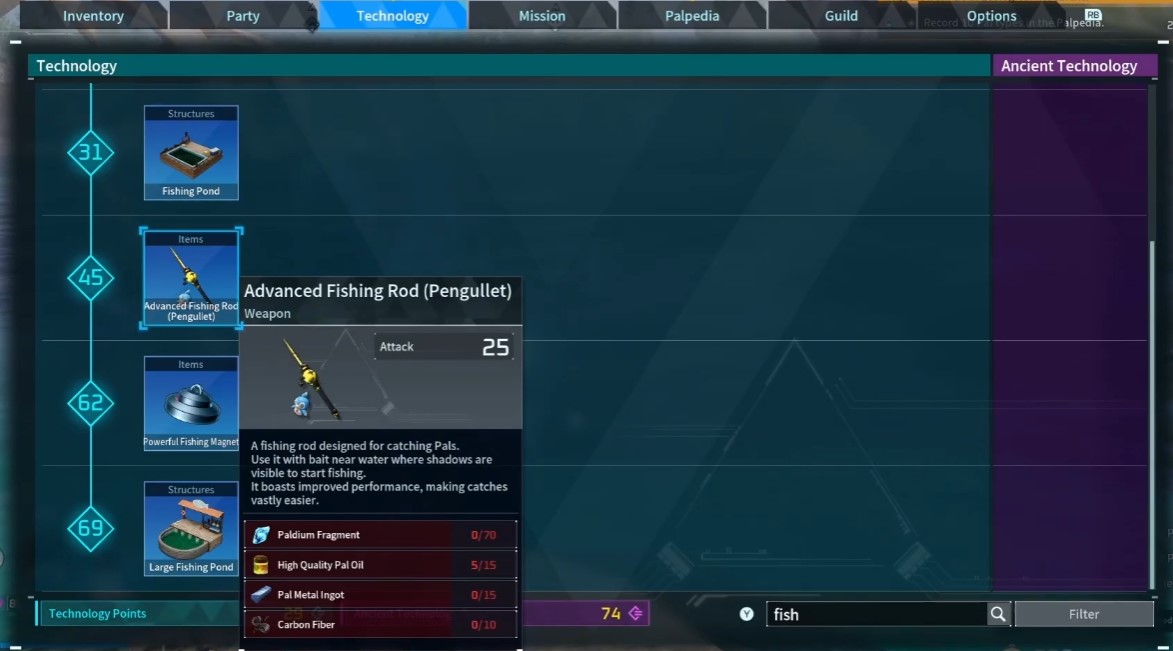
Fishing rods differ in exactly two stats: durability and fishing bar size. They do not change the type of fish you attract or the loot you pull up. Unlock rods through the technology tree as you level. Alternative blueprints exist for each rod tier — rare drops from golden treasure chests in sea bases or from magnet fishing at tier 2 salvage spots. The Advanced Fishing Rod is the practical endpoint; the higher tiers offer marginal bar size increases that matter mostly at Master and Grandmaster spots.
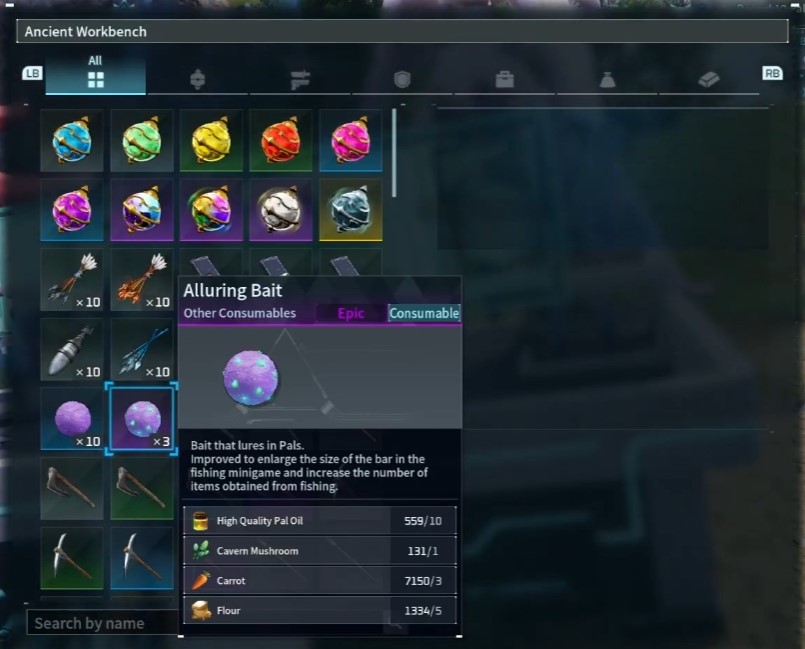
Bait selection matters more than rod choice. Simple Bait does nothing special — it’s the baseline. High-Quality Bait makes fish bite faster, reducing the wait time between casts. Deluxe Bait increases the fishing bar size, giving you more room for error during the catch minigame. Alluring Bait does both: increases the bar and increases the number of items you get from each catch. For serious fishing, use Deluxe Bait at minimum. For loot runs, Alluring Bait is mandatory.
Best Fishing Pals: Categories and Locations
Fishing Pals fall into three categories: making catches easier, increasing loot drops, and improving passive or talent outcomes. All of them must have their saddle equipped and be in your party for their partner skills to activate.
Pals for Better Passives and Talents:
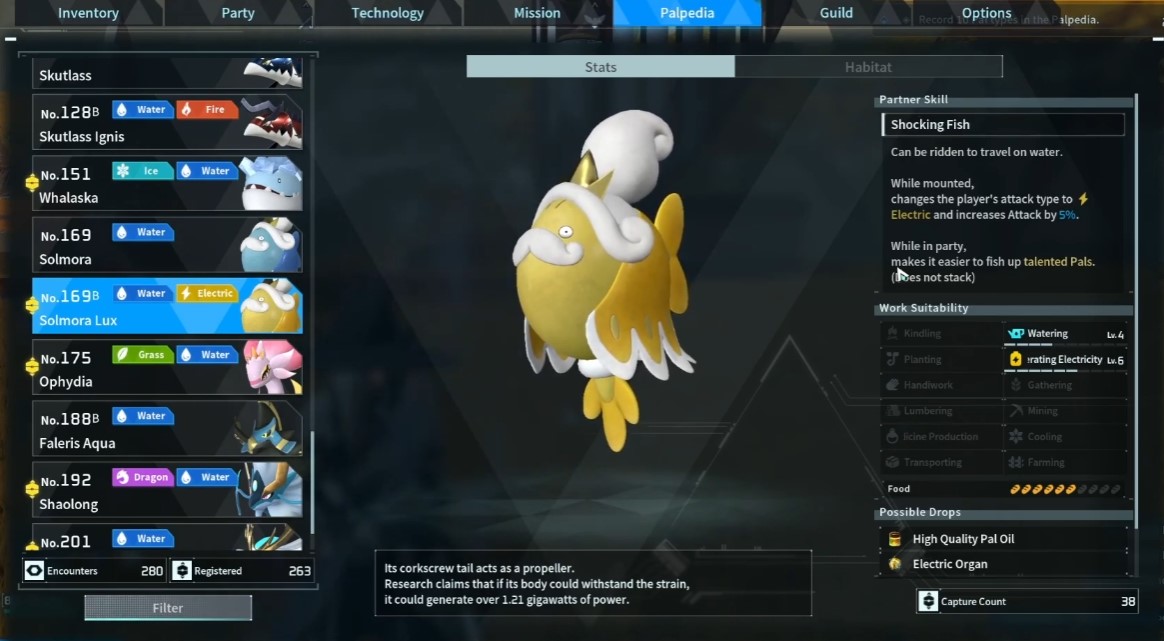
Surfent Terra spawns at Azure Tapestry (-478, -1381), appearing in the water. Surfent Terra Lux requires breeding — combine a Relaxaurus (found on the island east of Azure Tapestry) with a Surfent Terra. Both versions improve the passive and talent rolls on caught fish, giving you more rainbow traits and higher IVs.
Pal for More Loot:
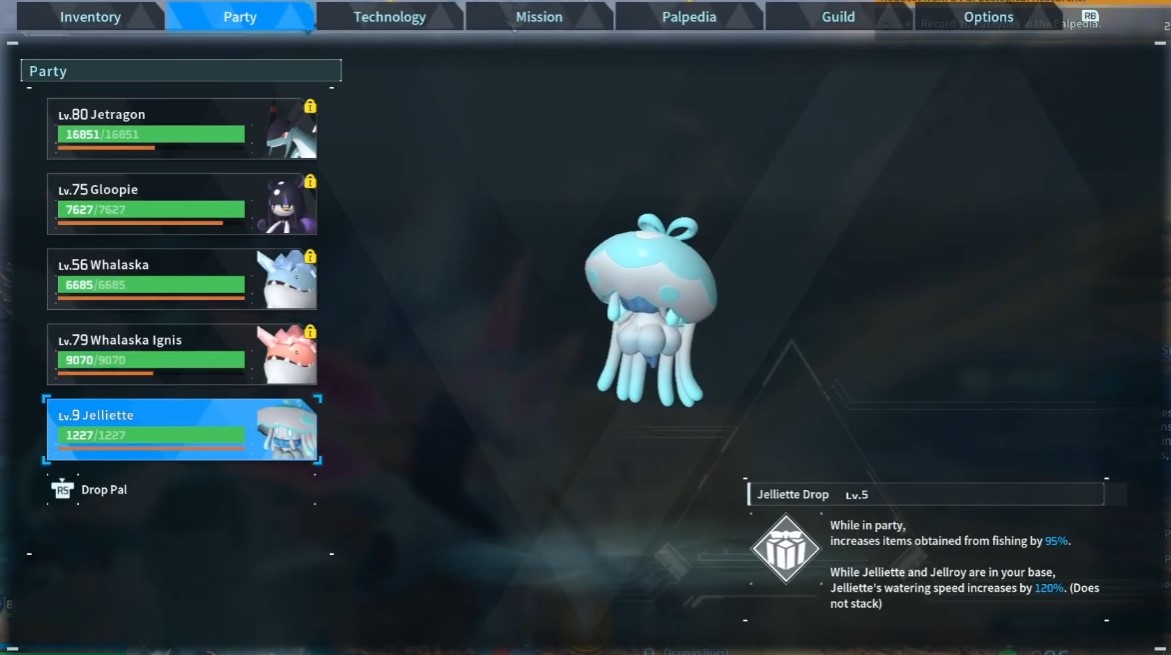
Jelliette is the single best loot Pal in the game. Uncondensed, it gives 55% more items per catch. Fully condensed, that number jumps to 95%. You can fish Jelliette up from the water or find it at Seabreeze Archipelago Castaway Beach (-98, -712), south on a glacier. This Pal alone doubles your fishing yield.
Pals for Easier Catching:
Gloopie reduces the capture gauge decrease when the bar is not overlapped with the fish. Uncondensed gives a 12% reduction; fully condensed hits 35%. Found at Eastern Wild Island (549, -103), southeast near a shipwreck and small island, plus beaches near Fake Break Island.
Wumpa starts the capture gauge higher and increases capture speed when the bar overlaps the fish. Uncondensed gives 5% extra gauge and 5% faster capture; fully condensed hits 14%. Found at Frozen Dune Cape (255, 544), northwest on a glacier.
Wumpa Ignis offers the same effect as Wumpa but stronger: 7% uncondensed, 17% fully condensed. Breed a Wumpa with a Chillet Ignis (from Sakurajima) or find it at the World Tree.
Critical note on stacking: Partner skills that say “does not stack” actually stack when using different species. Wumpa and Wumpa Ignis stack. Solmora and Solmora Lux stack. This means you can combine multiple passive-enhancing Pals for cumulative effects.
Best Team for Fishing
Two team configurations cover every fishing scenario. Both assume you have five party slots.
For maximizing loot:
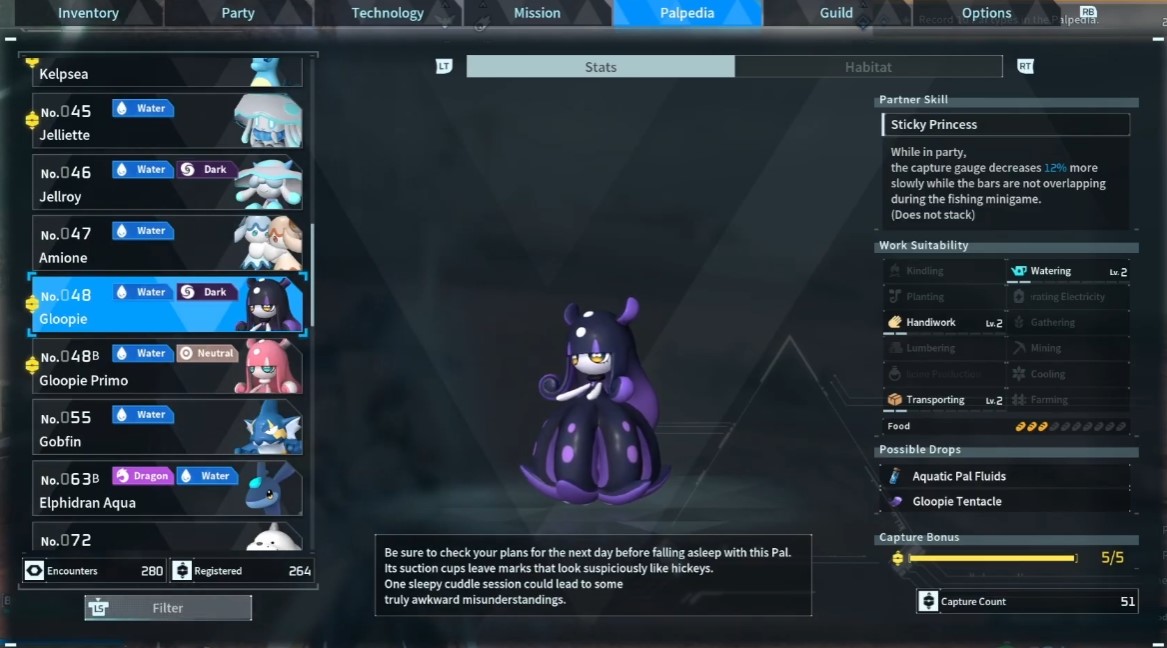
- Gloopie (easier catches)
- Relaxaurus (passive boost)
- Relaxaurus Ignis (passive boost)
- Jelliette (95% more loot at full condensation)
- Jetragon with boosted movement speed passives as your mount for fast travel between spots
This setup prioritizes loot volume. You sacrifice some passive quality, but you’ll pull up more fish per hour and more items per fish. Jetragon lets you cycle through multiple spots before they refresh, maximizing your yield per 30-minute cycle.
For maximizing passive and talent fishing:
- Gloopie (easier catches)
- Relaxaurus (passive boost)
- Relaxaurus Ignis (passive boost)
- Surfent Terra Lux (better passives and talents)
- Jetragon (mount)
Swap Jelliette for Surfent Terra Lux. You lose the loot multiplier but gain significantly better passive rolls and higher IVs on caught Pals. If you want to fully maximize passive fishing without a mount, swap Jetragon for Surfent Terra Lux and keep Gloopie, Relaxaurus, and Relaxaurus Ignis. This is slower for travel but gives the best possible catch quality per fish.
The practical choice depends on your current goal. Farming for specific rainbow passives? Use the passive team. Stockpiling materials and selling fish? Use the loot team. For general play, the loot team with Jelliette generates more value over time because you can sell excess items and buy what you need.
More Guides:
- Palworld 1.0: Silvegis Location and Breeding Guide
- Palworld 1.0: How to Find Petallia Ignis, Knocklem Ignis, and Whalaska Ignis
- Palworld 1.0: How to Get Mythical Wood
- Palworld: How to Catch Pals and People (How to Increase Catch Rate)
- Palworld 1.0: Lunaris and Grintale Locations & Breeding Guide


