
The Great Martyr’s Blade is found inside the Great Martyr’s Prison dungeon, past Gloomshade Grove. Start from the Maroip Launchpad, fast travel to Widow’s Overlook, then follow the route through two new beacons to the final checkpoint at Gloomshade Grove. Enter the dungeon, break every lock, press every button, kill the target enemy, then break the crates in the cleared room to claim the weapon. This is the only weapon that works with the Cold Infusion Warden Stone, making it a priority pick for hard-hitting builds.
Why I Went After This Weapon First
The Great Martyr’s Blade sits at the top of the primary weapon list in Mortal Shell 2, especially if you favor slow, devastating swings over fast combos. What sold me immediately: it’s the only weapon currently compatible with the Cold Infusion star stone, the Warden Stone. That stone drops from the Winter Glass Lake Beacon area on the east side of the map, but you don’t need it to grab the blade itself.
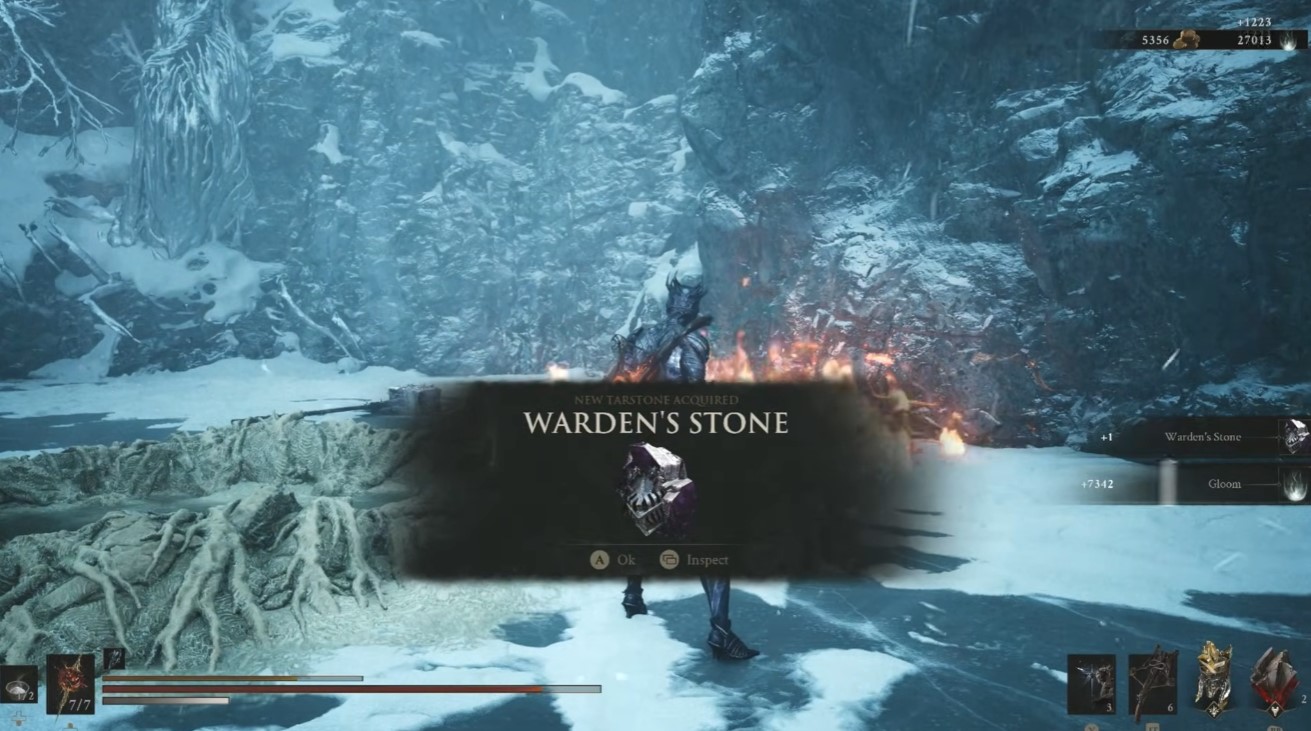
I recommend securing the weapon first and chasing the Warden Stone later. The blade holds its own without any infusion, and the journey to the prison sets up several useful checkpoints you’ll want unlocked anyway.
If I want to push the blade further with enhanced enemies and better loot drops, I check the on How to Unlock the Night Mode.
My Starting Route: Maroip Launchpad to Widow’s Overlook
I begin every run from the Maroip Launchpad. From there, I fast travel to Widow’s Overlook — it’s marked on the map, so no guesswork involved.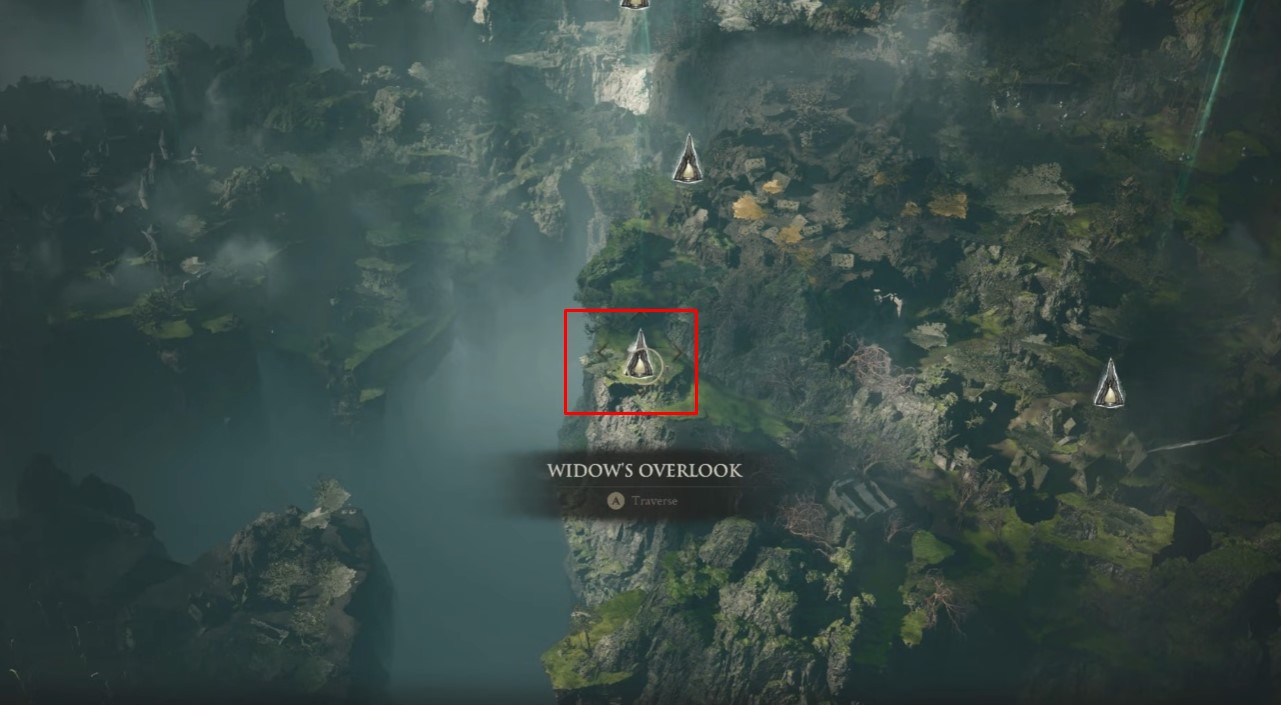
Once I arrive at Widow’s Overlook, I turn around and head in the opposite direction from where I came in. Your game might look slightly different depending on how much progress you’ve made, so don’t panic if the scenery doesn’t match a video you watched.
My advice here: avoid enemies whenever possible. There’s a boss patrolling this stretch, and it’s not worth the fight if you’re just trying to reach the dungeon. If the boss corners you, infuse your weapon with any frost or stasis effect you have available to freeze it momentarily and slip past.
First Checkpoint: The New Beacon
After I get past the boss, I activate the new beacon placed in this area. This is a recently added beacon, so veteran players might not expect it here. It’s a lifesaver — if I die further along, I respawn at the closest activated beacon instead of trekking all the way back from Widow’s Overlook.
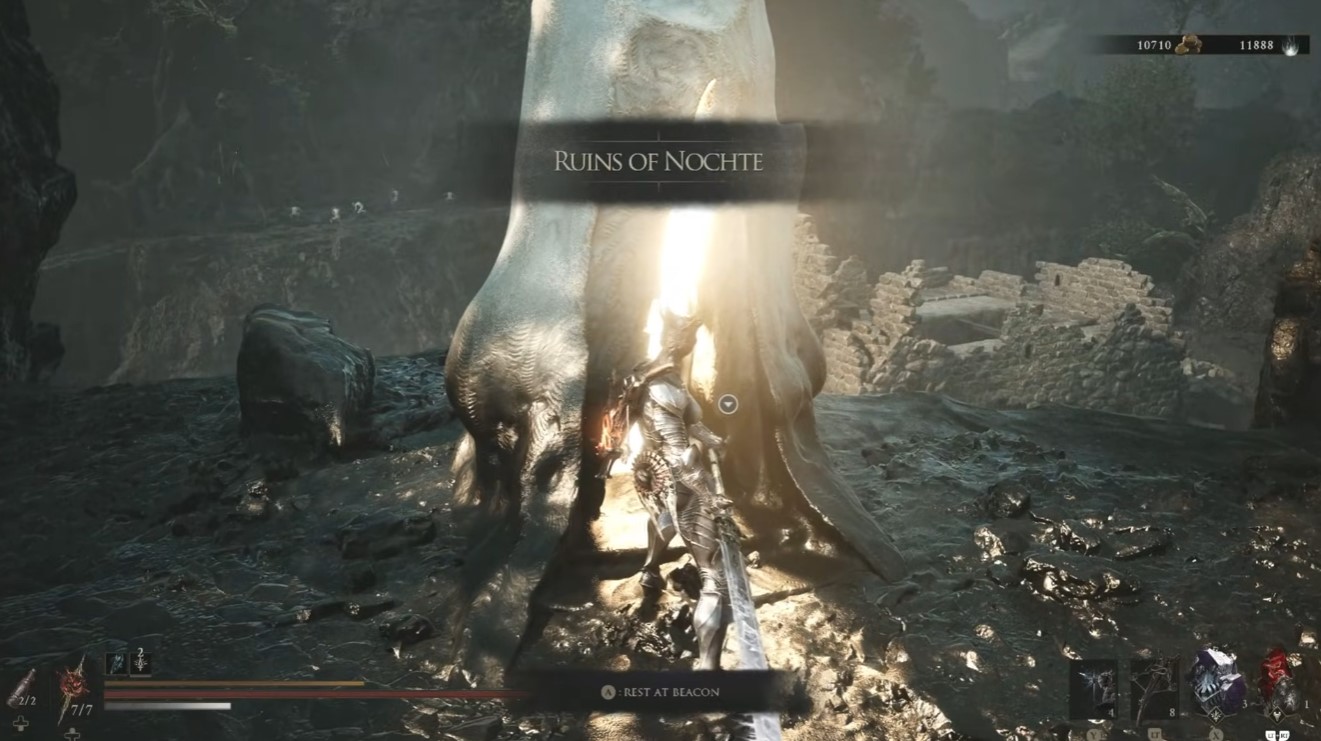
From the beacon, I move left and drop down. There’s optional loot scattered around, including a chest, so it’s worth a quick sweep if you’re not in a hurry.
Keep your guard up here. Exploding enemies patrol this section, and they don’t mess around. When they detonate, they burn you for serious damage — I’ve lost runs to these guys more times than I’d like to admit. I either kill them from range or give them a wide berth entirely.
I push forward to the next beacon and activate it. That’s my second checkpoint secured.
Second Checkpoint: Jump Pad to the Bridge
From the second beacon, I head toward the area with a tough enemy. If your weapon can stagger it reliably, take it out — it’s annoying to deal with later if you leave it alive. If you’re running a lighter build, just drop down and avoid it.
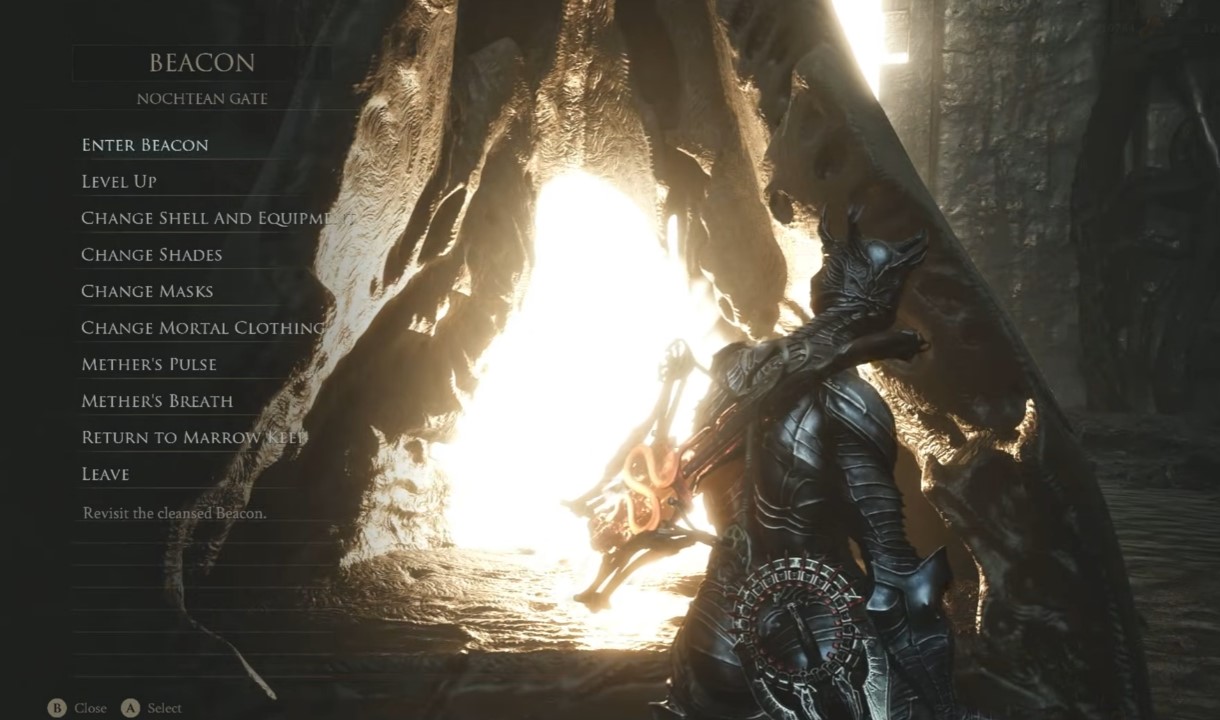
There’s loot scattered around and a dungeon entrance nearby, but neither is the goal right now. I’m looking for the jump pad that launches me up to the bridge above.
The jump pad is the key piece here. Once I’m on the bridge, I can bypass most of the remaining ground-level threats. If you’d rather not fight at all, you can sprint past everything on this stretch — the enemies are slow enough to lose with a decent dodge roll.
Final Checkpoint: Gloomshade Grove
I make my way toward the beacon in Gloomshade Grove. This beacon was relocated from its original position specifically to sit closer to the dungeon entrance — a quality-of-life change that saves a solid chunk of travel time.
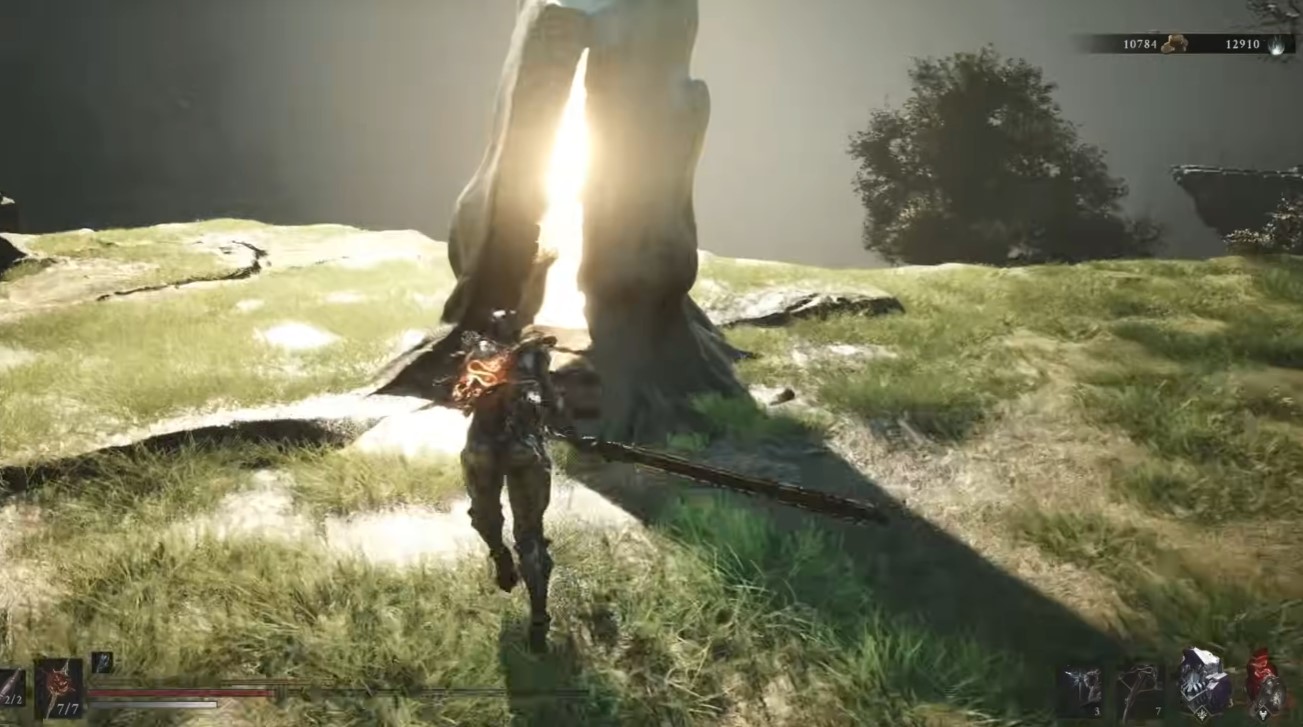
If you’re a veteran player, you can start your run directly from this beacon on subsequent attempts. No need to redo the entire route from Widow’s Overlook.
From the Gloomshade Grove beacon, I look for a small hole in the terrain. Squeeze through it — the dungeon entrance is right on the other side. You can clear out the enemies here or sprint past them; they don’t pose much of a threat once you’re through the hole.
Inside the Great Martyr’s Prison Dungeon
The dungeon itself is refreshingly straightforward. No convoluted puzzles, no hidden switches disguised as environmental storytelling. Here’s what I do:
- Interact with the object at the entrance — this transports you into the actual dungeon proper.
- Break every lock I see. Locks block gates, and gates block progress. Simple math.
- Press every button I find. Buttons open gates that locks don’t cover.
- Kill the target enemy. This is the room’s main event — clear it out before moving on.
Once the room is cleared, I break the crates and destructible objects scattered around. The Great Martyr’s Blade is sitting inside one of them.
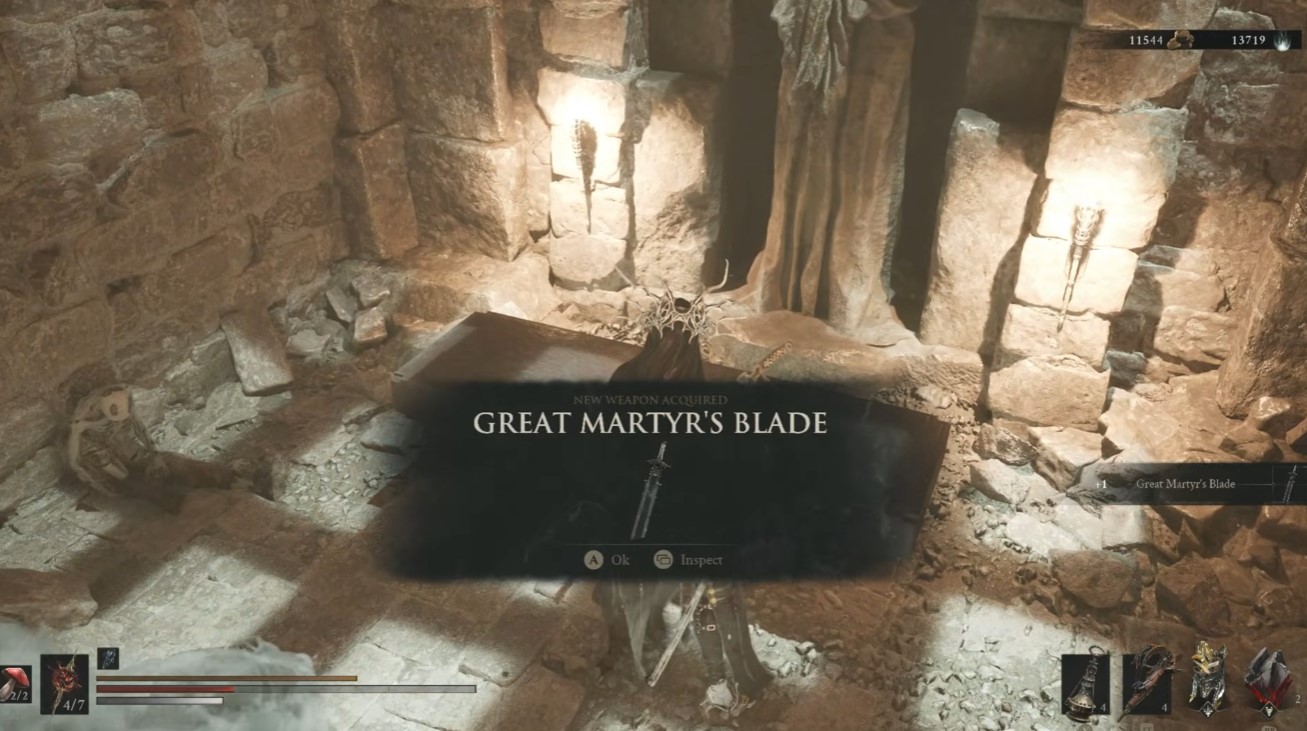
Tip: Don’t leave the room before breaking every crate. The blade doesn’t drop from the enemy — it’s hidden in the debris. I’ve seen players kill the boss, grab nothing, and leave thinking the weapon was a myth.
Great Martyr’s Blade Upgrade Costs
Once you have the blade, you’ll want to invest in it. Here’s the full upgrade table:
| Level | Effect | Materials Required |
|---|---|---|
| 1 | 105% Damage Increase | Ventrium x2, Coin x100 |
| 2 | 110% Damage Increase | Ventrium x2, Coin x100 |
| 3 | 115% Damage Increase | Ventrium x4, Coin x300 |
| 4 | 120% Damage Increase | Ventrium x9, Coin x500 |
| 5 | 125% Damage Increase | Ventrium x13, Coin x1000 |
| 6 | 130% Damage Increase | Ventrium x18, Coin x1250 |
| 7 | 135% Damage Increase | Laterite x2, Coin x2750 |
| 8 | 140% Damage Increase | Laterite x4, Coin x2750 |
| 9 | 145% Damage Increase | Laterite x9, Coin x3500 |
| 10 | 150% Damage Increase | Laterite x13, Coin x4250 |
The jump from Ventrium to Laterite at Level 7 is where the real investment begins. I’d recommend banking upgrade materials early if you know you’re going for this weapon.
Shell Synergies Worth Considering
The Great Martyr’s Blade rewards aggressive, deliberate play. If you’re running a Shell that complements that style, you’ll get more mileage out of the weapon:
- Eredrim the Venerable — His Shoulder Bash and Ethereal Diapason abilities deal massive break damage, which pairs naturally with the blade’s heavy swings. His Executioner passive stacks buffs on riposte kills, rewarding the patient, counter-heavy playstyle the weapon encourages.
- Tiel the Acolyte — His Shadow Dash and Shadow Strike abilities let you close distance quickly and punish from stealth. The blade’s high damage per swing means you don’t need many hits to finish fights.
- Proxima the Brood Seeker — Her Bio Sampler can pull weaker enemies into range for a quick kill or pull you to stronger targets. The Grafted Armor passive gives you a 15% damage mitigation chance, which helps when you’re committed to a slow, heavy swing animation.
Each Shell offers a different flavor with the blade, but honestly, the weapon performs well regardless of your Shell choice. The upgrade path matters more than the character underneath.


