
I spent my first few hours in Dragonwilds doing what most players do: wandering, over-encumbered, and getting flattened by anything with a health bar. The fix wasn’t grinding combat. It was fixing three bottlenecks in the right order — a ranged weapon so I could actually hunt, a weight solution so farming trips weren’t miserable, and an Agility investment so running the map didn’t drain my stamina into nothing. This guide walks through those three unlocks plus the supporting systems (fast travel, food, farming, and the bronze loop) that keep the whole thing from collapsing.
If you follow one rule from this guide: do not enter a new zone looking for a fight. You are always one level under the enemies there. Gather first, gear up, then fight.
How to Get a Bow: Flax, Spinning Wheel, and Coarse Rope
The deer you need for antlers won’t let you walk up and stab it. You need a bow, and the bow chain starts with a plant most players walk past.
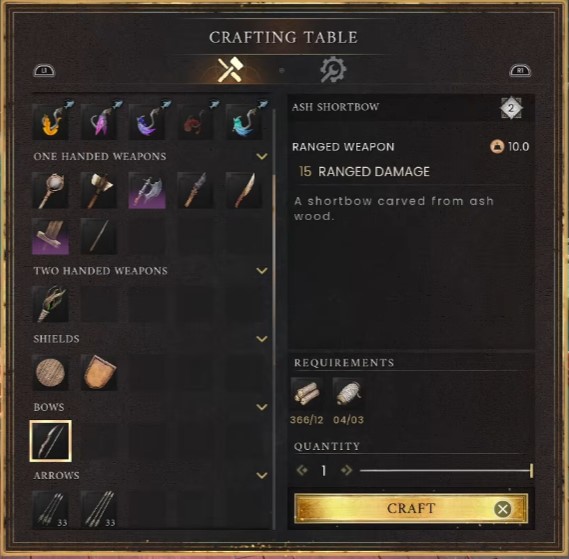
- Gather Flax. Flax matters early, mid, and late game. Picking it up for the first time unlocks the
Spinning Wheelblueprint. - Get Flax Seeds and farm it. Picking Flax gives you one at a time. Growing it in a crop plot yields a much higher quantity, which is the difference between a slow bow grind and a fast one.
- Build and place the Spinning Wheel, then interact with it.
- Convert to Coarse Rope. You have two options here:
Flax→Coarse Ropeat a 1:1 ratio, renewable via farming.Coarse Animal Fur→Coarse Ropeat a 3:1 ratio, and fur is not replenishable (you have to hunt for it).
- Use Flax, not fur. The math is not close. Fur costs three times as much and you can’t regrow it.
- Take the Coarse Rope to the Crafting Bench. The bow recipe unlocks there. Craft it, then hunt the deer and pick up the antlers to push the story forward.
Tip: If you’re short on Flax early, a single crop plot of Flax outproduces an hour of hand-picking. Plant before you need it, not after.
How to Get Hidden Pants for Extra Weight Capacity
The Hidden Pants are the single best early quality-of-life item in the game. The gear level is low and becomes irrelevant fast — but the 50 extra weight capacity never does. I wear them every single time I farm lumber or ore around my base.
Prerequisite: Level 5 Agility and the Windstep ability unlocked. If you’ve run around the map even a little, you already have access to this spell.
- Head to the
Lighthouseat the very beginning of the game, just above theTemple Woodsarea where the tutorial has you kill rats. - Wait for the windmill to pass, then jump up one more time.
- Inside, go straight up to the chest. It contains several items, including some especially light tattered boots that also increase weight capacity.
- Once you discover the pants and learn the recipe, return to the Crafting Bench.
- Craft them — the cost is small: some
Rune EssenceandCoarse Animal Fur. - Add to inventory and equip.
Compare: Tattered boots (from the same chest) vs. Hidden Pants — take both. The boots are a bonus on top of the 50-capacity pants, not a replacement.
Agility Training: Courses, Amulet, and Warped Feathers
Do not neglect Agility. Everything you do requires stamina, and you will run a lot to cover the map. This is the skill that quietly fixes the “I can’t get anywhere” problem.
The best entry-level location is the first Agility Course.
- Completing the course rewards an
Amuletthat increases Agility skill while playing. You have no jewelry early on, so go for this immediately. - Completing the course also gives you a satchel. Open it to find
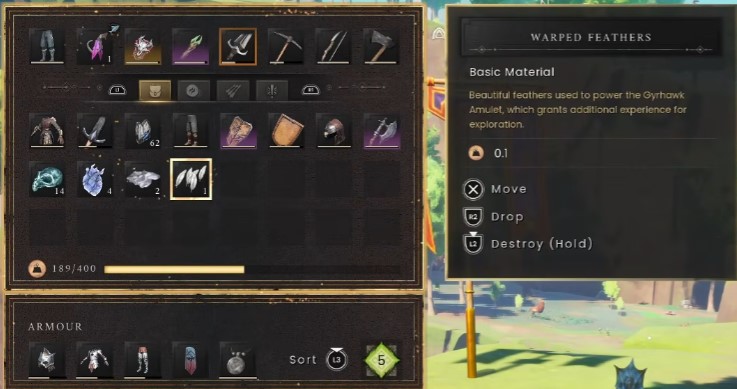
Warped Feathers. - Getting one Warped Feather unlocks the recipe. You need 8 total to craft the Amulet, so run the course multiple times.
- Craft the Amulet at the basic Crafting Bench (navigate to the very bottom of the menu).
What the Amulet and Warped Feathers actually do:
| Item / Effect | What It Does |
|---|---|
| Amulet | Increases Agility XP earned when exploring |
| Warped Feathers | Randomly consumed as you run around, granting a massive Agility XP boost (e.g., 100 XP instead of small amounts) |
Agility also unlocks mobility options like double jump and midair dash. Leveling it reduces sprinting stamina cost and unlocks perks like Backpacker, which increases max carry capacity. Prioritize this skill — it compounds with everything else in this guide.
Tip: Craft an Agility Potion before running the course. Potions increase experience for everything, so you’re stacking the Amulet bonus, the Warped Feather procs, and the potion at once.
Fast Travel: Vaults, Vault Cores, and Loadstones
Long-distance running is the tax you pay for not having fast travel. Here’s how to stop paying it.
- Head to the
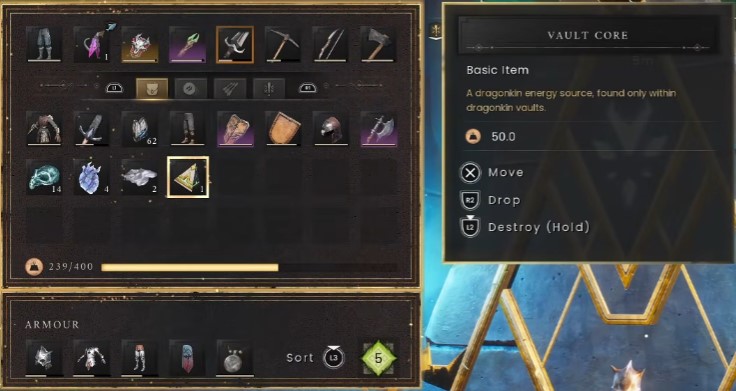
Vaults. There are various vaults in every major region. - Inside you’ll find dungeons with enemies, traps, and a boss. Clear or sneak through to grab a
Vault Core. - Unlocking your first one teaches you to craft a
Loadstone. The recipe is fairly cheap:Stone,Rune Essence, and aVault Core(the important component). - Farm Vault Cores every time they come up. They respawn every 3 in-game days. The boss door is already unlocked, so you can just walk in and grab one — but take all 2 or 3 if you can.
- Build out a full network of fast travel points across the map.
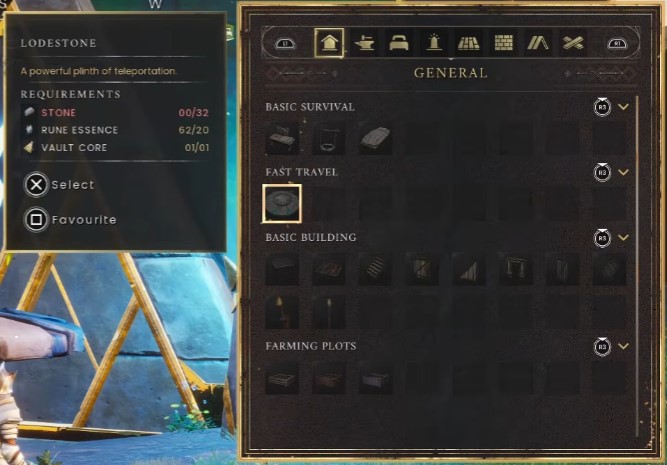
Fast travel costs Law Runes, but it’s worth every one. Vault Cores are also required for many later recipes, including armor and weapons — so don’t skip the low-level ones just because you’ve outgrown the zone.
Warning: Vault Cores are not just a travel currency. If you ignore them for a few zones, you’ll hit a crafting wall later and have to backtrack. Farm them on cooldown.
Managing Water, Rest, and Food Meters: Cooking and Infusions
If you’re out for more than a day or two, you need to rest at your base. You don’t have to sleep — just lay in bed to avoid passing time. A full fast travel network makes this far less annoying.
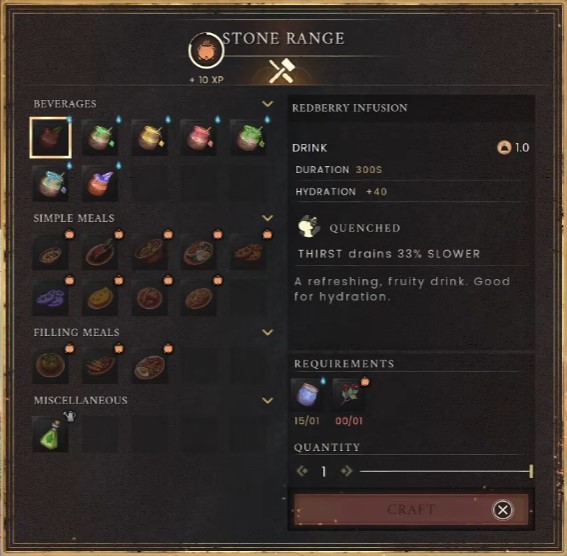
Stop cooking one small thing at a time. Combine ingredients for better returns.
| Food / Drink | Effect |
|---|---|
| Raw berries (Red or Dual) | 10 health |
| Cooked berries (stack) | 20 health (possibly 30) |
| Dried Dwellberries | 20 health and 20 sustenance |
Redberry Infusion |
Thirst drains 33% slower for 300 seconds |
Dual Berry Infusion |
Thirst drains 33% slower for 600 seconds (10 minutes) |
| Dwell Crunchies | Best food from the third area, usable until tier 5 or 6 |
Dual Berriesare found in the third area;Red Berriesin the starting area.- Make infusions at the
Stone Range: combine Clean Water (cooked at a stove) with a basic raw item — cooked item plus raw item. - For healing, combine cooked berries with grown wheat to create
Dwell Crunchies. - Berries in a crop field do not go away after harvest (unlike wheat, which is gone permanently). This makes berries trivially easy to regrow.
Before you eat the first thing you cook, check if it’s used in another recipe. Cook an egg into a fried egg, then mix with shrimp. Save all meat from deer, cows, and chickens and turn it into one thing for longer hunger duration.
For potion making: craft a Lumbering Potion before mining wood, an Agility Potion before running the course, and so on. Potions increase experience for everything.
Tip: Grab everything you see. Items from the first swamp area (feathers, clay) are needed for later recipes. Inventory space is annoying, but backtracking is worse.
Farming Efficiency: Rain Catcher and Fresh Water
Farming is tedious early on — plant, water, compost, harvest, repeat. If nothing is planted, you deal with grass growth. Build the Rain Catcher as soon as you have access, which is fairly early.
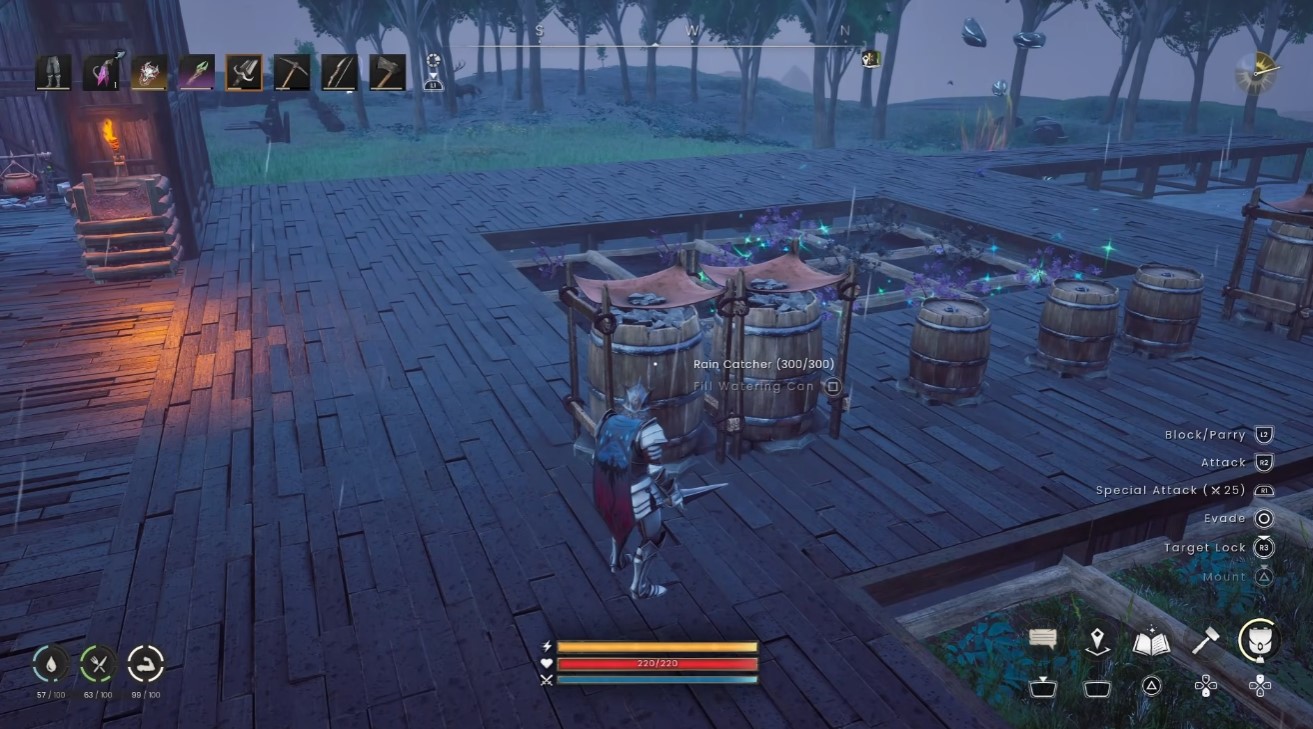
- Watering with dirty water (from a lake, via watering can) works for growth.
- Fresh water provides higher disease resistance. Use it and you avoid crafting disease resistance potions or losing crops before they’re fully ready.
- Transfer water from Rain Catchers into Water Barrels so they constantly fill when it rains and water your plants automatically.
If you set this up, you will never lack a fresh water source again.
Bronze Age and the Core Progression Loop
Bronze is the first major upgrade for gear, weapons, and tools. You’ll find the materials in the Fractured Plains — past the first area and the small swamp. The enemies there are tough, and you will be one level under them.
Grind out a lot of bronze. Bronze unlocks every other major crafting station:
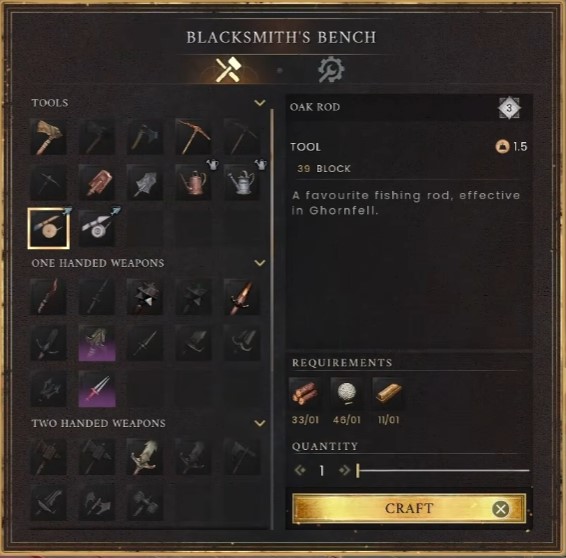
| Station | What It Unlocks |
|---|---|
| Blacksmith’s Bench | Tier 3 bronze, tier 4 iron, up to tier 5 steel weapons |
| Fletching Bench | Bows, crossbows, short bows, weapon upgrades and ascension |
| Armor Bench | The next tier of gear |
Make all three stations before anything else.
The core gameplay loop, in order:
- Get to a new area.
- Find region-specific resources (e.g., copper and tin in Fractured Plains).
- Return to base and convert to bronze.
- Make any new workstations.
- Make the next tier of tools — you need these to mine and chop higher-tier resources.
- Make weapons and armor.
- Once your level equals the zone’s level, start exploring, navigating, and hunting creatures for drops.
You will always be one level under the zone’s combatants. Do not start fights or run dungeons upon entering a new area. Hunt materials first and get the gear for that zone before major combat — otherwise you take more damage and deal less. The loop repeats: bronze → iron → steel, and so on.
Warning: The most common mistake I see is players walking into a fresh zone and immediately pulling a boss. You’re one level down, under-geared, and the damage math is not in your favor. Gear first.


