
Managing the front counter is your primary daily checkpoint. To secure a flawless shift score, you must master the manual scanning loop and stay fully aware of user interface traps that can instantly ruin your delivery streaks.

Counter Intake: The Three-Step Scanner Workflow
When a resident places a parcel on the counter, do not rely on visual guessing. You must manually process each item through the scanning terminal using a strict three-step sequence:
1. Portal Scanning
Immediately drag the package into the scanner bay. The monitor will light up with a specific ring color indicating the required postage tier:
-
Green Ring: Standard tier. Requires exactly 1 regional stamp.
-
Yellow Ring: Advanced tier. Requires exactly 2 regional stamps.
-
Blue Ring: Premium tier. Requires exactly 4 regional stamps.
-
Purple/Max Scale: Heavy tier. Requires exactly 6 regional stamps and specific modifier tags.
2. Destination Validation and Stamp Overlapping
Pull the correct regional stamp from your side rack based on the scan file (such as the blue Port Wendy/Windy City stamp or the green Sunny Shores stamp).
When a parcel demands 4 or 6 stamps, physical surface area on smaller boxes becomes extremely limited. The game utilizing a mechanic called Stamp Overlapping. You do not need to line up the stamps in a perfect grid. You can stack them closely on top of each other like fish scales; as long as the total count registers on the item, the system validates the postage.
3. Hazard Modifier Application
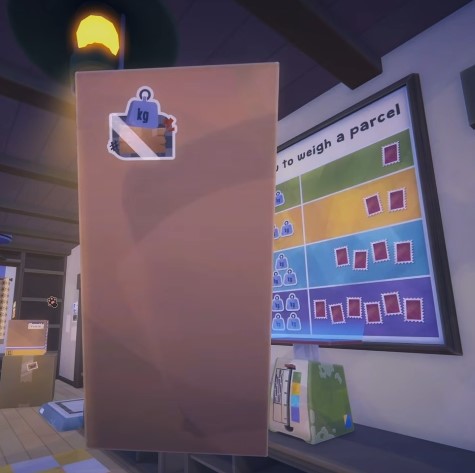
If the scanner monitor displays an active hazard icon, you must manually apply the corresponding structural stamp before moving the parcel to the outgoing area:
-
Heavy Icon: Apply the physical heavy weight modifier stamp.
-
Fragile Icon: Apply the green fragile stamp asset.
The Proximity Click Trap: Preventing Accidental Declines
During high-volume rush hours, players often fall victim to a severe user interface proximity issue that instantly breaks perfect shift combos.
1. Overlapping UI Zones
When a walk-in resident (such as Pon Fluffy) stands at the counter to request a package, or when a shipment confirmation window pops up, the interaction zone for the “Accept/Deliver” prompt sits directly next to the “Decline” selection line.
2. The Spambutton Penalty
If you are rushing back from the storage rooms to advance the dialogue queue and click your interaction button rapidly while approaching the desk, the camera alignment shift can cause your reticle to drift. This instantly registers as an unintended “Decline” input.
The moment you accidentally click decline, that resident turns around and leaves the post office immediately. This forfeits the order, ruins your daily streak bonus, and deletes a massive chunk of potential shift experience points.
Strategic Solution
Force a deliberate half-second physical pause before interacting with any customer at the front desk. Wait for the green selection highlight to stabilize completely before registering your click.
Troubleshooting FAQ
Q: Why did my package fail validation even though I applied the correct number of stamps? A: Check the regional text on the stamp face. It is easy to autopilot and use the starting Port Wendy blue stamp out of habit. If a package is designated for Sunny Shores, applying blue stamps will cause a systemic transit failure regardless of the total stamp count.
Q: What should I do if a parcel gets stuck between the counter geometry or falls out of bounds? A: All physical items have active mesh collisions. If an item drops into a tight corner where the manual grab prompt won’t trigger, pick up a larger heavy box from your floor grid and use it to physically push or ram the wedged package back into an open interaction zone.


