
The Poison Bleed build stacks damage-over-time effects from poison (via the Rock Kin Shield and Amulet of Cleansing Pestilence) and bleed (via Sanguine boons) while keeping you alive through health-on-kill and low-health recovery passives. Core pieces: Ram Helmet (+25% enraged duration), Telvort Gauntlets (20 health on kill), Recantation sword (Gouging Throw applies bleed), and Medallion of Last Light (1% health/sec below 40%). Prioritize Sanguine Slice (100 bleed on light attacks) and Sanguine Strike (250 bleed) when boons appear.
My Armor Setup: Survival First, Damage Second
I upgraded every armor piece to rare before pushing into the later zones. The defensive spread matters more than raw attack stats because this build wins through attrition — you outlast enemies while the DoT ticks pile up.
Here’s what I actually run:
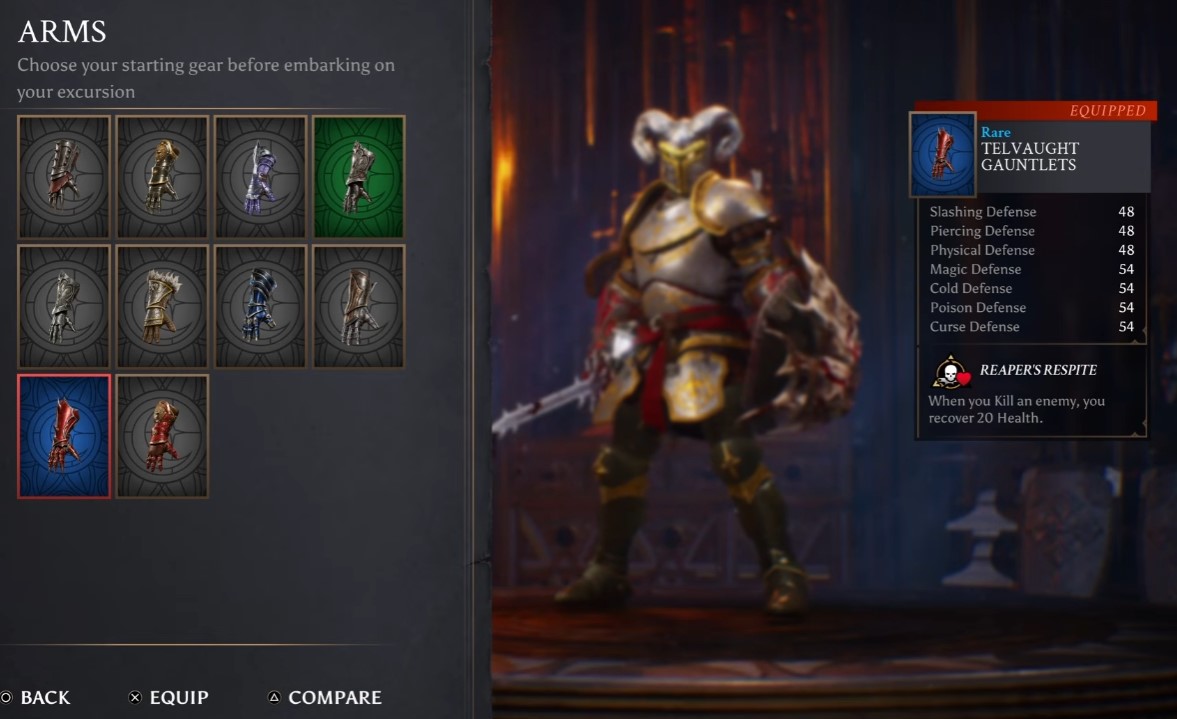


| Slot | Item | Key Stats | Why I Use It |
|---|---|---|---|
| Helmet | Ram Helmet | Slash/Pierce/Phys defense, Magic/Cold/Poison/Curse defense | +25% enraged duration. More rage uptime means more damage from stacks |
| Chest | Hedrick Knight Curse | 102 slash/pierce/phys, 54 magic/cold/poison/curse | +10 health. Pure survivability |
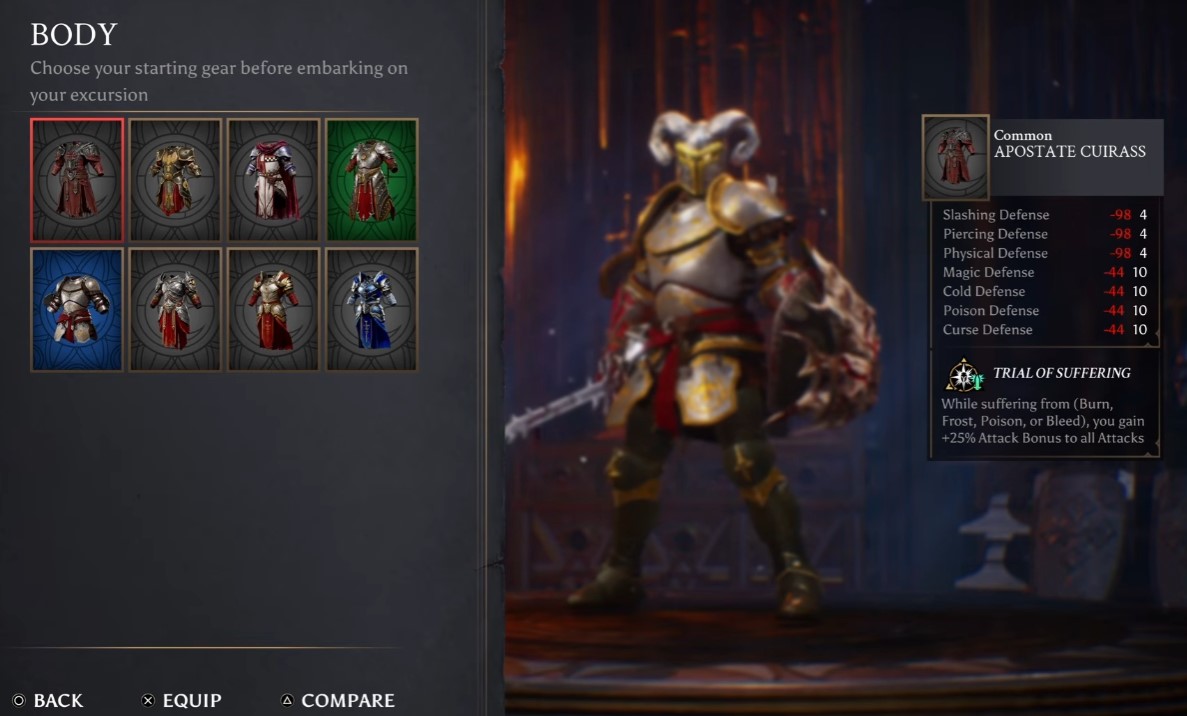
| Chest (alt) | Apostate Cuirass | Same defensive spread | “Trial of Suffering” — +25% attack bonus while suffering from burn, frost, poison, or bleed. Pairs beautifully with self-inflicted statuses |
| Legs | Bel Wearing Knight Greaves | 84 slash/pierce/phys, 36 magic/cold/poison/curse | +7 max stamina. More dodges, more sprint attacks |
| Hands | Telvort Gauntlets | 48 slash/pierce/phys, 54 magic/cold/poison/curse | “Reaper’s Repast” — recover 20 health on enemy kill. This is your sustain engine |
Tip: If you find the Apostate Cuirass, swap it in for boss fights. The +25% attack bonus while suffering from poison (which you apply constantly) turns into a permanent damage buff.
Weapons and Shield: Where the Poison Comes From
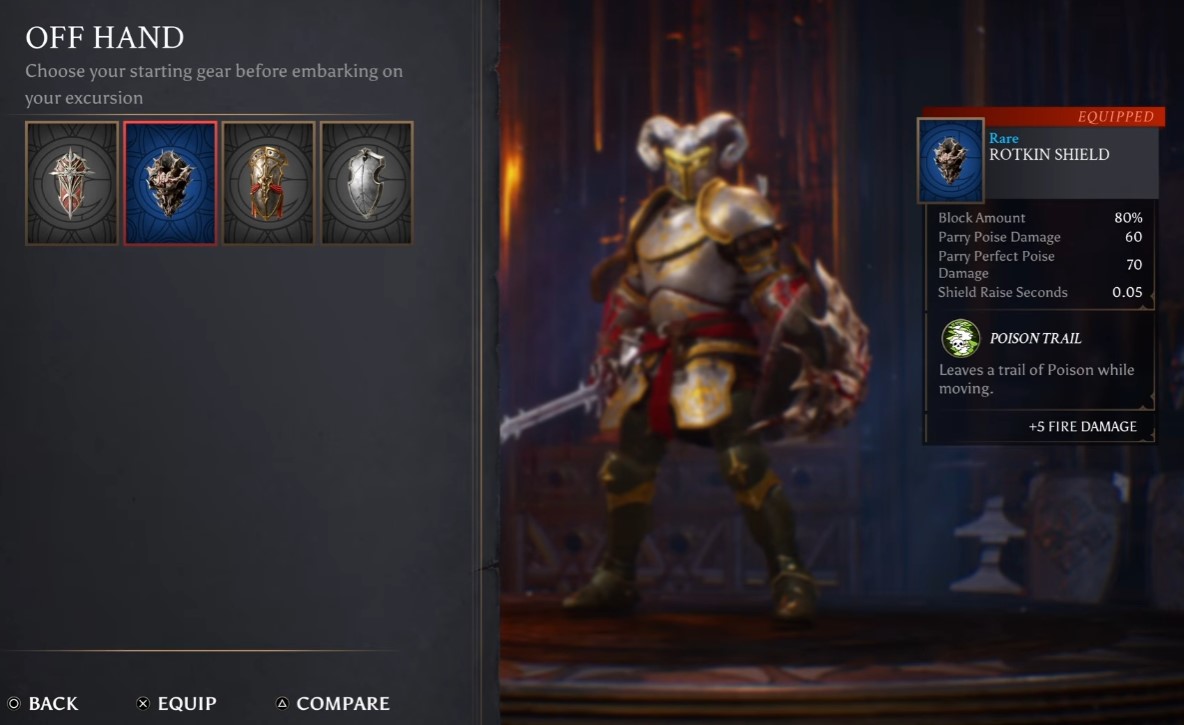
The RotKin Shield is the backbone of this build — don’t swap it out just because other shields have higher block values. Its poison trail ability leaves a damaging path while you move, which means you’re applying poison just by repositioning.
Recantation is my main weapon. It has 56 base attack, 56 slashing damage, 7 poison, and 12 stamina cost. The weapon arts carry the build:
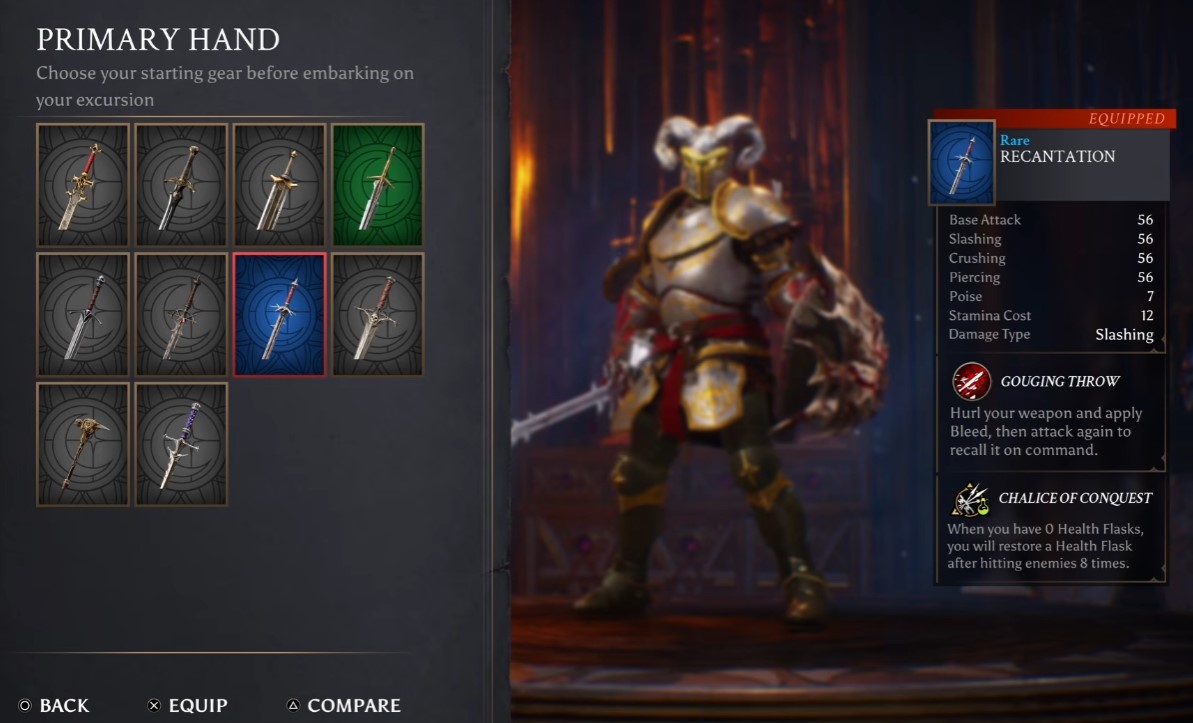
- Gouging Throw — hurl the weapon to apply bleed, recall it on command. This lets you apply bleed from range while closing distance.
- Chalice of Conquest — if you take zero health loss, hitting enemies 8 times restores a health flask. Free healing in clean fights.
If you want to lean into frost instead, Obsidian Shard applies 200 frost on light attacks and has a bleed effect. Pair it with Crescent Moon Halberd for boss fights — it summons a wedge of ice for ranged frost application and better maneuverability.
Medallion and Amulet: My Sustain Picks
The Medallion of Last Light is my default. It gives +13 max health, +8 max stamina, and recovers 1% health per second when you drop below 40%. Combined with Telvort Gauntlets’ kill healing, you have two separate recovery systems that trigger in different scenarios — one when you’re winning, one when you’re about to die.
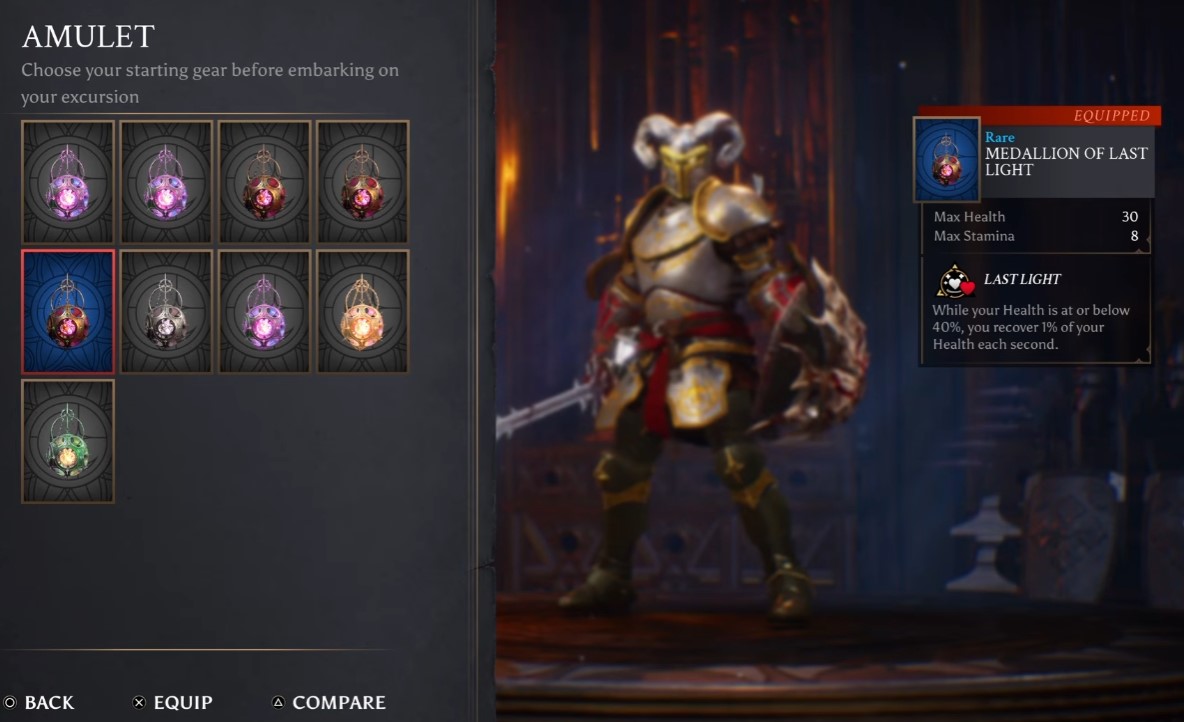
If you’re confident in your dodging, swap to the Amulet of Cleansing Pestilence. Heavy attacks have a 30% chance to apply poison, and your poison attacks deal +10 additional poison damage. This accelerates the poison stack rate significantly.
Costal Fury is my panic option — “Last Bastion” grants +30 physical defense at low health. I only equip this on runs where I’m struggling with physical-heavy enemies.
Boons I Actually Prioritize
Boons are RNG, but I always pick these when they show up:
| Priority | Boon | Effect |
|---|---|---|
| 1st | Sanguine Slice | Light attacks apply 100 bleed |
| 2nd | Sanguine Strike | Light attacks apply 250 bleed |
| 3rd | Sanguine Charge | Sprint attacks apply 1,000 bleed |
| 4th | Sanguine Slam | Heavy attacks apply 500 bleed |
| 5th | Flow of Combat | Weapon art damage grants rage |
| 6th | Bless Momentum | Light attacks grant more rage while enraged |
| 7th | Sundance | Killing enemies applies Sunderance within 7m — they take increased damage from bleed and poison |
The bleed boons stack. Two heavy attacks with Sanguine Slam will make most enemies bleed, and Sanguine Slice plus Sanguine Strike together means every light attack applies 350 bleed.
Note: Some boons are stackable — look for the small icon showing how many are stacked on that item. If you see the same bleed boon twice, take it.
The Combo That Breaks the Game: Angelic Grace Loop
If you find these three boons, the run is essentially over:
- Graceful Strike — hitting a marked enemy with light attacks recovers 1 angelic grace
- Hunter Strike — light attacks have 25% chance to mark enemies
- Edict of Condemnation — executing an enemy marks all enemies within 7m
The loop: execute one enemy → everything nearby gets marked → light attacks on marked enemies regenerate angelic grace → you keep executing and marking. It’s an infinite resource engine that keeps your damage output permanently high.
What I Do When the Build Isn’t Coming Together
Sometimes the boons don’t align. Here’s my fallback plan:
If I’m not seeing Sanguine boons, I pivot to sprint attacks. Scorching Charge (on pants) makes sprint attacks apply burning, and Relentless Momentum adds 20% sprint attack damage. One sprinting heavy attack can apply frost, burning, and poison simultaneously — then a second sprint attack triggers bleeding. That’s four status effects stacking while you stun-lock the enemy.
The core loop stays the same: sprint attack → apply statuses → back off → let DoT tick → finish with Gouging Throw → collect health from kill.


