A guide explaining how to use a bus and basic factory expansion. Useful advice on oil refining, and how to transition to a mega base.
What is the Bus?
Using an organised bus, simplifies factory expansion, late game items are more easily produced, and bottlenecks can be located faster.
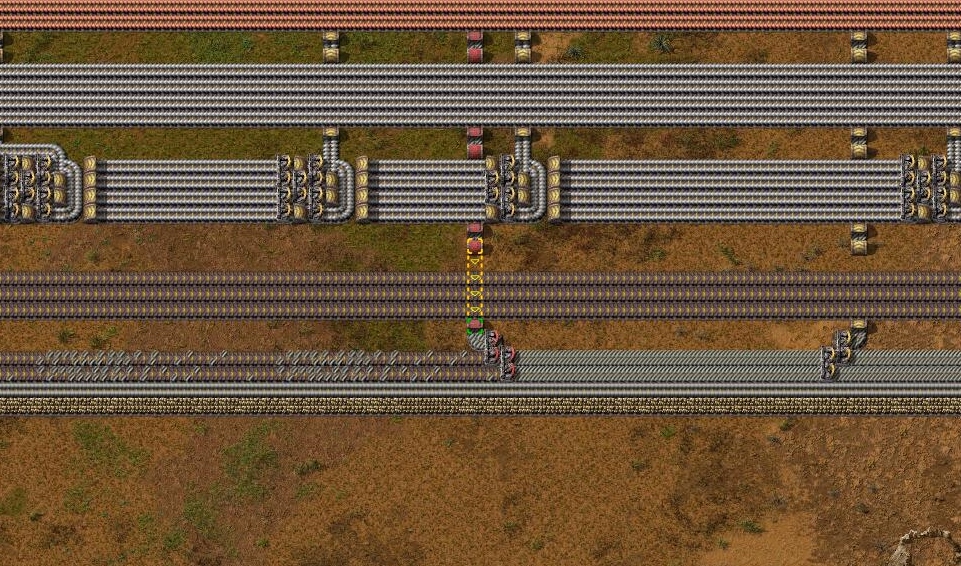
Belts are organised into blocks of 4, with 2 empty spaces left between each one. This provides enough space for underground belts to be used to move resources off the bus. The most commonly used items and resources are included on the main bus providing efficient ease of access.
A standard bus belt layout might include roughly;
![]() 8 Iron Plate
8 Iron Plate
![]() 8 Copper Plate
8 Copper Plate
![]() 2 Steel Plate
2 Steel Plate
![]() 1 Stone
1 Stone
![]() 1 Coal
1 Coal
![]()
(Exact configurations can vary depending on game settings and objectives)
Placement of the Bus/Factory
Making better decisions early about factory development and how expansion will take place, can prevent time consuming fixes later on. The golden rule is If In Doubt Leave Space.
Factory Layout
Every map will have starting resource patches that are relatively close to the player spawn site. Normally these patches will be sufficient to get the factory started and allow for some expansion to take place. The raw materials that are mined, are then belted to the furnaces where they will be smelted into the required items.

****************************************************************************
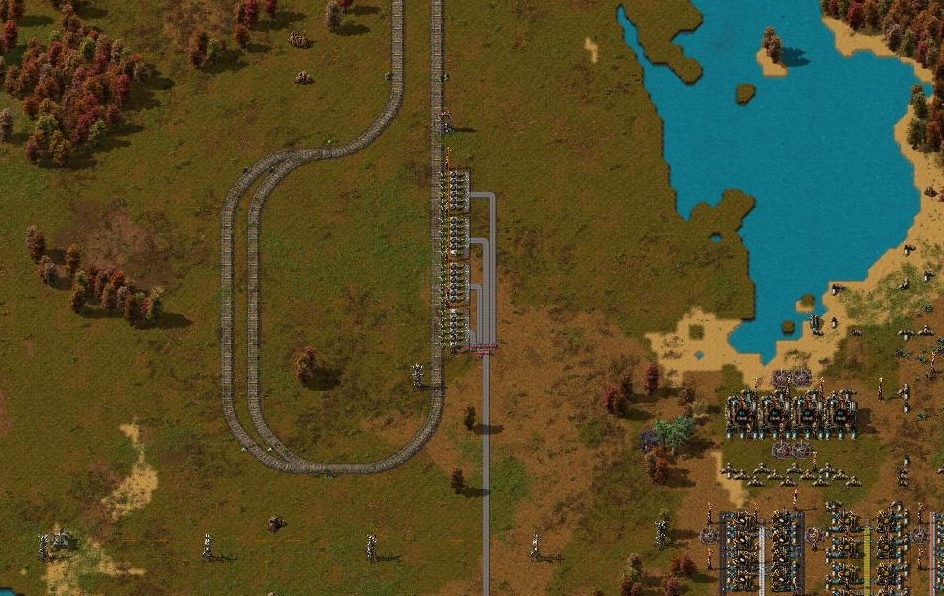
Mid Game Railway Station Replaces starting Miners
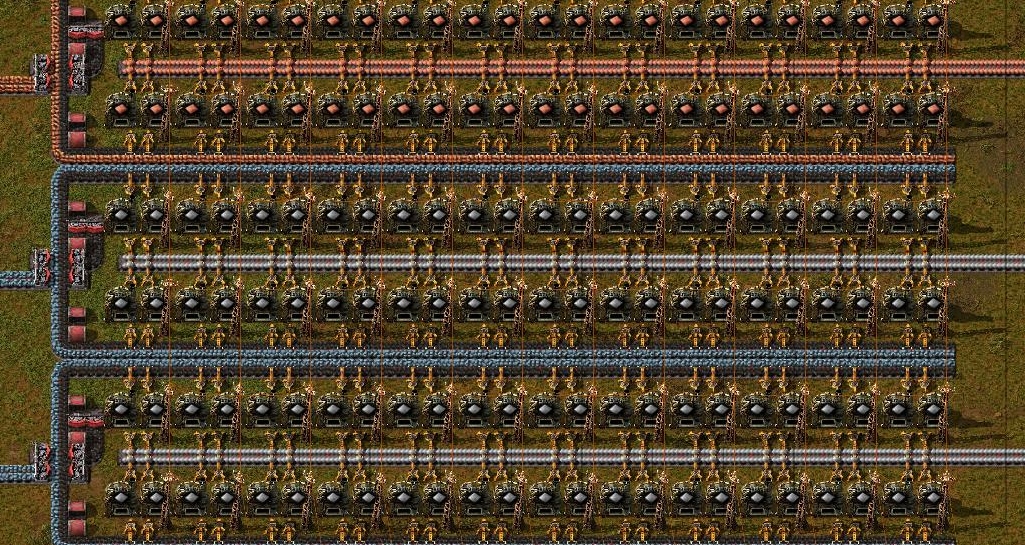
An array of furnaces comes next, where the raw resources of iron/copper/stone are smelted. Organised lines of furnaces, with coal being supplied from the side, ensures space is used efficiently, and the inclusion of more furnaces in the future can be done easily.
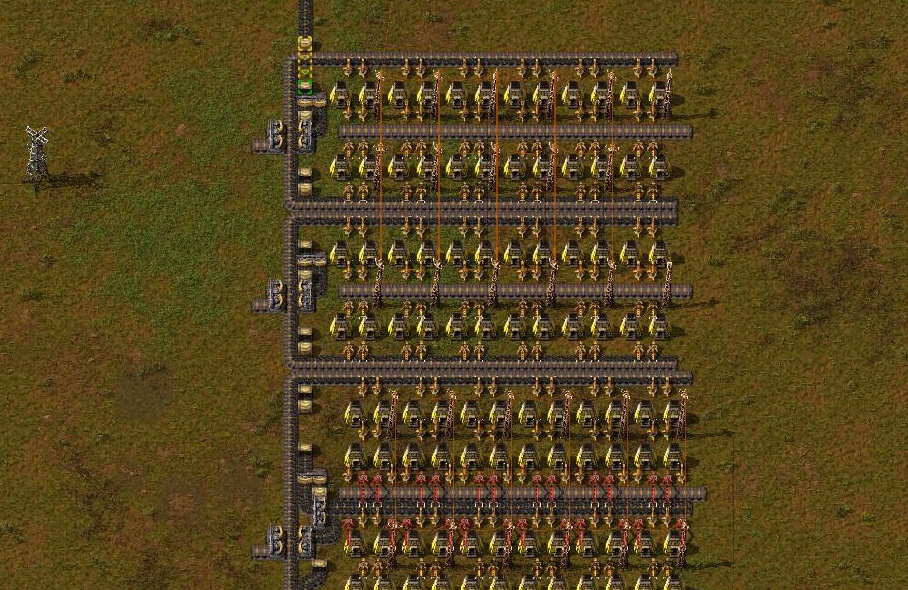

The number of furnaces needed for a full belt of iron/copper/stone brick.

A full belt of Steel?
Since it takes 5 times as long to smelt steel, than it does to smelt iron, and it takes 5 iron plate to produce 1 steel plate, the ratio of iron to steel furnaces is 1:1. Steel therefor requires 5x the amount of furnaces to produce a full belt. So for each belt type, the number of furnaces smelting steel for a full belt is 5x than it is for iron/copper/stone brick.
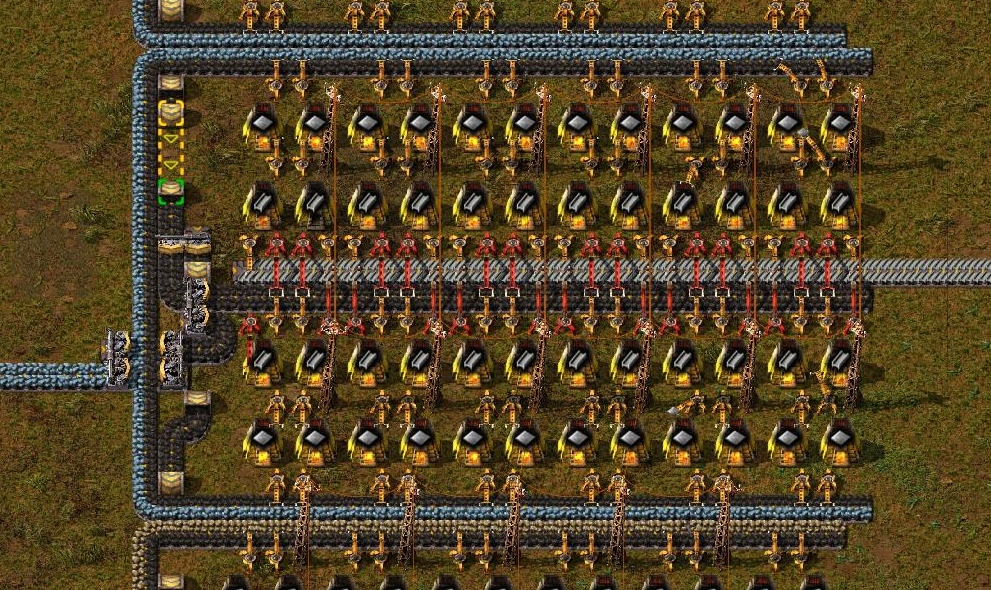
It should be worth noting, that to produce steel, one iron furnace is required per steel furnace, so the total number of furnaces needed in the process is infact 10x (iron+steel furnaces). With this in mind, extra space should be allocated for steel smelting.
The bus and the production area is the next area for the factory. The bus provides a centralised means of supplying key items to the production areas. The production areas will allow for the required items to be created for either factory expansion, science, or rocket parts.
Note it is better to allocate extra lanes on the bus at the start and not use them, than risk running out of space in the future. Fixing a bus that is too small, even with robots, can be very time consuming later on in the game.
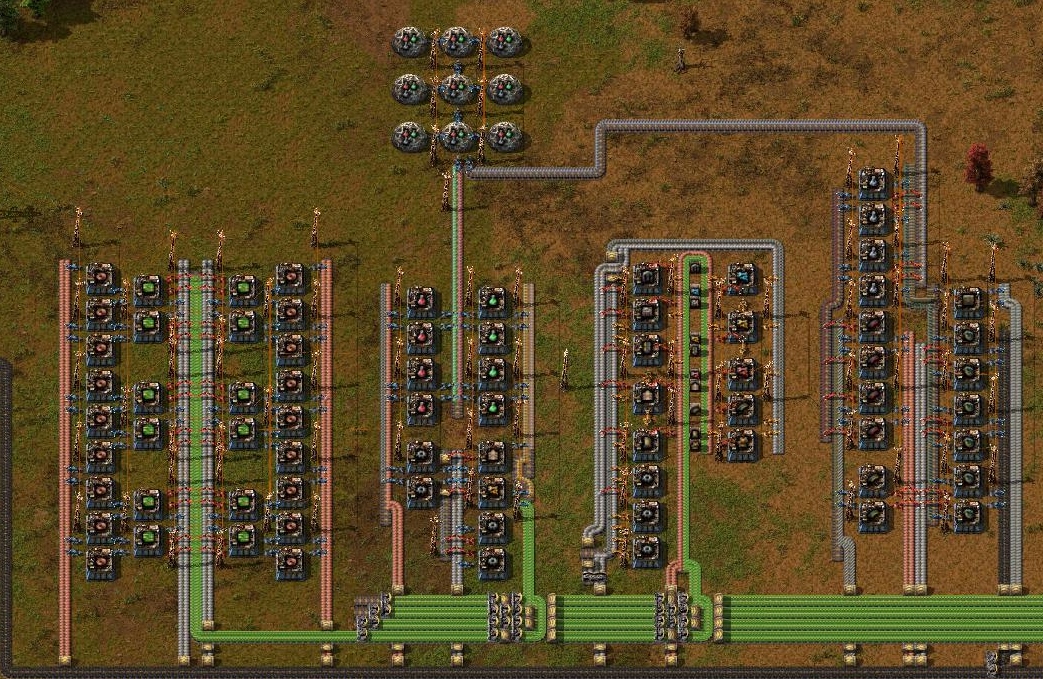
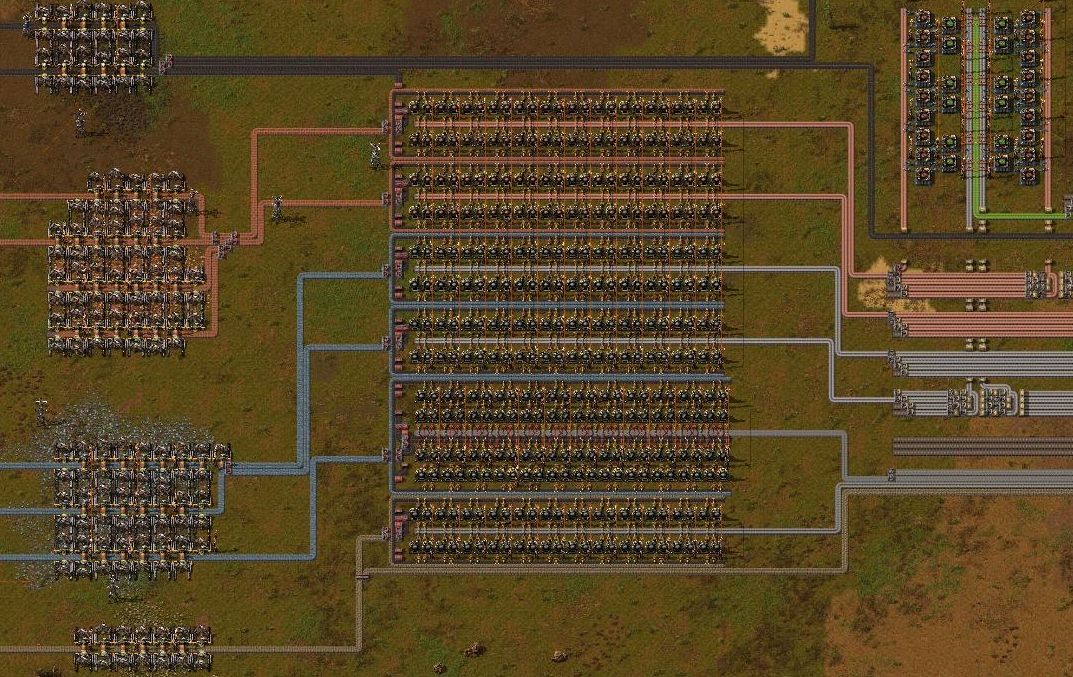
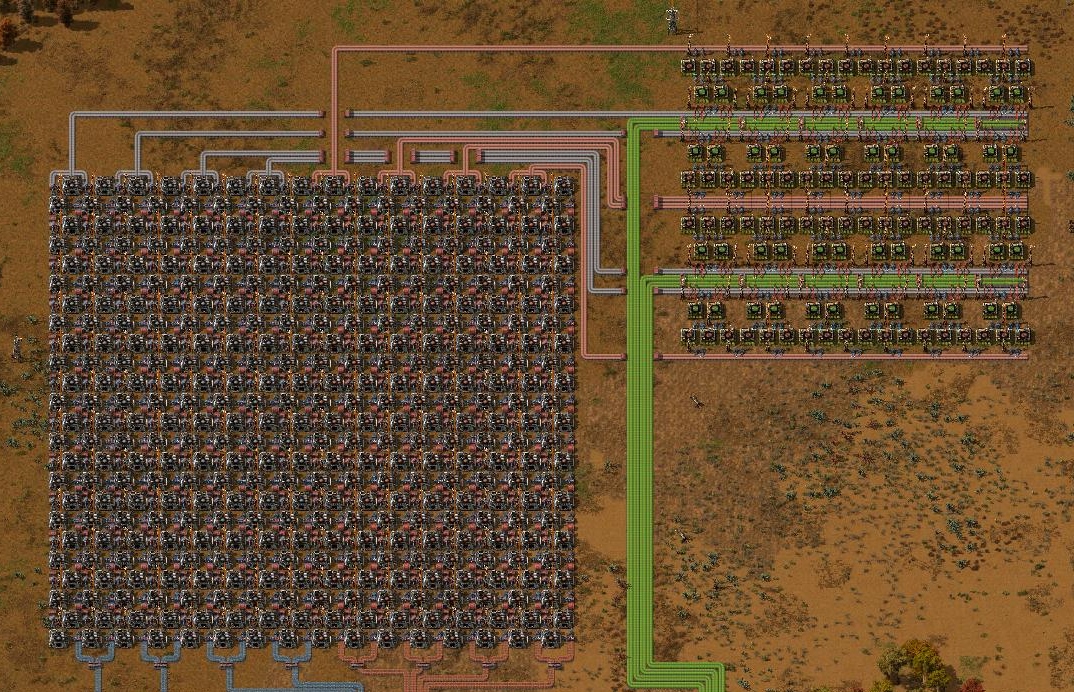
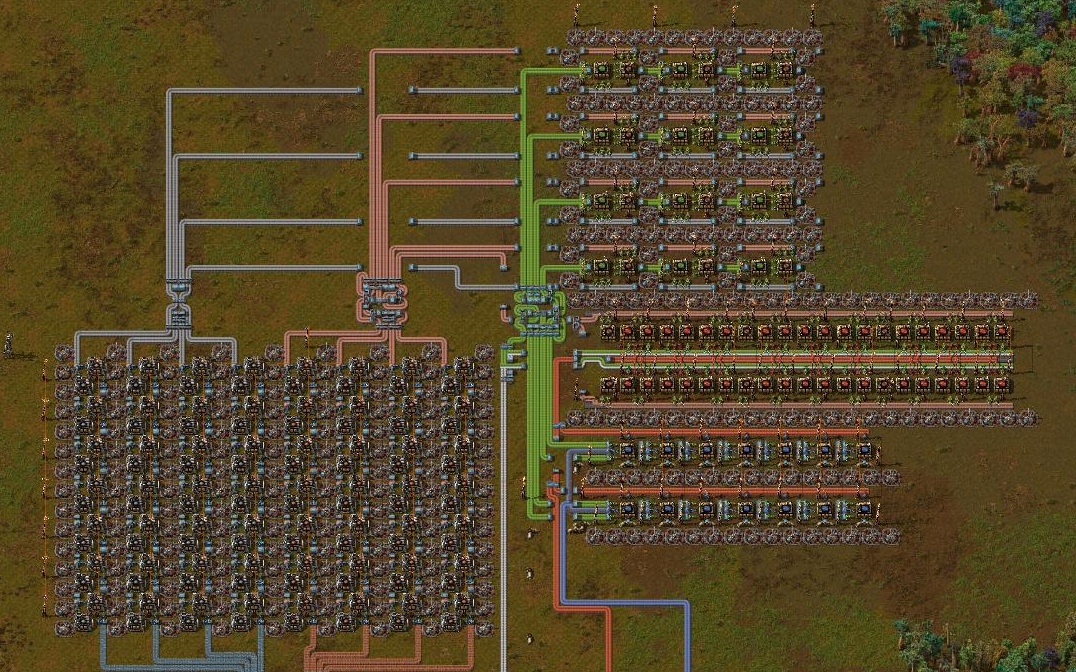
Placement of the Oil Refinery
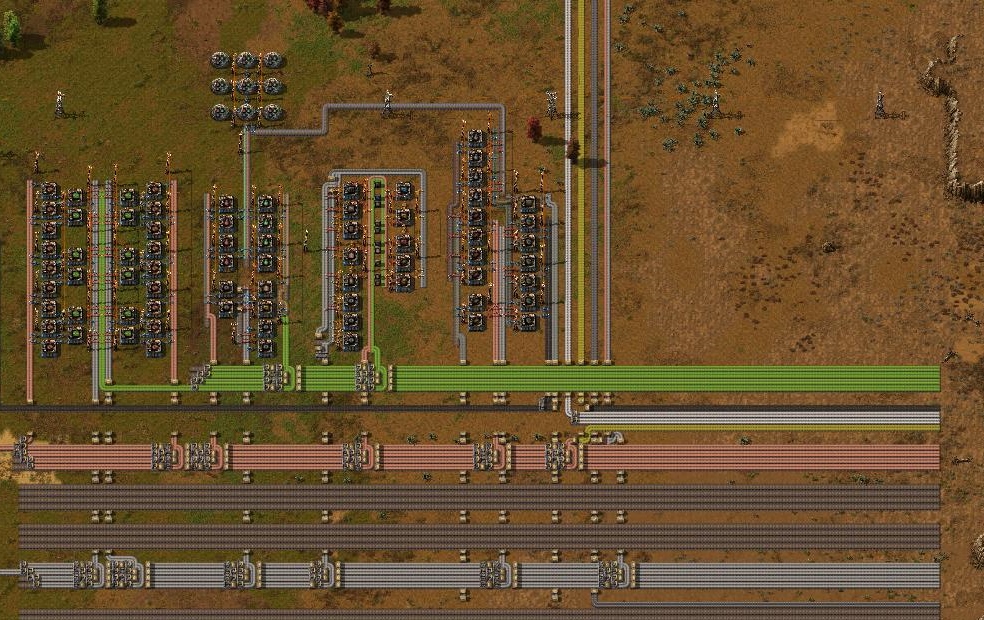
An oil refinery will also need a water supply and plenty of space for the production of plastic, sulphur and batteries. It is also a good idea when producing plastic, not to use the coal on the bus, but instead use a direct source eg from a coal miner/unload train station. Likewise, when producing steel, do not use iron off the bus, use a direct source from the furnaces/train station. This increases efficiency and keeps the bus belts as full as possible.
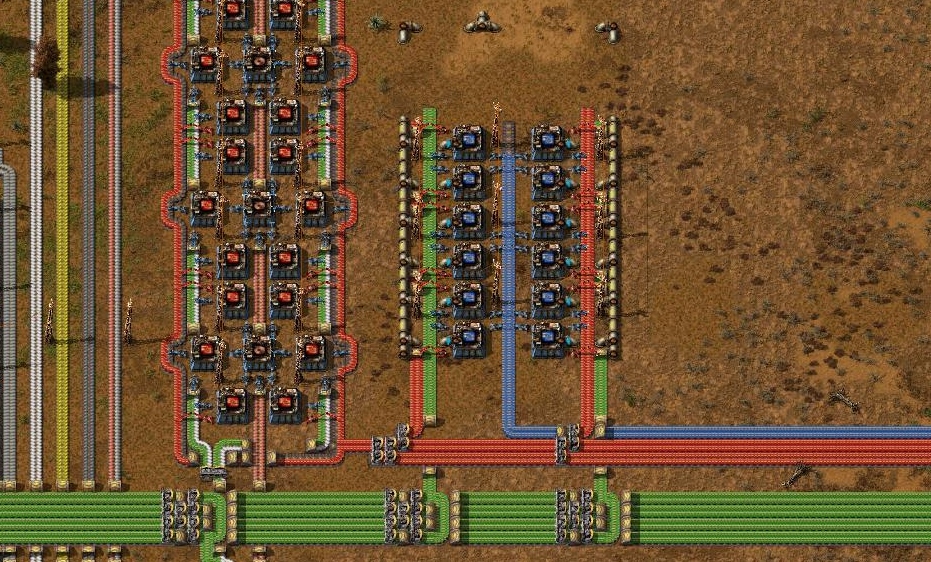
It is also useful to leave space within the oil refining area for the inclusion of beacons, that can be built at a later time once the technology has been researched. Beacons, with the use of modules, can significantly boost production. A relatively small oil refinery, that is spaced correctly with beacons, can output a vast amount of product. Production designs for plastic/sulphur/batteries that are “beacon friendly”, can future proof the site and make expansion easier at a later stage.
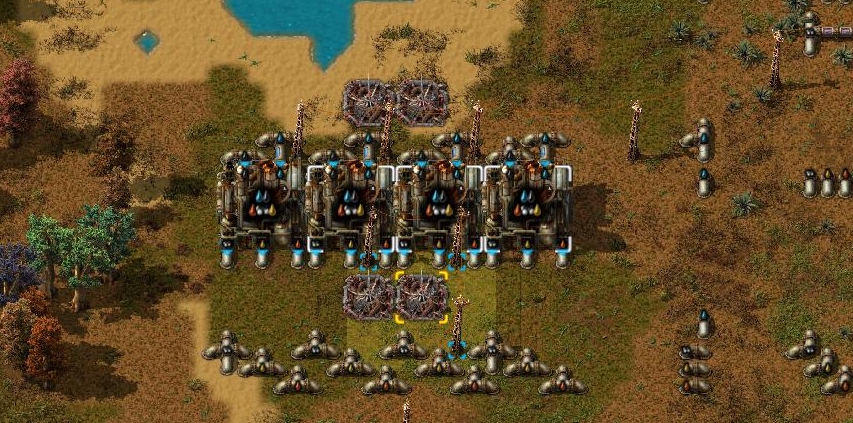
For the inserters going into plastic and battery assemblers, a substation can be placed within the output belt (using underground belts), to provide electricity, freeing up the entire outside line for beacons. This further boosts production and enables beacons to be used more efficiently.
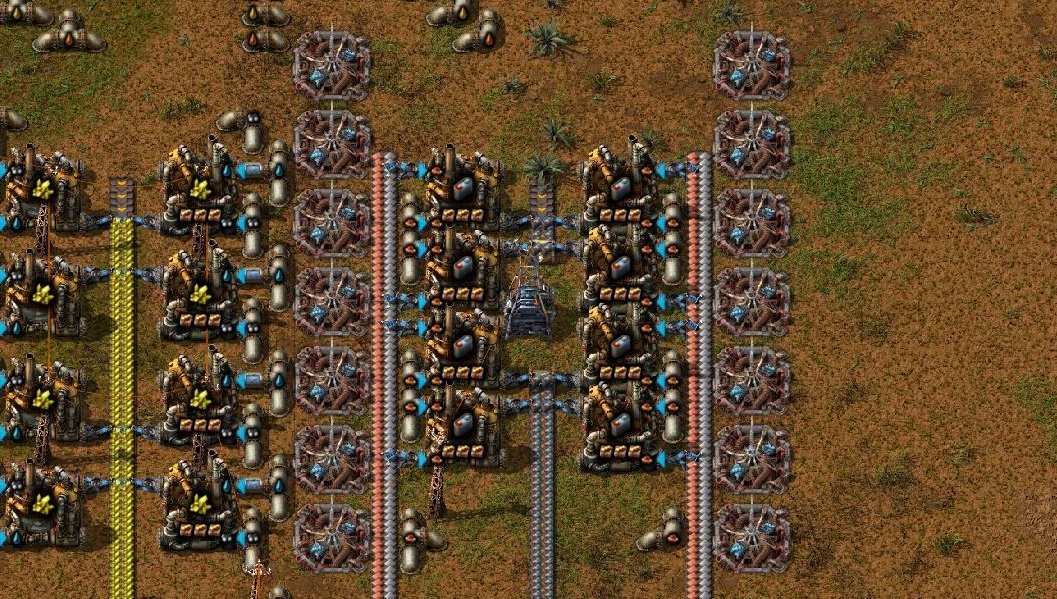
Remember, one chemical plant or assembler can at most benefit from 4 beacons in a straight line. Be careful when placing beacons, to ensure they are transmitting the maximum effect to as many structures as possible. (It is easy to incorrectly place a line of beacons, where each building only receives 3 effects)
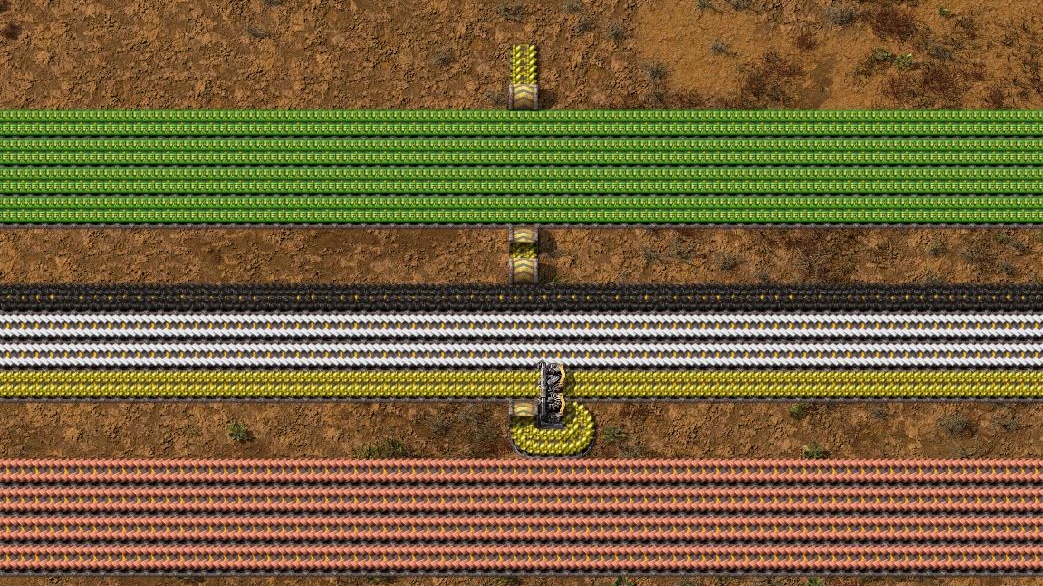
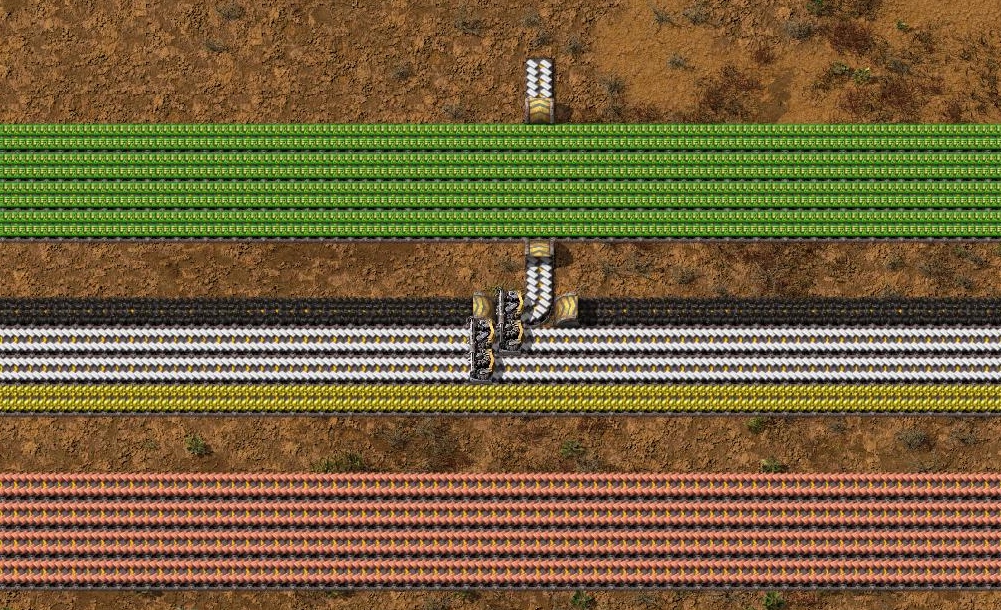
Taking Resources off the Bus
A single splitter can be used on a single belt to remove items off the bus.
For a very long bus that has extra belts being attached to it, potentially via offsite production, it is possible to use a belt balancer to equally distribute resources amongst all the belts.
There are several hot keys that can help reposition blueprints or copied designs to save time
R rotates a design
F flips it horizontally
G flips it vertically
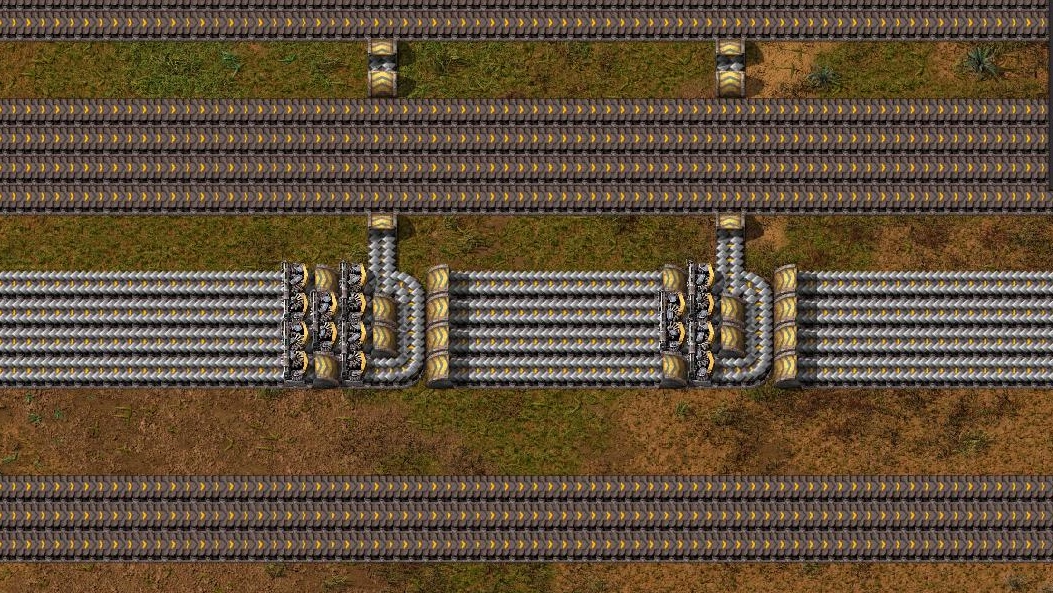
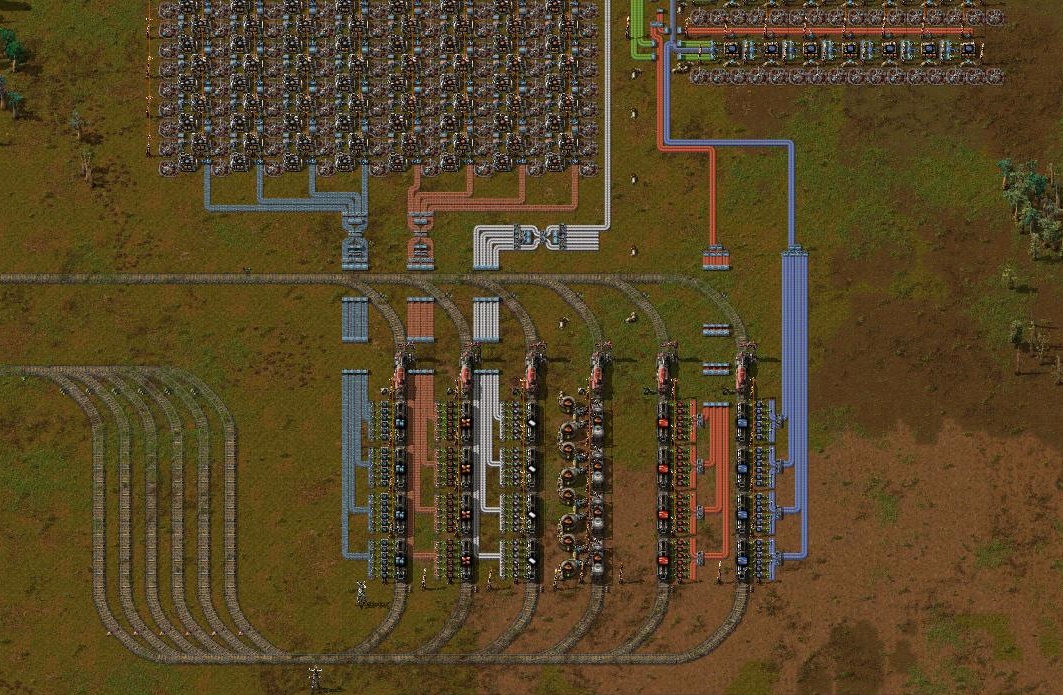
Railway Station
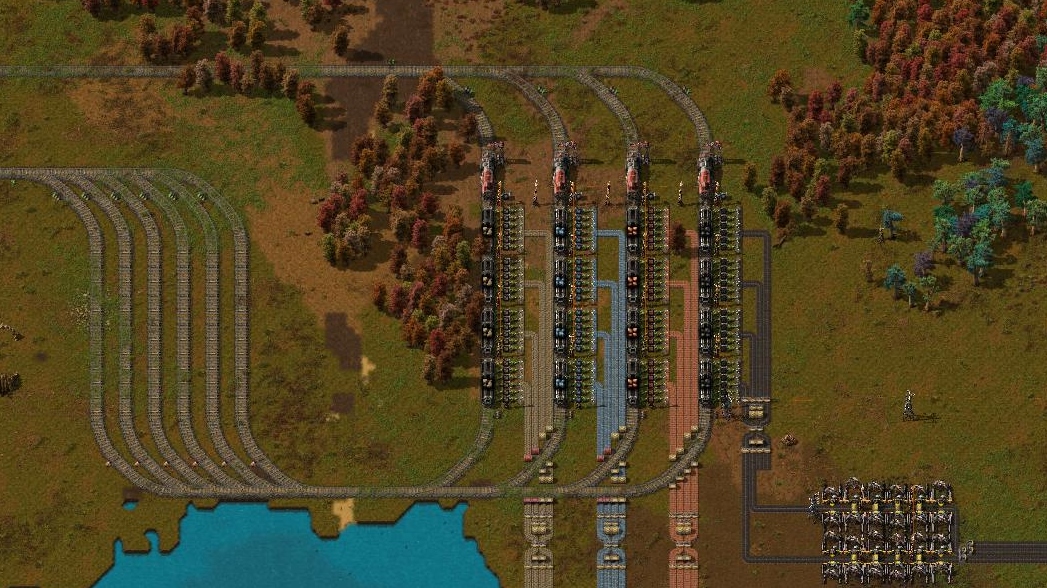
By unloading at a centralised location allows for easy expansion of the station, belt balancers can be included on all unload belts, and the easy expansion of furnaces. It can also help prevent traffic jams. A train stacker is also an essential part of a station design, which enables trains to park, allowing for higher capacity unloading of resources.
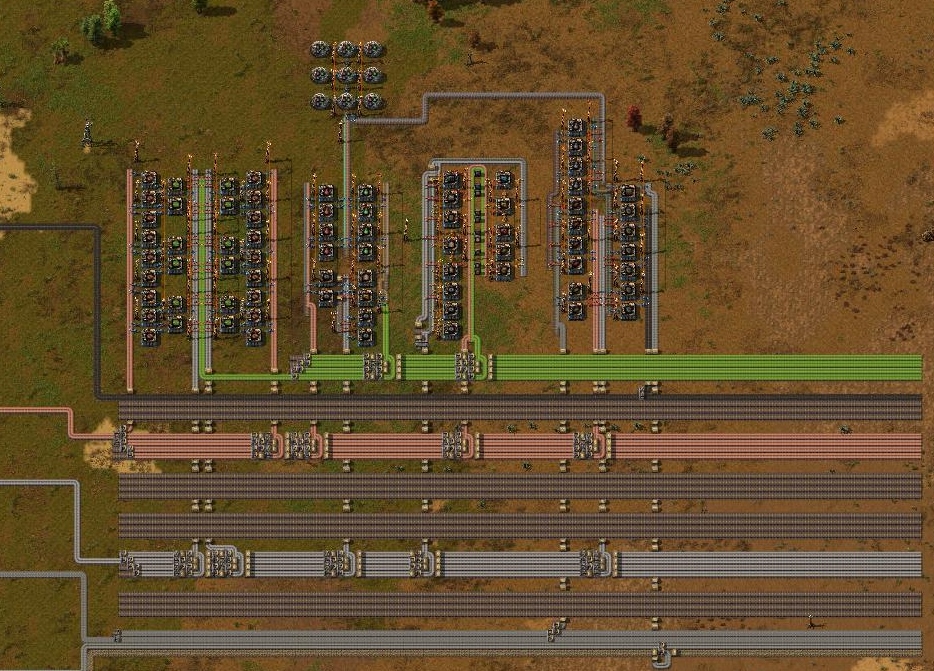
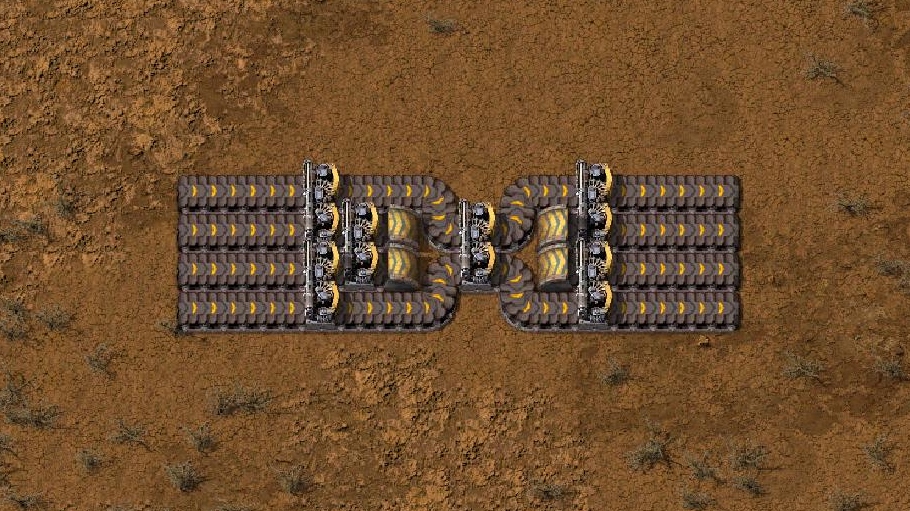
Expansion of the Bus
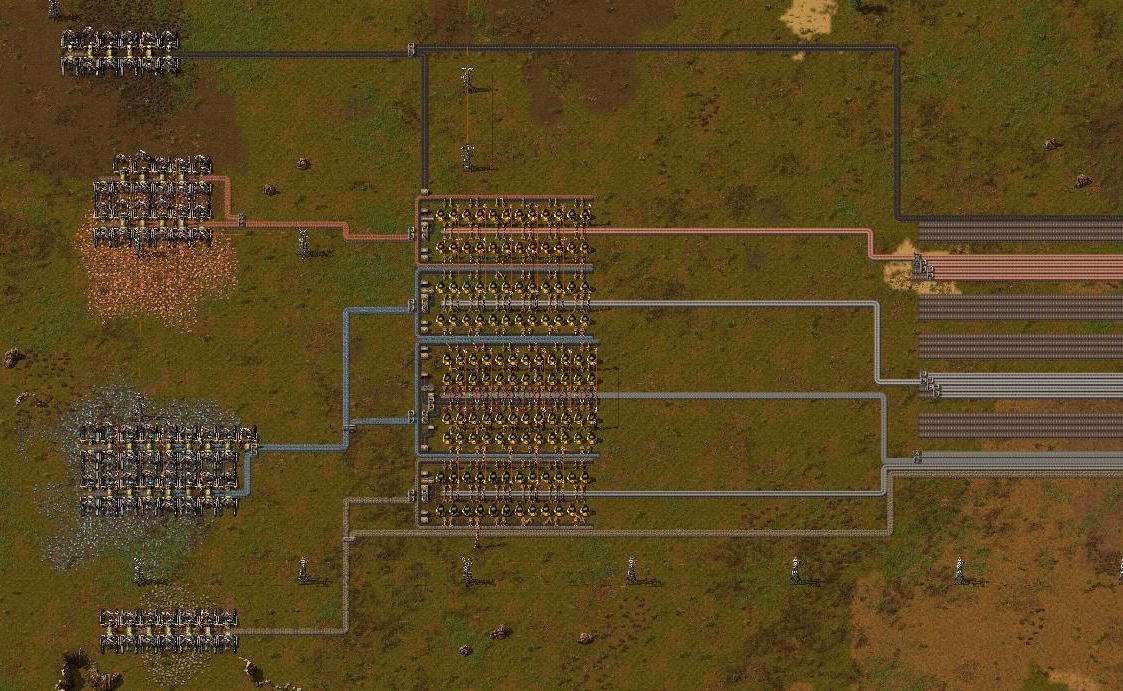
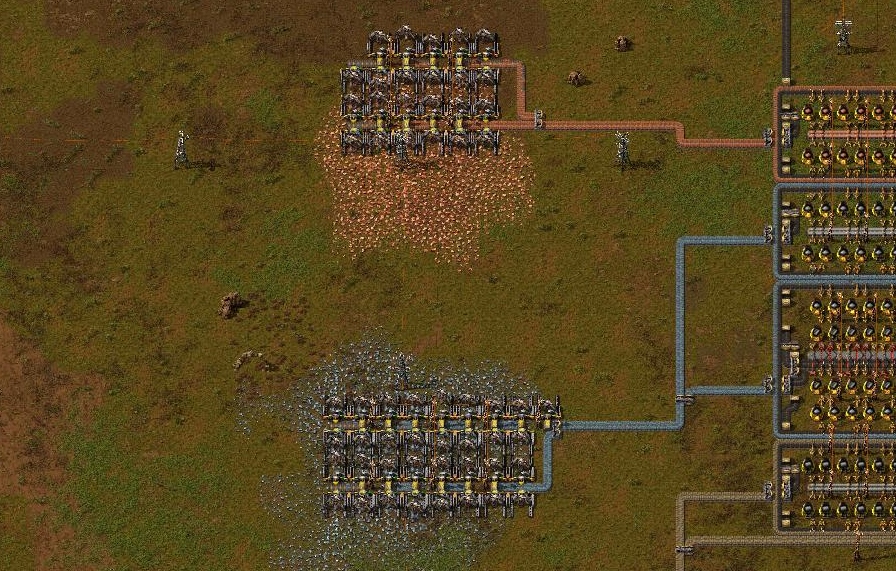
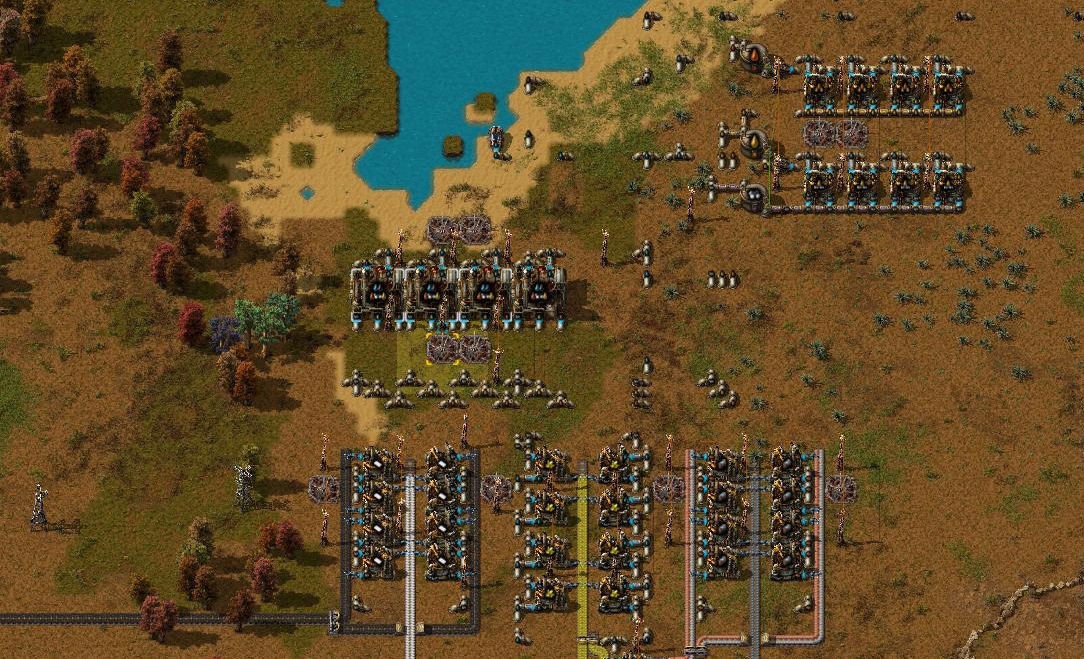
Production on the bus can also be boosted via the introduction of resources produced “offsite”. That is, production that takes place off the bus, normally a distance away from the factory. Offsite production becomes important towards the late game of Factorio, where space and logistical problems can start to restrict production.
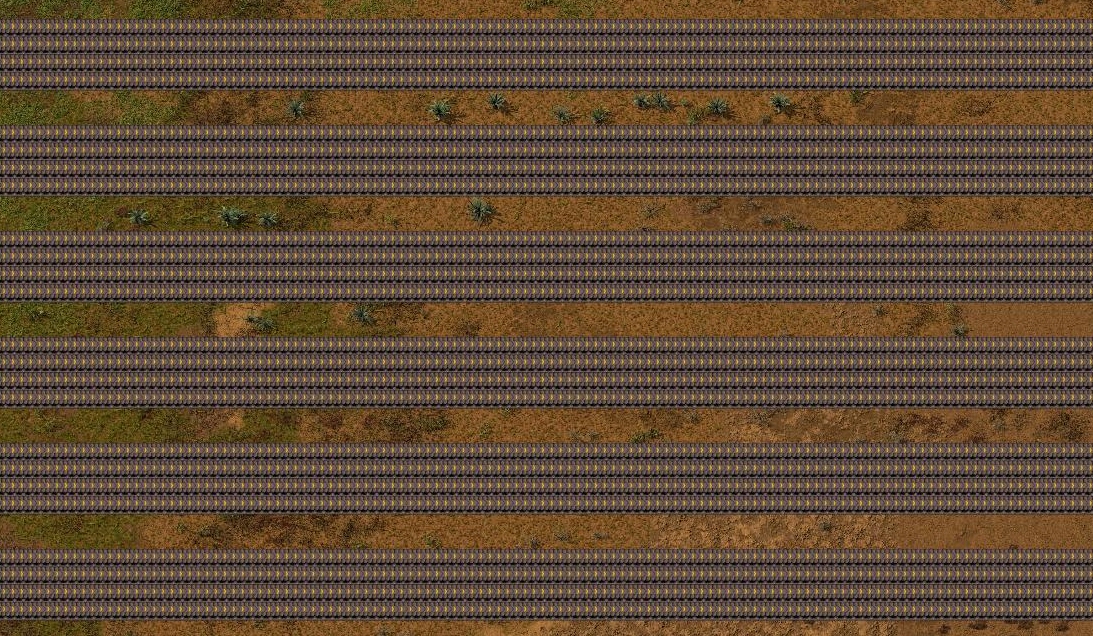
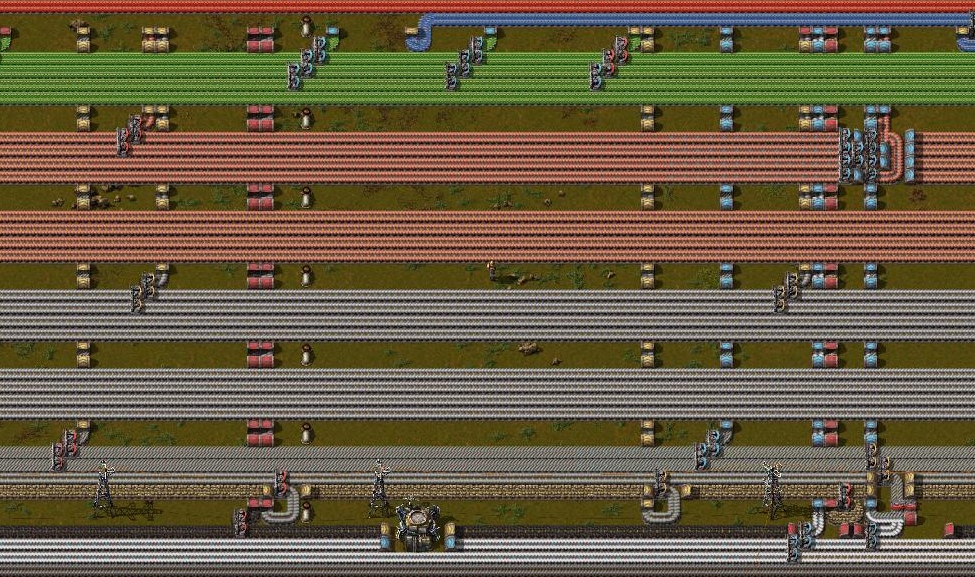
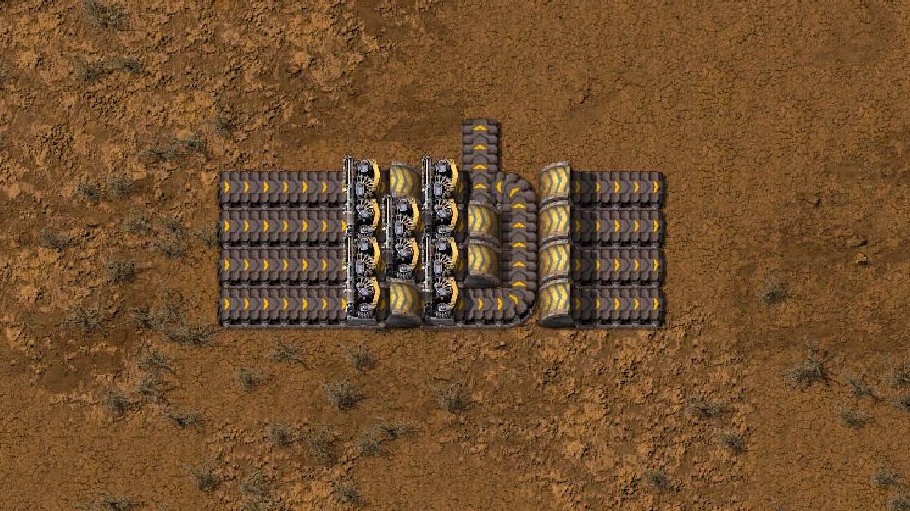
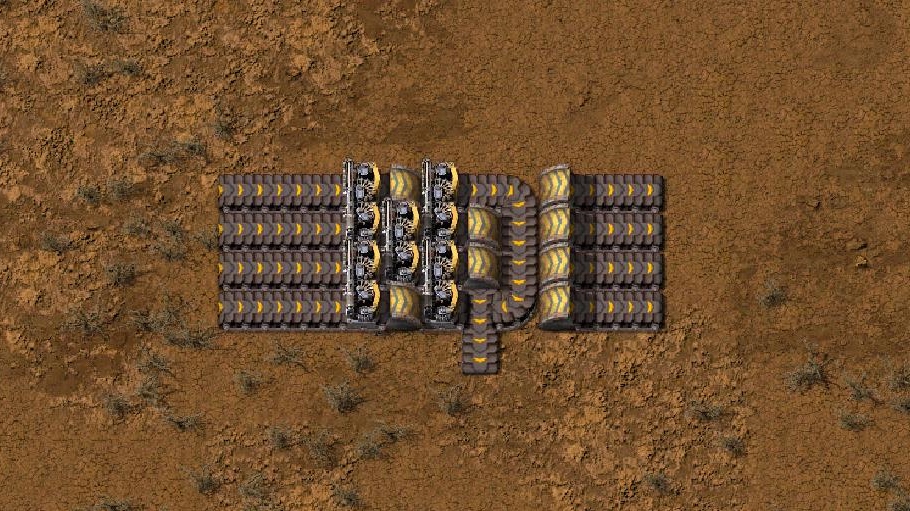
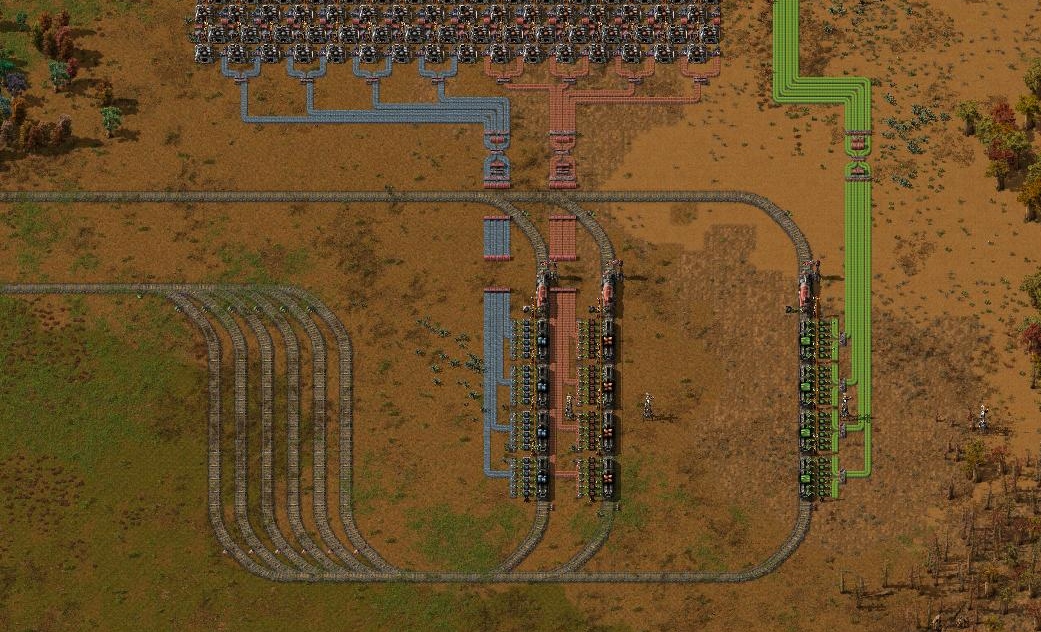
A basic example of this could be the offsite production of steel. Steel takes up a large amount of space to produce, and is normally one of the first products to bottleneck when expanding production. In the pictures below, steel is smelted offsite and is loaded onto a train. It is then dropped off at the factory and merged with the main steel belts further down the bus.
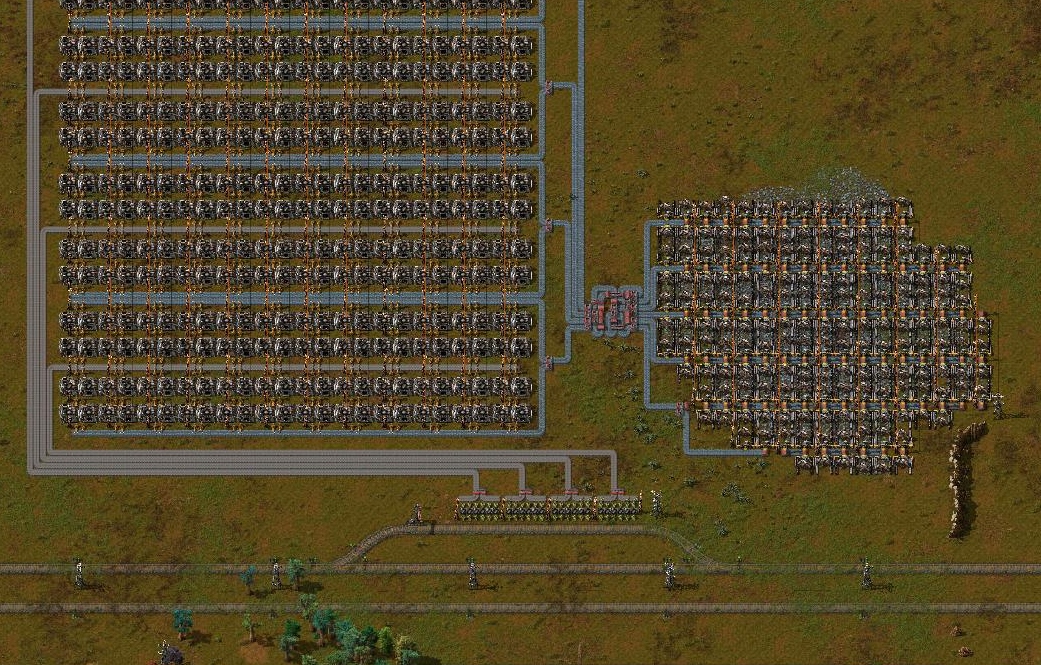
Having extra space on the bus, especially between production areas, to enable offsite connections is extremely beneficial.
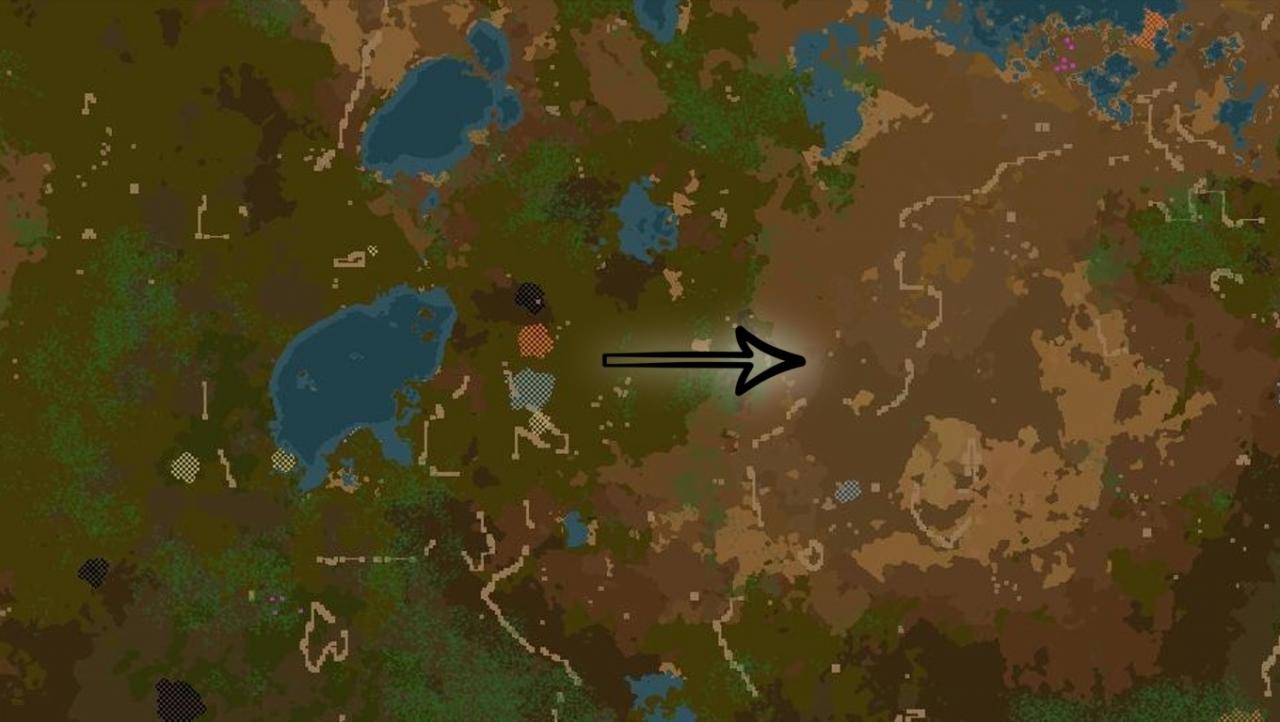
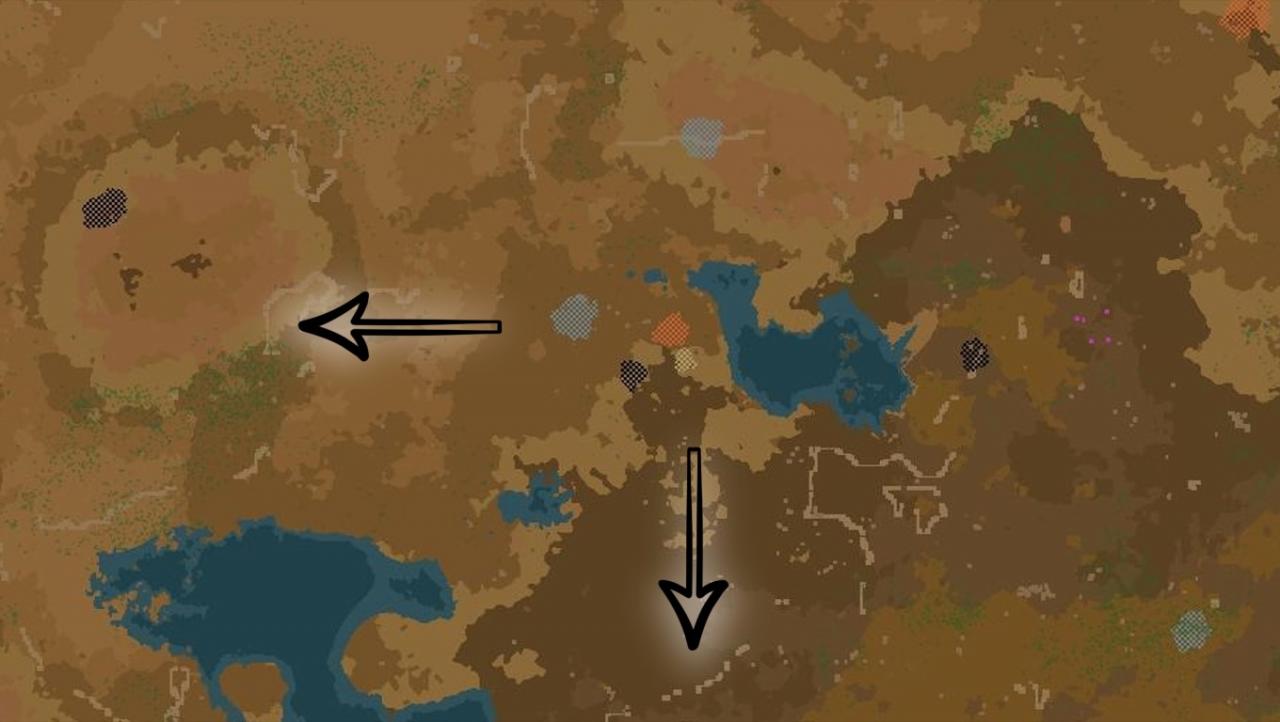
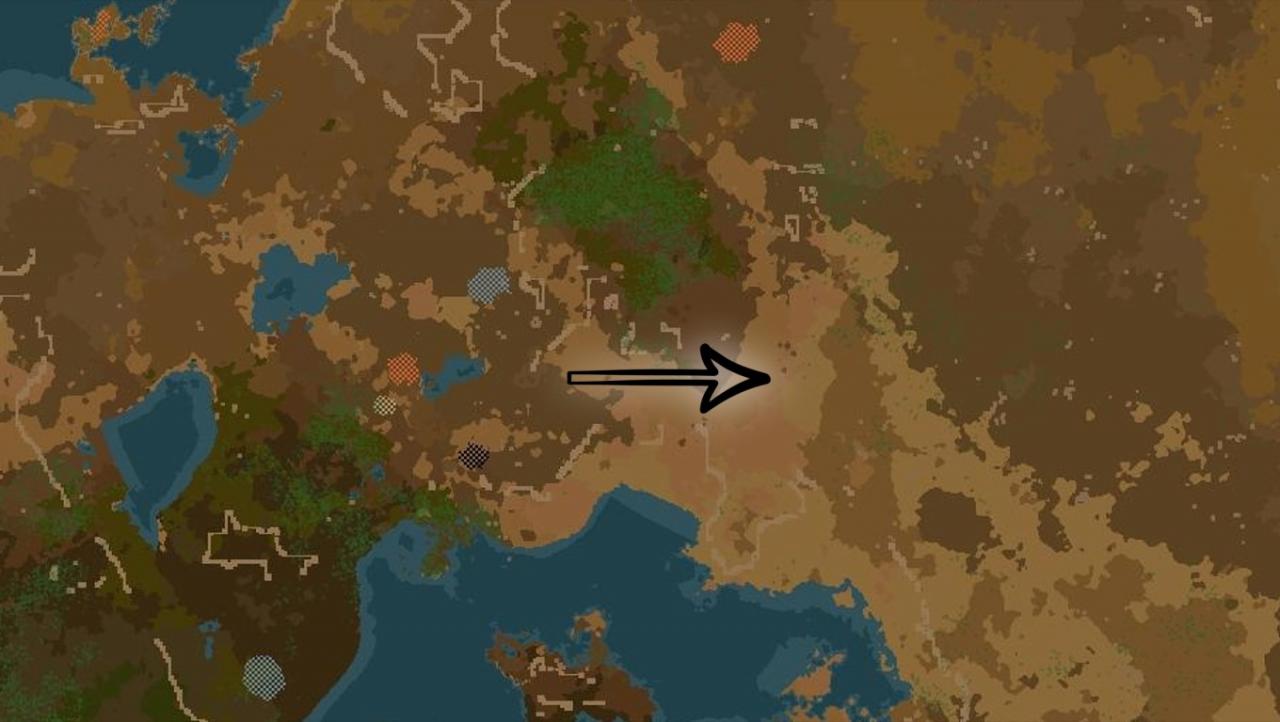
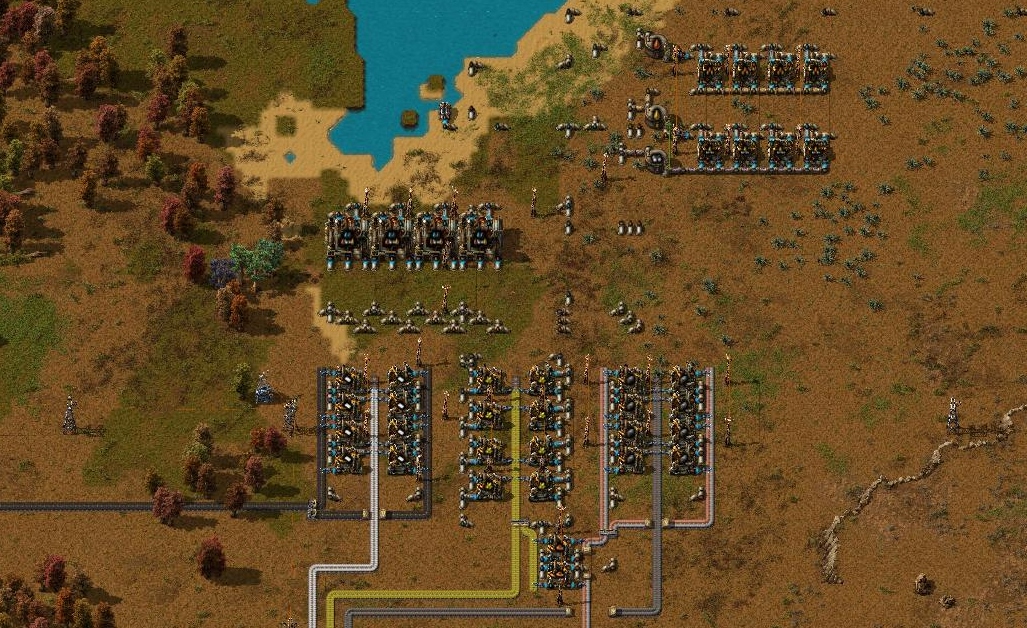
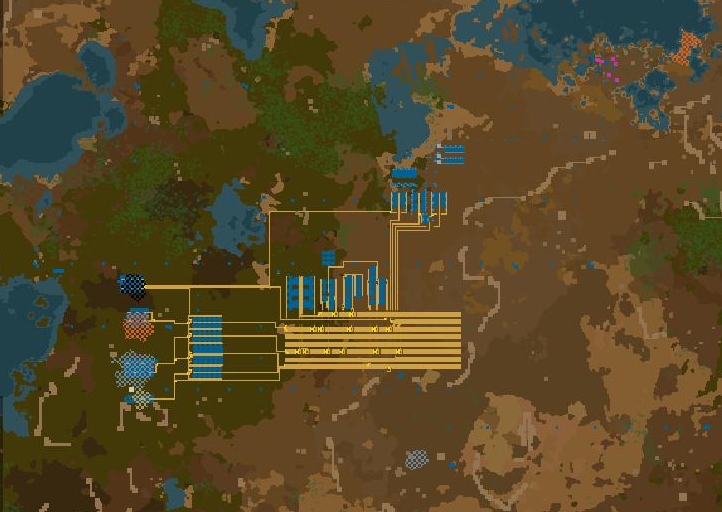
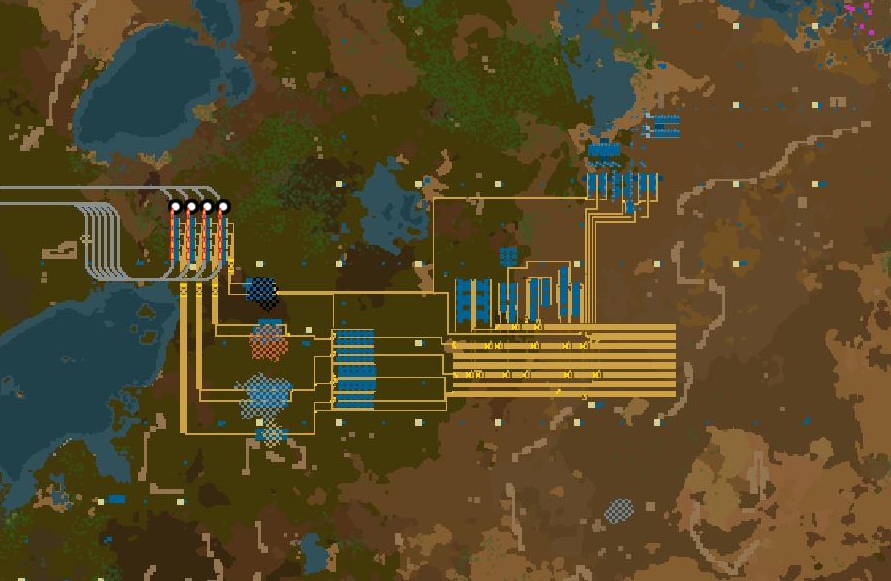
The Transition to Mega Base (Offsite Production)
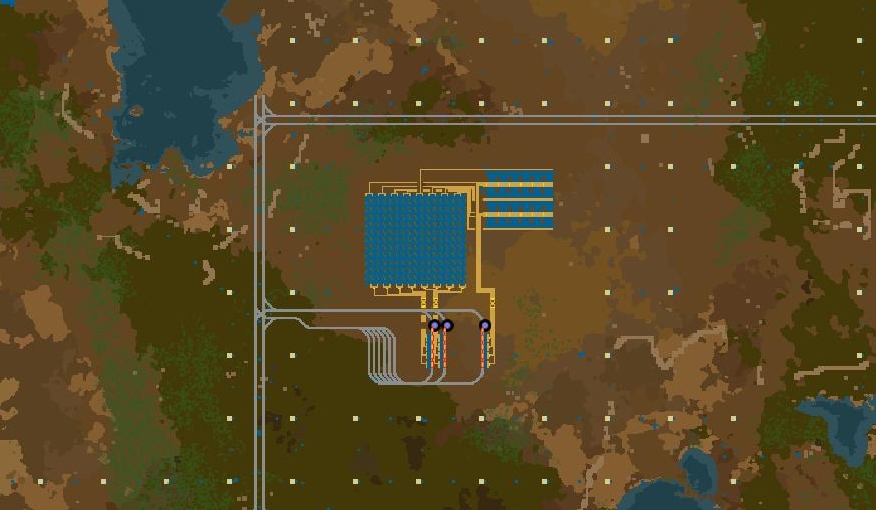
Trains are faster at moving large amounts of resources over distance than belts. Train speed can also be increased by researching technology and using superior fuels. By setting up dedicated production sites, and transporting items between them via rail, can significantly increase production capacity.
In the late game, after military research and defence items have been acquired, bugs do not really pose a threat to the player, so the free land and discovered resource patches should be fully utilised to maximise production. Beacons, take up extra space, however can significantly increase production via speed modules. Using the rail network to facilitate production between “offsite hubs”, can greatly increase production and may eventually promote a factory to mega base status (1k white science per minute).