
Graveyard Keeper 2 hides a lot of its real math under the surface. The zombie labor system, the resource economy, and combat all run on formulas that the game never explains in the tutorial. This guide breaks down the numbers I pulled from digging into the engine files so you can stop guessing and start building a graveyard that runs itself.
The Core Combat Formula and What It Really Means
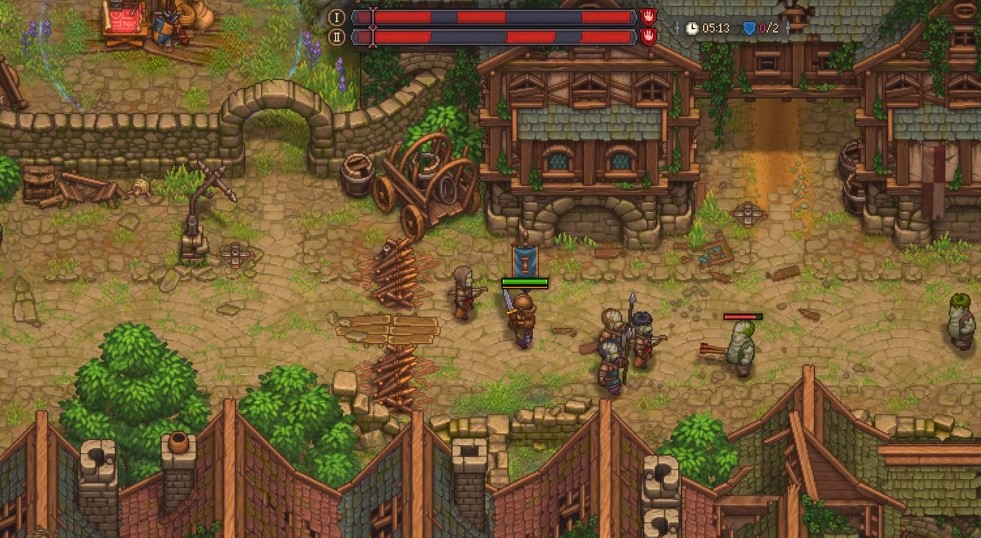
Combat effectiveness in Graveyard Keeper 2 is not about raw damage alone. The game calculates a single value that decides who wins a fight:
Effectiveness = (atkDamage – ArmorValue) / atkPause
Every variable in this formula matters more than the number on your weapon tooltip. Here is what each one does and how to push it in your favor.
- atkDamage — the base damage of the attacking entity. This applies to both the player and any zombie assigned to fight.
- ArmorValue — the flat reduction applied before any division. High armor does not reduce damage by a percentage; it subtracts a fixed amount.
- atkPause — the delay between attacks, measured in engine ticks. A lower pause means more attacks per second.
The key takeaway: armor is subtracted before the pause divide, so heavy armor hurts fast attackers far more than slow heavy hitters. A zombie with a short attack pause gets punished hardest when it hits a high-armor target. This is why a slow, high-damage zombie often outperforms a fast, low-damage one against armored enemies, even though the fast one looks better on paper.
Editor Warning: Do not stack attack speed on a zombie you plan to send against armored opponents. The formula divides by atkPause, so the fast zombie’s per-hit damage shrinks after armor subtraction and its effectiveness collapses. I learned this the hard way after watching a supposedly optimized fighter lose to a basic armored guard.
Building a Zombie Army That Actually Performs
Zombie workers and zombie fighters use the same combat math, so anything you build for one applies to the other. The difference is what you optimize for.
For fighters, you want to control the atkDamage versus atkPause trade-off. For workers, the combat formula does not matter at all. Worker throughput depends on the task itself, not on combat stats, so do not waste good gear or upgrades on a zombie that will only haul stone.
| Zombie Role | Primary Stat | Prerequisite | Editor Rating |
|---|---|---|---|
| Fighter | High atkDamage, low atkPause (tune to target armor) | Combat-ready body, weapon equipped | High value against unarmored enemies |
| Worker | None (task speed is fixed) | Assigned work station | Essential for automation |
| Hybrid | Balanced atkDamage | Both combat and labor unlocked | Not recommended — mediocre at both |
Match your zombie type to the job before you commit resources. Assigning a fighter to farm work wastes the exact stats you paid to build it.
Architectural and Economic Systems
The decomposition of the engine also exposes how buildings and resource flow connect. Placement is not cosmetic. The distance between a production building and its input source changes how often a worker has to walk, and that walk time feeds directly into your total output per in-game day.
Three rules govern efficient layout:
- Keep each input source within the shortest possible walking path of the building that consumes it.
- Group buildings that share the same input so a single stockpile serves many consumers.
- Never place a high-throughput building far from storage, or your worker spends the whole day commuting instead of producing.
For players running the game on a large monitor, some layout mods and display tweaks interact with these distances, so it helps to sort out ultrawide resolutions before you finalize a sprawling base design. Scrolling across an oversized map to check a remote station gets old fast.
Automation and the Zombie Supply Chain
Once your layouts are tight, the zombie army becomes a supply chain rather than a group of individuals. Each worker needs a clear input, a clear output, and no reason to wander. The engine rewards clean pipelines and punishes loose ones.
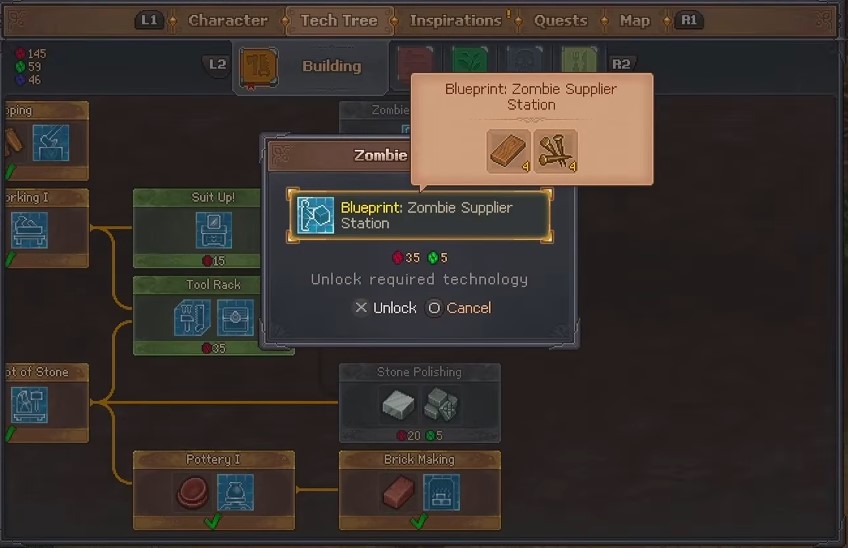
A practical build order for a self-running base:
- Secure a stable source of bodies for zombie production before you scale up.
- Assign one fighter per danger zone and workers everywhere else.
- Build storage next to consumption, not in a central hub that creates long walks.
- Audit your pipeline every few in-game days — a single misassigned worker stalls an entire line.
Editor Warning: Performance drops in large bases are not always about your hardware. If the game hitches while running many zombies, check your display and driver setup — known stuttering fixes resolve a lot of the frame pacing issues that look like engine limits but are not. Do not rebuild your entire base chasing a problem that lives in your settings.
Putting the Math to Work
Every number in this guide traces back to the same engine logic. Combat effectiveness is a ratio you can calculate before a fight. Labor output is a function of layout distance. Resource flow is a graph you control through placement.
Treat the game as a system, not a series of chores. Check the formula, tune the zombie to the target, keep walking paths short, and the graveyard will mostly run itself while you focus on the parts you actually enjoy.


