
Wax is the gatekeeper material in the Into the Abyss update, and if you are reading this, you have probably already hit the wall where a recipe demands it and your inventory has none. It is not something you can scrape off the surface world; you have to go down. This guide covers every confirmed Wax spawn cluster in the new underwater caves and abyssal zones, the gear you need to survive the trip, and the fastest loop for farming it without burning through all your oxygen and healing items.
Why Wax Matters in the Abyss
The Into the Abyss update introduces a new crafting tier that leans heavily on Wax. You need it for the insulated armor upgrades, the deep-sea breathing apparatus, and a few base structures that resist the new corrosion mechanic found in the lower depths. It is the new “everything” resource for progression past the mid-game, and the game does not hand it to you.
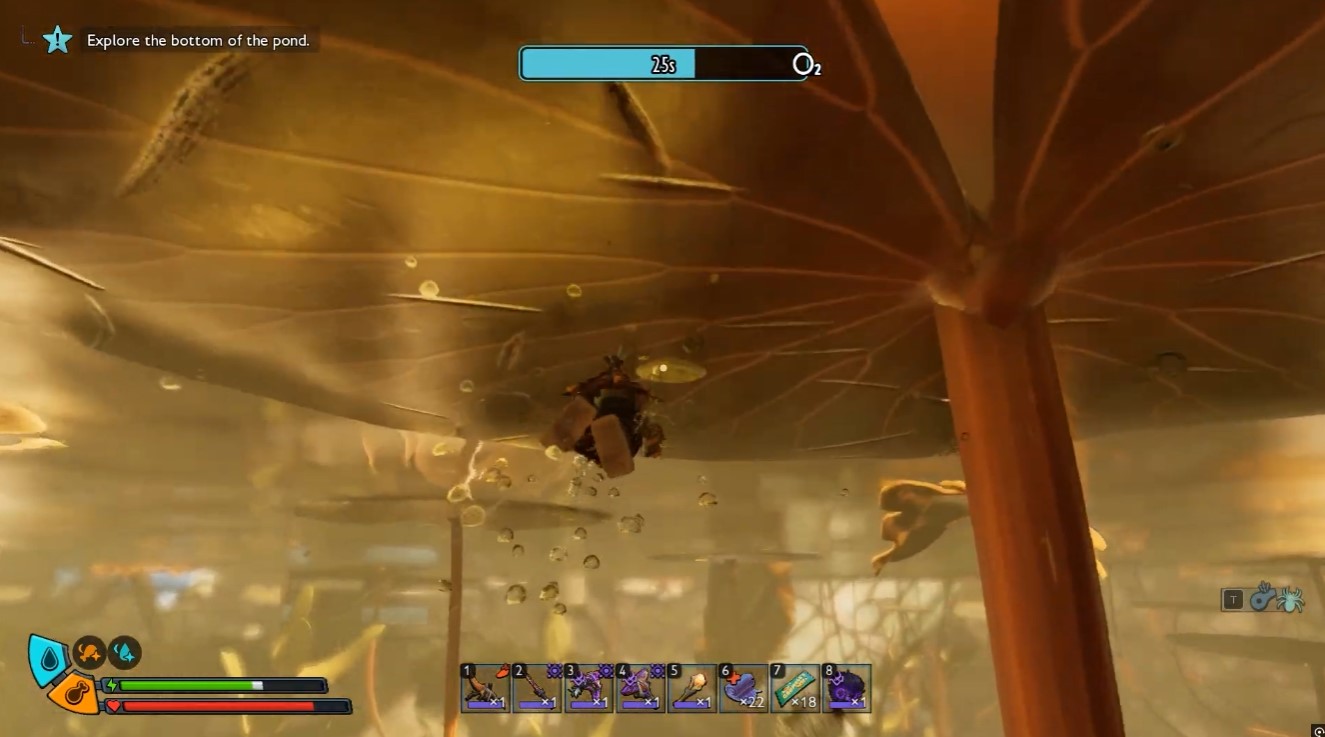
The good news is that Wax is abundant. The bad news is that it sits in the most hostile real estate on the map. You will not find it on the surface, in the hedge, or near the pond edges. You have to commit to the vertical descent.
Where to Find Wax Clusters
Wax spawns in fixed clusters, not as random drops from creatures. You will find it in two primary zone types added in the update: the underwater cave systems and the abyssal trenches. The spawns are deterministic—once you clear a cluster, it respawns after a set in-game day cycle, so you can build a reliable route.
Here are the confirmed hotspots: 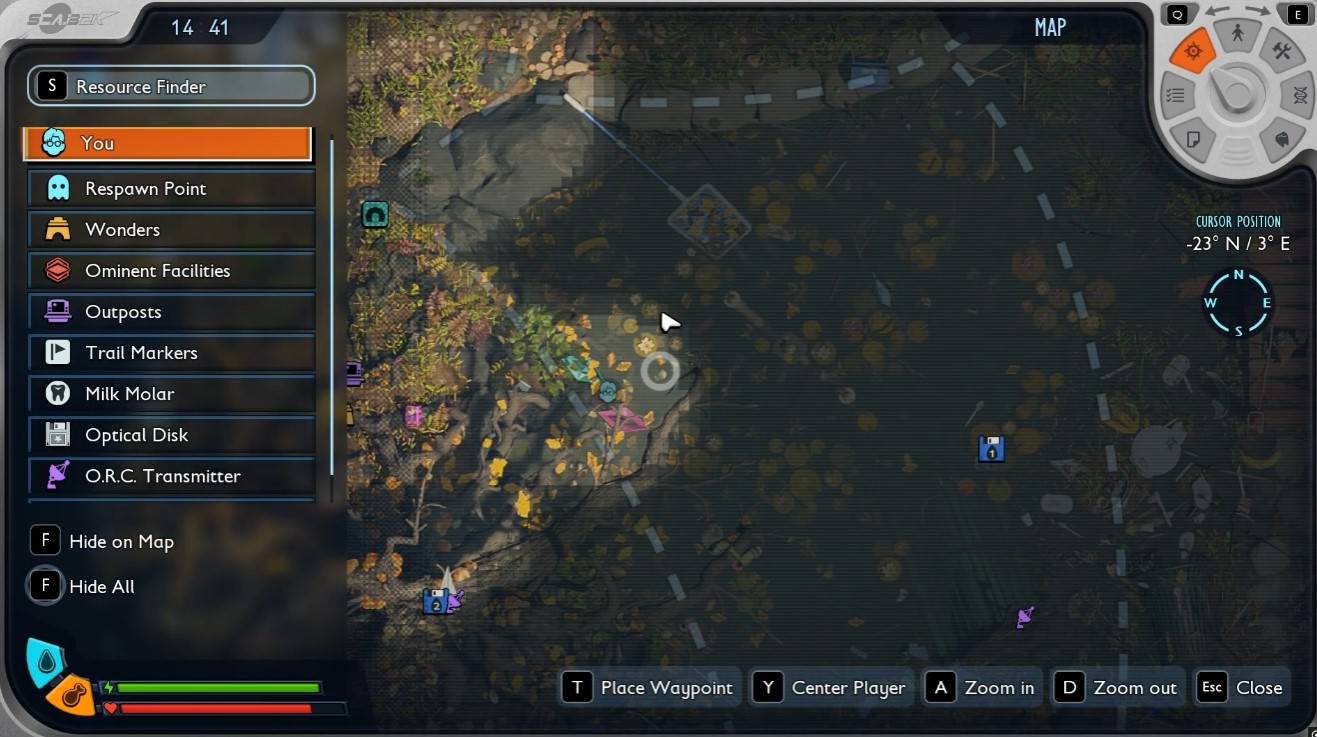
| Zone | Location Detail | Cluster Size | Respawn Timer |
|---|---|---|---|
| Kelp Trench Caves | Near the collapsed rock arch, east side of the trench floor | 3–5 nodes | 2 in-game days |
| Abyssal Shelf | On the ledge just below the thermal vent, west of the central drop-off | 4–6 nodes | 2 in-game days |
| Sunken Grotto | Inside the hollowed-out stalagmite, follow the bubble trail | 2–3 nodes | 1 in-game day |
| Deep Trench Floor | Scattered around the skeleton remains of the giant creature | 5–7 nodes | 3 in-game days |
The Deep Trench Floor is the highest-yield spot, but it is also the deepest. You need the full diving suit upgrade to reach it without taking continuous pressure damage.
How to Reach the Abyssal Zones
Getting to these zones requires more than just swimming down. The game introduces a pressure mechanic in Into the Abyss that punishes you for going too deep without the right gear.
Step 1: Craft the Reinforced Diving Helmet. This is non-negotiable. The base diving helmet only protects you down to the Kelp Trench level. The Reinforced version requires 2 Wax and 1 Abyssal Ingot. You will need to make a first trip to the Kelp Trench Caves (shallowest Wax spawn) to get the materials for this.
Step 2: Equip the Pressure Regulator. This is a trinket slot item that halves the pressure damage tick rate. You can find the blueprint in a supply cache near the Abyssal Shelf. It is worth the detour—without it, your health drains roughly twice as fast below 30 meters.
Step 3: Bring oxygen consumables. Algae capsules are your best bet. They stack to 10 and restore 50% oxygen instantly. You will need at least 2 per full farm run if you are clearing the Deep Trench Floor.
Step 4: Use the thermal vents for fast travel. The vents shoot you upward and restore a small amount of oxygen when you pass through the bubble column. Learn the vent positions between the Kelp Trench and the Abyssal Shelf—they cut travel time by nearly half.
The Efficient Farming Route
If you are farming Wax specifically, do not waste time clearing every zone every cycle. The optimal loop is:
- Start at the Sunken Grotto (quickest spawn, lowest risk, 1-day respawn).
- Move to the Kelp Trench Caves (moderate depth, decent cluster size).
- Finish at the Abyssal Shelf (best cluster-to-effort ratio after the Grotto).
Skip the Deep Trench Floor unless you specifically need the larger clusters. The extra travel time and pressure damage make it less efficient per minute than the other three zones combined.
Tip: Mark the clusters on your map with a custom pin. The respawn timer is tied to the in-game clock, not your proximity, so you can clear the route, head back to base, and return the next day for a full refresh.
Gear and Preparation Checklist
Before you make the dive, run through this list. Missing one item can turn a routine farm run into a corpse run.
| Item | Purpose | Required? |
|---|---|---|
| Reinforced Diving Helmet | Pressure protection below 20m | Yes |
| Pressure Regulator trinket | Halves pressure damage tick rate | Strongly recommended |
| Algae Capsules (x5) | Oxygen restoration | Yes |
| Dagger or Spear | Clearing hostile fauna near clusters | Yes |
| Torch or Bioluminescent Lantern | Visibility in dark caves | Yes |
| 2x Healing Bandages | Emergency health recovery | Recommended |
The hostile fauna in these zones is mostly territorial. The Abyssal Eels near the Deep Trench Floor will aggro if you get within 3 meters, but the Cave Bloaters in the Kelp Trench are passive unless attacked. Learn which is which before you start swinging.
What Wax Crafts and What to Prioritize
Wax is not a material you hoard. You will want to spend it immediately on the following, in order of priority:
- Reinforced Diving Helmet (2 Wax) — unlocks the deeper zones
- Insulated Base Walls (4 Wax per wall) — protects against corrosion events
- Deep Sea Lantern (3 Wax) — permanent light source for the abyssal areas
- Wax-Coated Storage (5 Wax) — prevents item degradation in humid bases
If you are also hunting for rare monster drops, the abyssal zones overlap with Tick Fang spawns. The area around the Abyssal Shelf is a reliable spot for both resources, so you can double up your farming trips. Check out the Tick Fang guide if you need those as well.
Common Mistakes to Avoid
| Mistake | Consequence | Fix |
|---|---|---|
| Diving without the Reinforced Helmet | Continuous health drain below 20m | Craft it before attempting the Abyssal Shelf |
| Clearing clusters without marking them | Wasted time re-exploring | Use custom map pins on every cluster |
| Ignoring the pressure mechanic | Death by health drain mid-swim | Equip the Pressure Regulator trinket |
| Farming the Deep Trench first | High risk, low early-game reward | Start shallow, work deeper as gear improves |
The pressure mechanic is the real enemy here, not the creatures. Most players who die in these zones die from ignoring the health drain while focused on mining a cluster. Keep an eye on your health bar, not just your oxygen meter.


