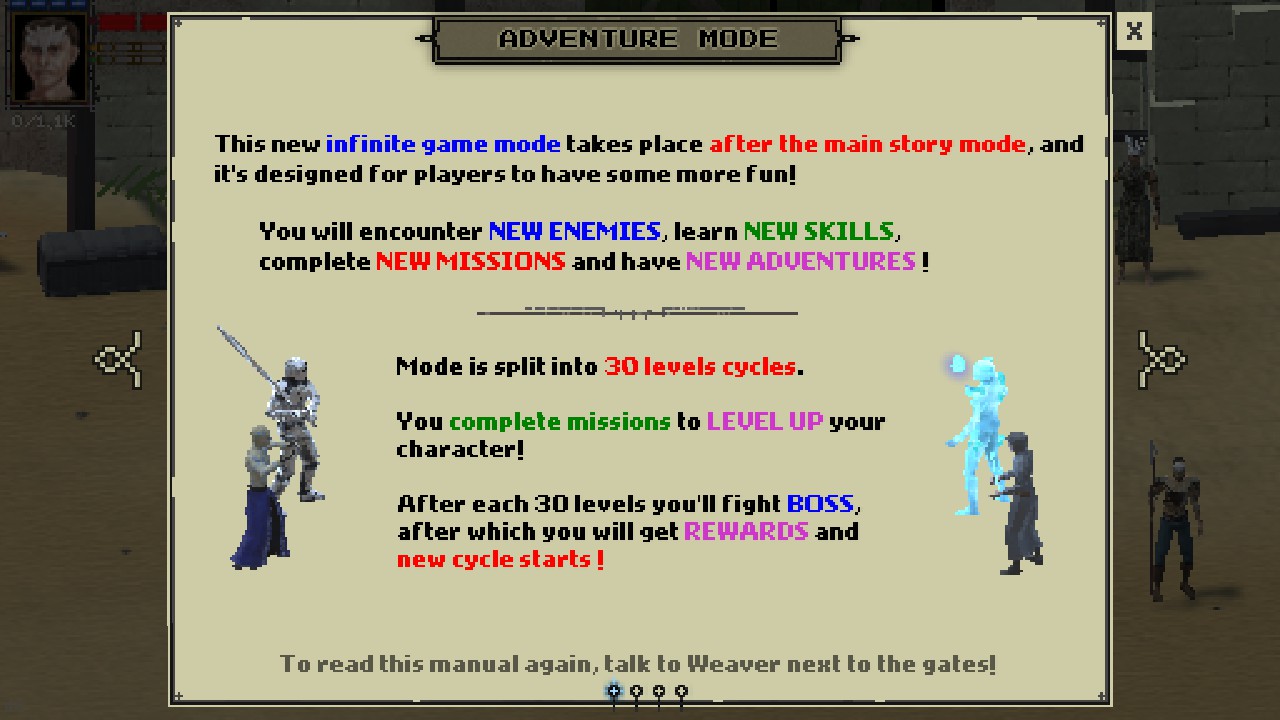
Description of Adventure Mode features and tips for playthrough.
Plot
Enemy fleet continue to arrive on the island, to help the Ijmerians win the war, it will be necessary to repel enemy attacks over and over again and hinder the implementation of their plans. But what will it cost to the hero?
Main Features
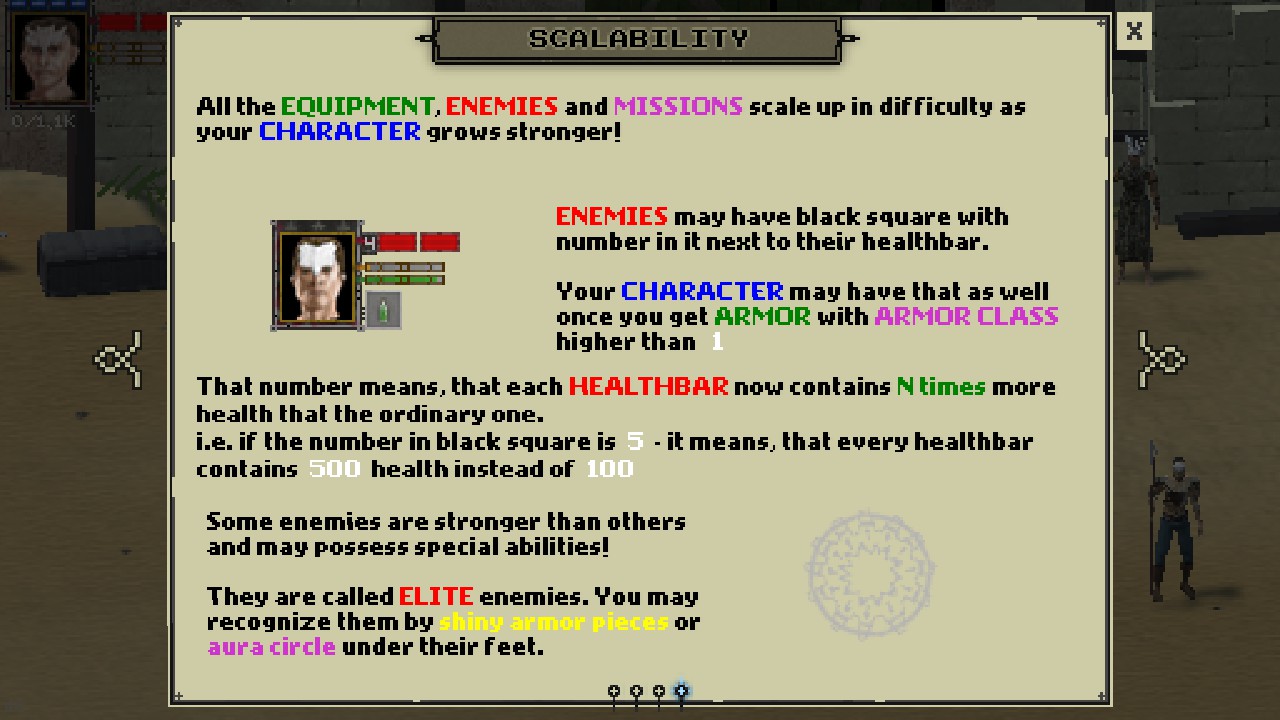
All enemies can have an amplification, indicated by the number to the right of their portrait, which determines the grade that increases health and damage, thus, for example, an enemy with 2nd grade will have 200 health units instead of 100 in one health bar, and with 3rd grade – 300 health units, respectively, etc.
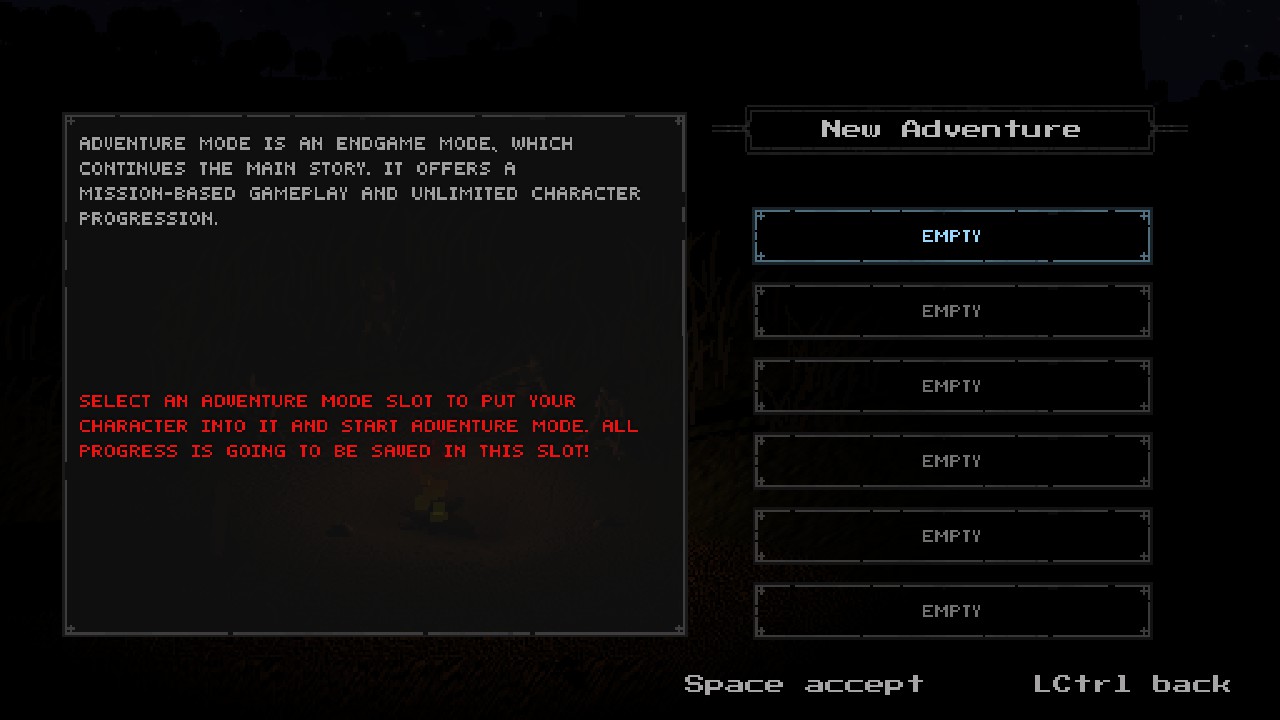
It is possible to continue the game in Adventure Mode with the hero who finished Chapter I, while all equipment at the time of the ending of the story will be saved. However, if the player wants to try a different hero or play together without completing story again, it is also possible to start the game in Adventure Mode from scratch.
 Note:
Note:
be careful when creating a game for Adventure Mode, follow the instructions to the left of the menu!
When you appear in the city, it is recommended that you read information about the new mode main features.
 IMPORTANT:
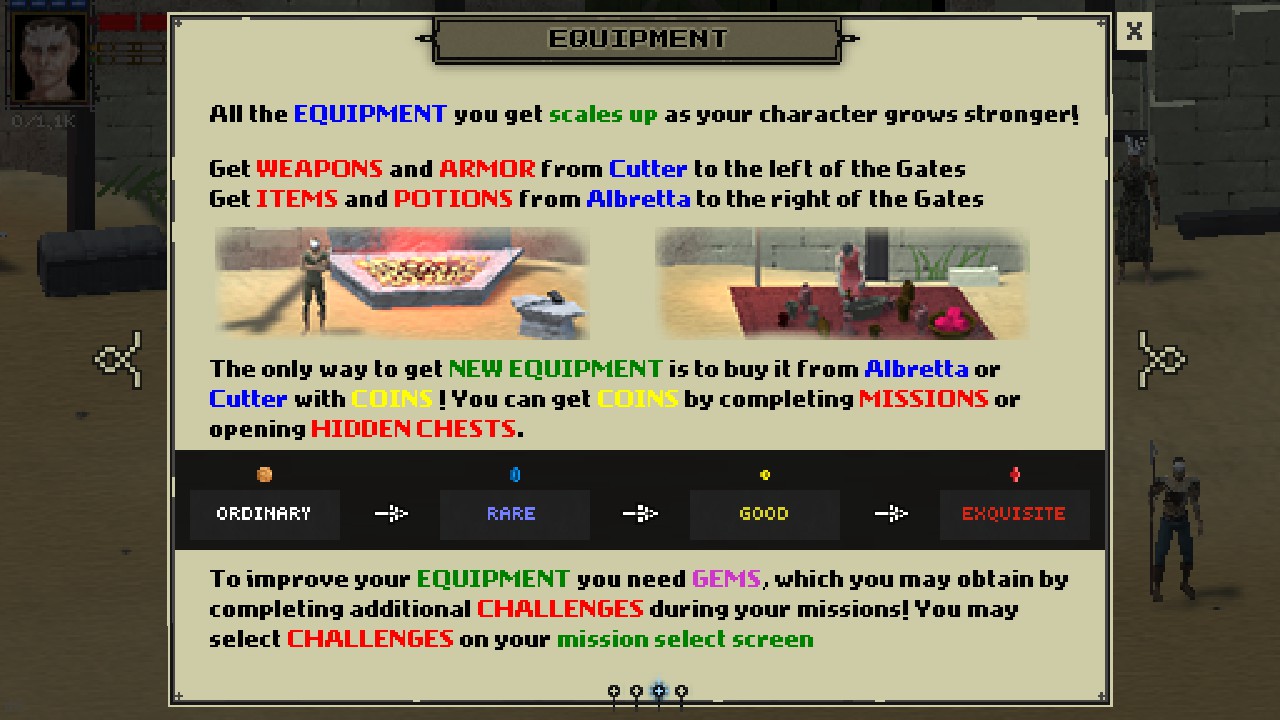
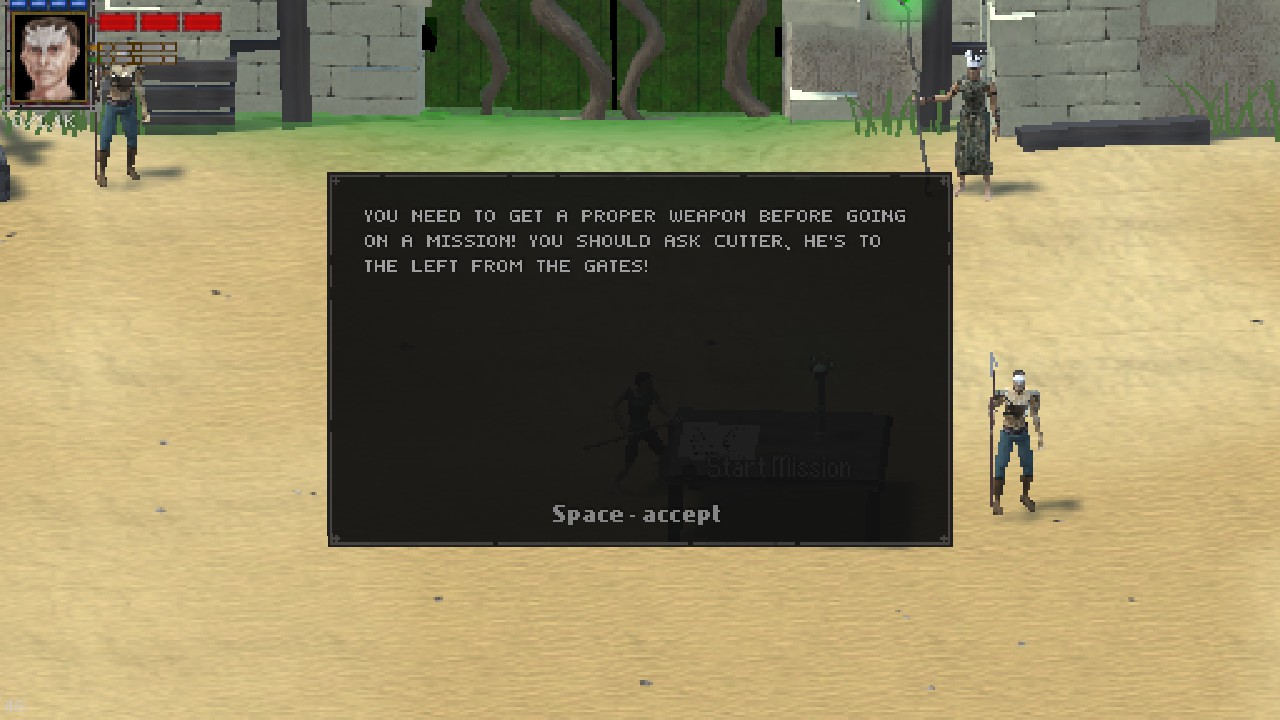
a) when creating a game in Adventure Mode from scratch, before completing missions, the player needs to buy a new weapon from Cutter, located on the left side of the city, where you can also buy armor. Potions and accessories are available for purchase by Albretta on the right side of town. Coins can be obtained by completing missions;
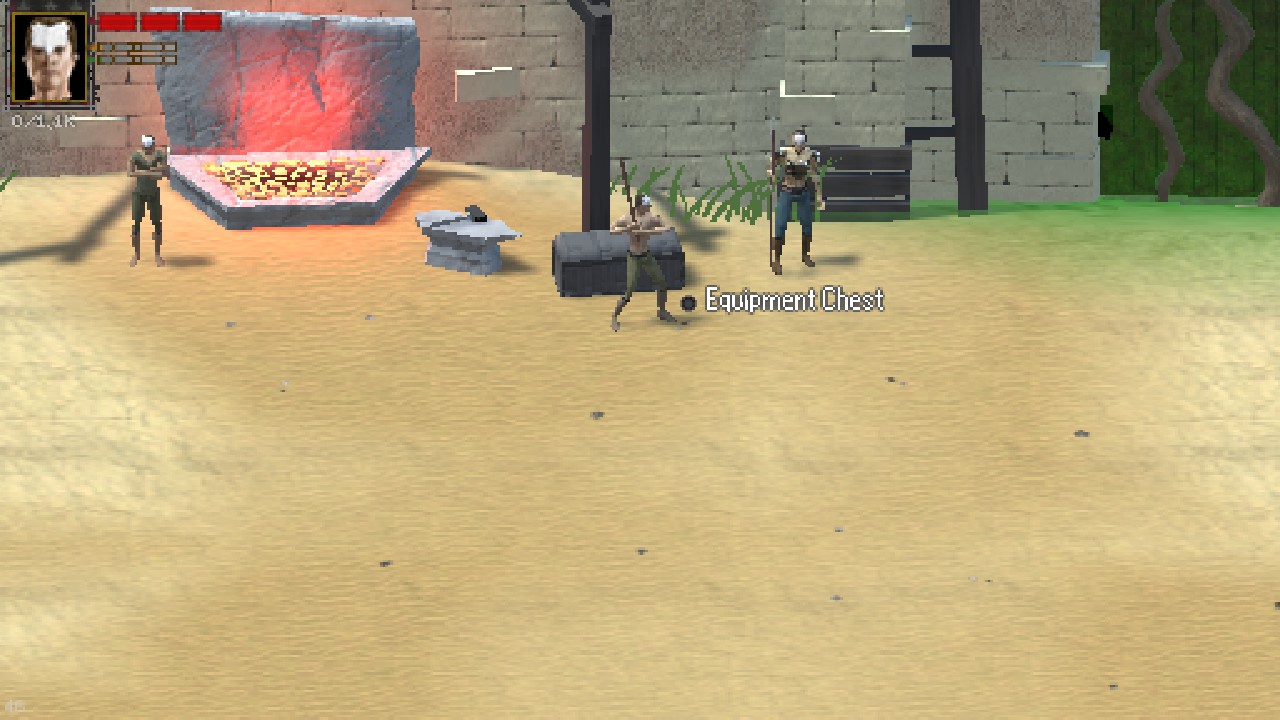
b) the player can change equipment using the inventory by the chest near Cutter.
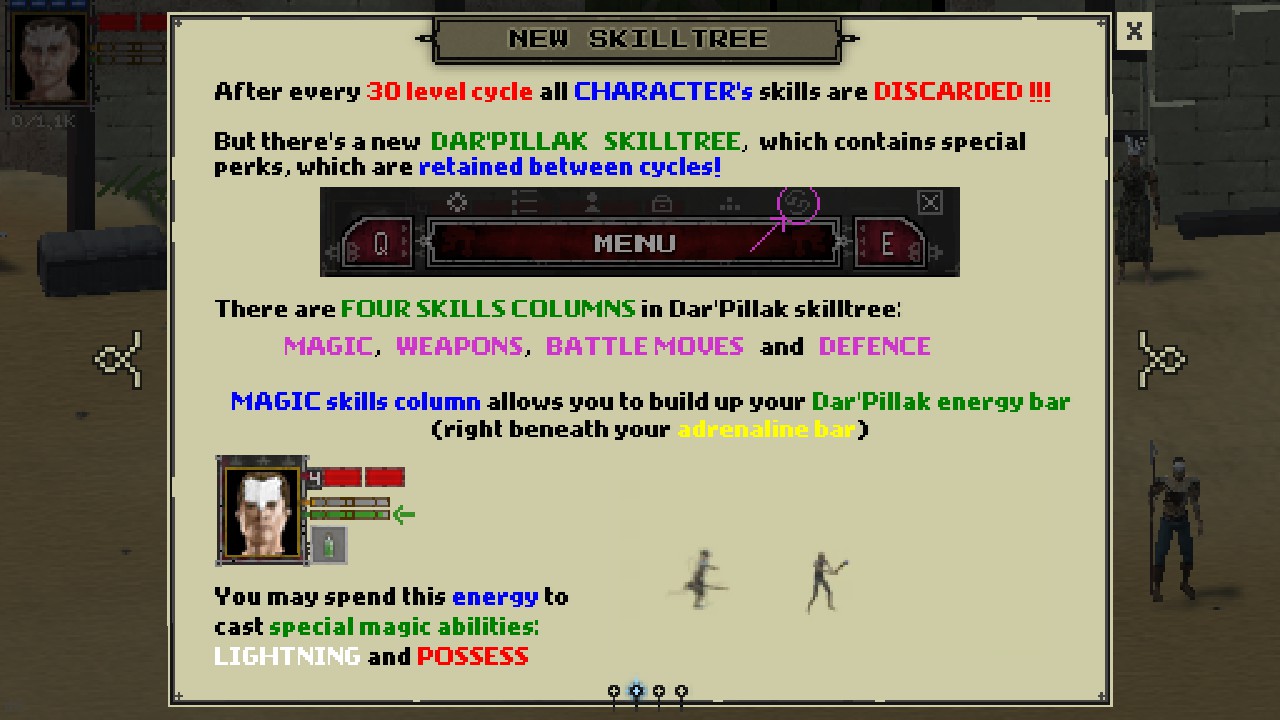
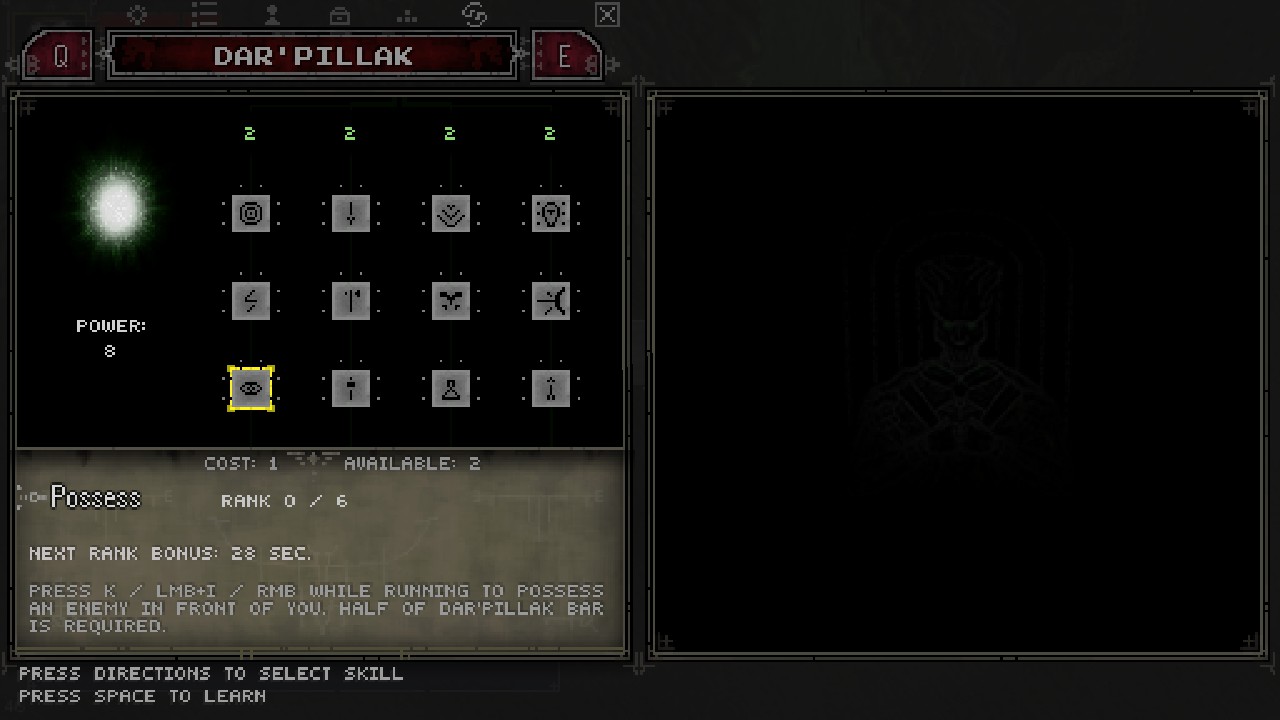
Additionally, in Adventure Mode, the Dar’Pillak skilltree is available, in which you can select skills that enhance the hero. Upon first appearing in the city, the player is awarded 1 point in each column of Dar’Pillak’s skilltree.
TIP:
before you decide which weapon preferences you want by character, it is not recommended to unlock Dar’Pillak’s skills that enhance a specific type of weapon, because there is no way to reset them later.
After obtaining and choosing weapon which can pierce armor and magic barriers, the player needs to talk to Weaver for granted access for mission selection at the map on the table.
WARNING:
saving the progress of the character, including the equipment received in the city, occurs after the start of the mission or at its completion! If a player bought new equipment in the city or improved the existing one, and then immediately left the current game session, then autosave will not happen!
To save progress after actions in the city, you must first enter any mission and then exit.
Each time you open the map on table, three missions are appears for selection.
 Note:
Note:
missions can be appears again when you open map even if them visited before, i.e. the completion of any mission does not exclude it from the future selection, so the player will be able to gain experience and rewards in already familiar zones, but where the enemy groups composition will always be random.
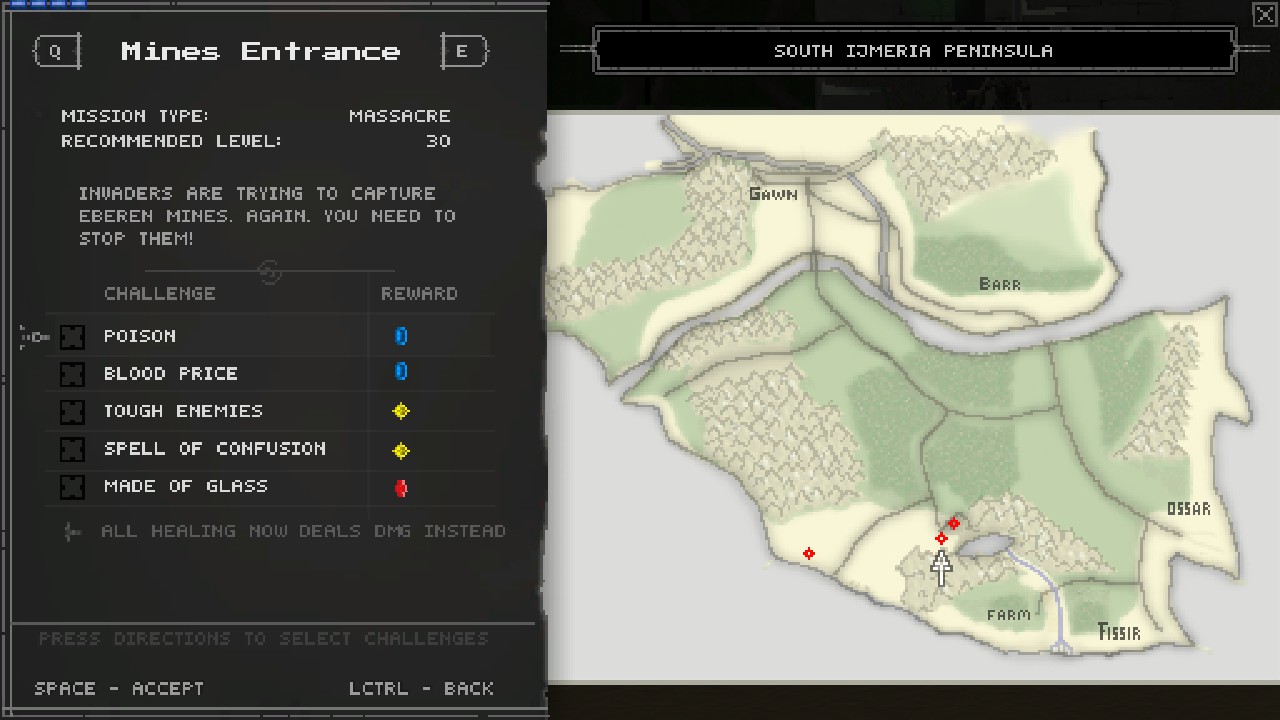
Before starting any mission on the left of the map, you can select special challenges that complicate the playthrough, but if successful the player will receive gems intended to improve equipment in the city – the more difficult the challenge, the more valuable the reward, and, accordingly, the higher the quality of the equipment, which you can get later. To upgrade a weapon or armor to the highest quality, you will need to consistently use blue, yellow and red gems (the latter guarantees the presence of random enchantment). For accessories and potions, there is no improvement by red gem, i.e. the maximum quality for them can be achieved already by yellow gem.
The challenges types for selection is unchanged, these are:
1. Poison — all healing now deals dmg instead [reward: blue gem];
2. Blood Price — superstrikes now cost 10% of your single heathbar [reward: blue gem];
3. Tough Enemies — enemies have 1.5x more health [reward: yellow gem];
4. Spell of Confusion — from time to time left and right directions fet swapped [reward: yellow gem];
5. Made of Glass — you deal 50% more damage, but recieve 1000% more dmg [reward: red gem].
Some missions have their own differences, so at some locations you can find hidden reward chests, which can also be located in additional zones.
Note:
a white arrow indicated entry points to additional zones, which are entrance into them can be able only out of the fight. After receiving a reward in these zones, in order to return to the main location, you must return to the place of entry.
Successful completion of any mission will be rewarded by gain the hero level and receiving coins, as well as the corresponding gems, the quality of which will depend on the chosen challenges. In the process of increasing the hero level, the enemy selection will change, replacing them with more skillful and more dangerous variations.
Moreover, in missions you can face elite enemies! They are enchanted versions of ordinary enemy types that have an aura under their feet and have special skills that are determined by the aura color. There are currently four aura types: blue (electric), red (furious), yellow (durable), and purple (magical).
Progress
IMPORTANT:
if your hero lacks any skill to defeat the boss, then Weaver can lower your hero level without resetting class skills, but in this case you must again have expirience for hero level required to meet the boss again; also, when completing the current tier difficulty, the player will have the opportunity to upgrade equipment in order to more effectively resist the boss.
TIP:
try to complete challenges at the beginning of each tier difficulty, while the selection of opponents is carried out from enemies representing the least danger.
Receiving additional skillpoints of Dar’Pillak skilltree will mark the beginning of the next tier difficulty in Adventure mode, where enemies’ amplification grade will be increased and their groups will again be selected from simple (slaves) to more experienced (setrem mages/knights) depending on hero level.
IMPORTANT:
when moving to the next tier difficulty, it is recommended to gamble new equipment in the city (at least weapon and armor), because parameters of new ones will surpass previous tier items, even if it was of the highest quality (red font), for example, even unimproved armor class III will increase the number of character’s health points in one health bar to 300, which is similar to the mechanics of enemies’ amplification.
TIP:
if you can’t defeat the boss at some tier difficulty, then you can continue to ask Weaver reduce hero level for playthrough missions again on current tier difficulty and hone your combat skills in the game. Do not despair, you always have a chance to go further!