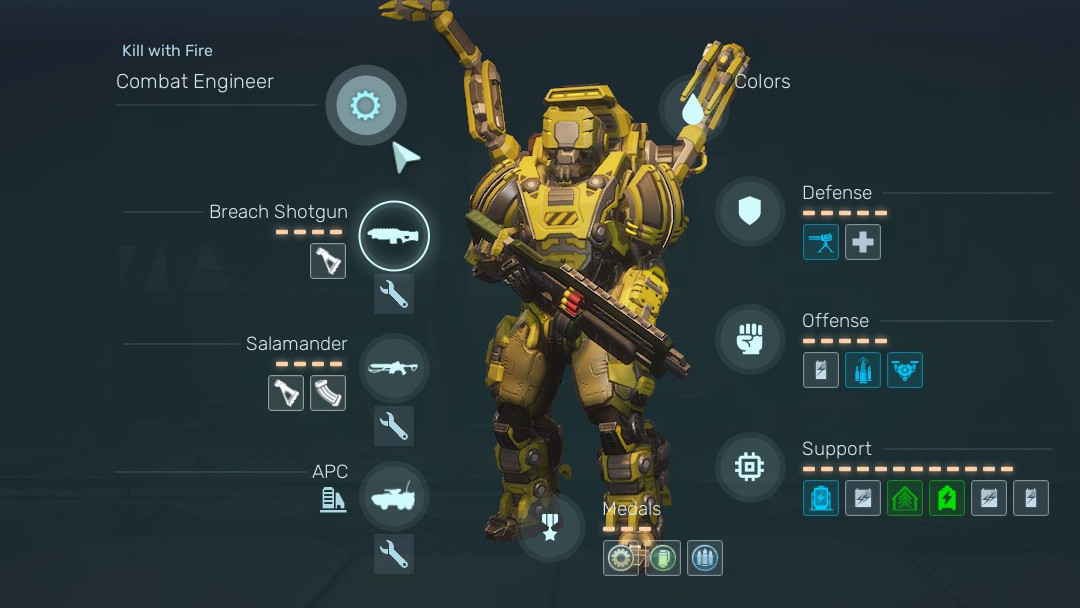
Howell-Barrex instructor Burton lays out the basics of the Combat Engineer combat suit.
The Suit
It is a relatively durable suit, nearing the Terminator suit in its durability. It is equipped for standard size armaments, giving it the same flexibility as the Assault in terms of weapon size. It has a large amount of support slots, giving flexibility in its support loadout. It has the same amount of SIMC inventory slots as a Terminator suit, leading to it being useful as an item mule. It also has an array of unique abilities for fortifying an area, and beyond that has the Medic’s Revival system, the Rocket Ammo ability of the Heavy and Demolition classes, and the Security Bypass of the Recon and Marksman. It is also surprisingly fast, with unloaded movement speed of a Marksman suit.
Of course with all things in life, we can’t cram everything into a suit. It has the absolute lowest energy regeneration of all powered combat suits at full power due to the complex composition of their abilities, requiring the careful management of energy reserves. It also has the lowest ammo reserves, necessitating the management of fire or the addition of additional ammo capacity. Most of its abilities require time to set up, require careful placement to extract value from, require investment to be useful, and can have no impact if placed improperly, and some have all of these drawbacks.
The Instants
Assault Microdrones
The fire and forget ability for the Combat Engineer, it creates a flying swarm of drones that can strip a Desecrator or Zombie to shreds in a matter of seconds. It also provides a good amount of suppression to medium targets, providing utility while on the move. Overall it amounts to having another flying gun around you. At maximum power there can be two swarms out at a time, targeting the same target, while at half power it can be kept up indefinitely.
Ammo Generator
A rather useful support tool, it provides several extra magazines every minute or so. Essential to maintaining Reaper Turrets in the field, but also gives extra destructive damage, crowd control, suppression, or poison rounds when given more power. Good for operations with limited scavenging opportunities, like underground facilities, or for overall deployments in the field. Can only resupply a limited amount of Marines per use however.
Team Thrusters
An improved variant of the Thrusters system, this module allows the Combat Engineer to relocate nearby marines with thrusters. The tactical systems of the Combat Engineer also boosts the damage of moved marines from flying through the air, guaranteeing vital hits and boosting damage as well. Massively useful bonus for fire support marines, but of limited use to marines who use abilities.
Fortify & Rebuild
A fortification ability, it instantly rebuilds nearby walls and fortifies surviving doors, windows, and walls. It gives a small health boost to doors, similar to applying a Door Blocker but letting them still open. It also affects windows, letting a civilian house become a moderately secure room. Overall only useful inside or near structures.
Rapid Response
A mix between a passive and active module, it supposedly reduces energy consumption of built structures while upgraded, but it is its active use that is interesting, with forcing all nearby drones and turrets to fire upon a target. It also reduces the target’s suppression resistance, with a massive 90% reduction on maximum power, although at half power it is still a roughly 50% reduction in suppression resistance.
There is only one Combat Engineer-unique system that is instant, and it is Repair.
Repair
A moderately useful system, as its name implies it instantly repairs nearby doors, windows, turrets, drones, and vehicles. However, when repairing non-Ubas vehicles, it repairs around 300-500 durability, as opposed to the 30% restoration for anything else, being optimized for infantry scale repairs.
The Printers
Tactical Sentry Gun
The signature ability of the Combat Engineer, it places a turret that consumes energy per shot. These turrets can only be recharged by specialized chargers, requiring the usage of them to form a lasting defensive line. There are three variations, unlocked at minimal, half, and full power.
Tactical Sentry Gun:
The basic variation, and simplest, with limited range and the fastest construction time. It is mostly useful against armored targets, as its damage is not impeded by armor and can help strip armor from them.
Minigun Sentry Gun:
The second variation, it is a minigun with extended range and moderate construction time. Capable of shredding hordes with its piercing rounds, it is ineffective against larger creatures but can provide decent suppression against them with its sheer rate of fire.
Flamethrower Sentry Gun:
The final variation, a mounted flamethrower with limited range and the longest construction time, built upon a Minigun Sentry Gun. It is capable of securing choke points with its stream of fire, but struggles in open engagements.
Advanced Charger
The natural partner for the Tactical Sentry Gun module, it is the best charging item for turrets and other energy intensive fortifications. Capable of reaching a UBAS’ maximum charging speed at above-minimum power, it is held back only by its time to print and time to place.
Electric Pillars
A non-charging fortification, it requires two pillars to have any effect. Thus it can be considered useful to double the listed time to print and time to place when considering fortifications. The electrical beams passively deal energy damage to enemies passing through, and can help maim incoming hordes. It can harm friendly marines, but mostly in sapping their suit’s energy. As a fortification it is especially prone to being made useless through enemy movement patterns and requires placement at the frontlines to be useful, in addition to being made useless through destruction of connecting pillars. Generally not recommended for standard deployments, although a well-coordinated deployment might be able to leverage its strengths.
Repeller Pylon
A non-charging fortification, it immediately fires upon being fully printed. It is most useful when at full power, although it is rarely used. With a long interval between pulses, and a relatively short pulse duration, it has uptime of 9 seconds more or less between pulses at half-power and above, while below it has uptime of 10 seconds.
Defense Guardian
A charging fortification, it produces a drone to patrol the area, dealing decent destructive damage to nearby mutants. It is limited by its long time to place, but can be very useful for picking off STROL mutants or helping fortify a defensive clump.
There is only one Combat-Engineer system that is printed, and it is the Basic Charger
Basic Charger
The basic charger that all Combat Engineers are given, regardless of seniority, it has a long time to print, poor charging capability, and spacing issues, it is still useful for being a supplemental battery for Advanced Chargers and helping set up a sentry nest.
The Drops
Reaper Turret
A relatively fire and forget ability, it drops a Reaper Turret into an area. The reapers assigned to the module carry a vastly reduced amount compared to those called in by Howell-Barrex command, but they are much easier to load, requiring two magazines to fully load from empty. Best when equipped with maximum power, and they are very versatile as they can be used for fortification, clearing biomass if landing near the edge of its impact, or as an emergency weapon on slow-moving targets like Behemoths. Note that they require time to set up, as per normal Reaper Turrets.
Combat UBAS
The ability to call in a mighty Combat UBAS, drawing upon the operator’s Solstice VI reactor. It is best when used at maximum power. Calling in a UBAS is a mighty investment, as command will only scramble another UBAS when the previous UBAS has been destroyed. The UBAS however is capable of letting a lone Combat Engineer face down a Fluffy or three Behemoths, but with this power comes massive energy requirements, and the need to periodically stop and charge. Experienced pilots may be able to not impede the rest of the squad, but generally UBAS mechs may be best utilized when going onto biomass infected areas or when heavy combat is expected.
UBAS stats per power allocated is listed below.
Health: 1500 +250 per level, maximum of 2500 health.
Energy: 400 +150 per level, maximum of 1000 energy.
Damage per round: 200 + 75 per level, maximum of 500 damage per round.
Loadouts
“Tunnel Rat” Loadout –
A loadout made for underground operations. Ammo Generator is to be used as often as possible to help compensate for minimal looting opportunities in underground deployments. While moving through the tunnels Microdrones are deployed, while for defensive purposes power is rerouted to the Sentry and Charger modules.
“Raider” Loadout –
A loadout for above-ground operations. Power is routed to the Reaper Turret module immediately for suppression purposes, with Reapers deployed as often as possible to defend an area or just to clear STROL packs. Ammo generator is used mainly to resupply Reaper Turrets during defensive phases, while Team Thrusters is used to boost team mobility or for improving damage. Microdrones are used to supplement the Engineer at any point. Note that this loadout fares poorly while inside, due to two of its abilities being unable to be used.
More Guides:
- Red Solstice 2 Survivors: Psychic Handler Guide
- Red Solstice 2 Survivors Guide (Arclite, Modules, Systems, Upgrades and etc)
- Red Solstice 2 Survivors: Condatis Guide (Campaign Research, Engineering, and General Flow)
- Red Solstice 2 Survivors: Quick & Easy Builds