Tutorial for the most simple coal plant setup I’ve been able to come up with after 500 hours. This solution is 100% modular and can be improved upon from as soon as you unlock coal power all the way to end game logistics.
Intro
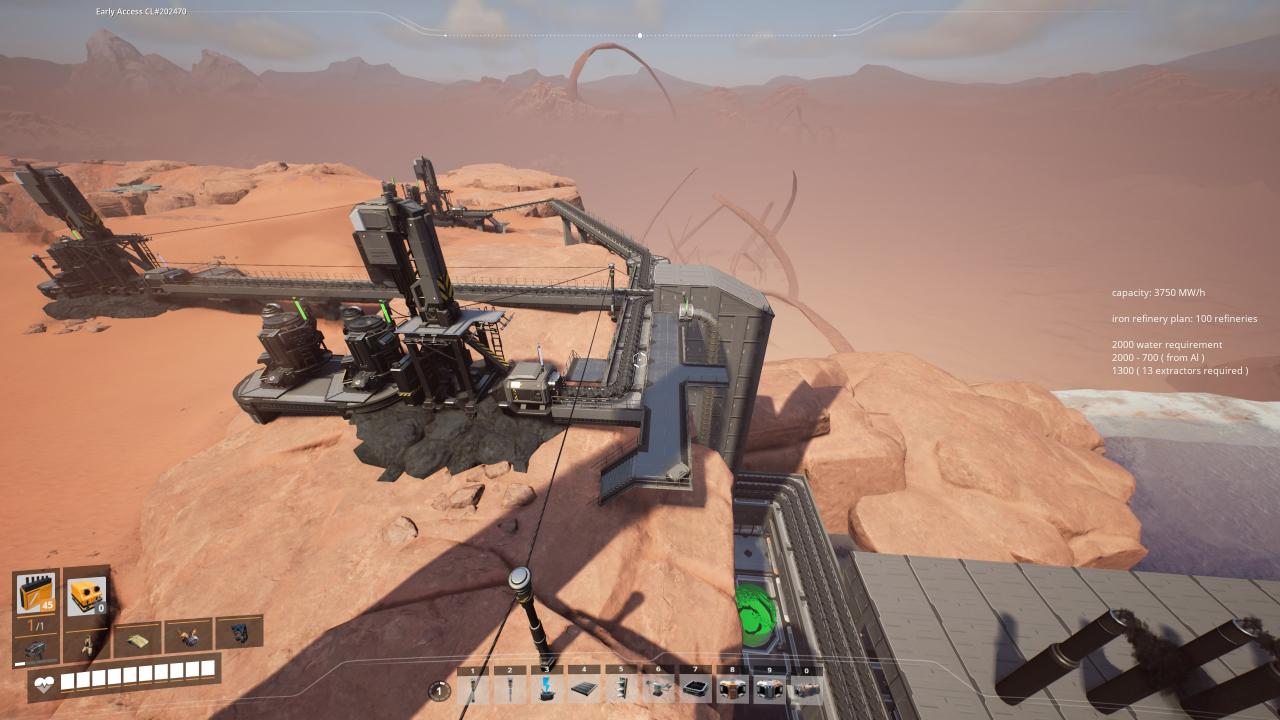
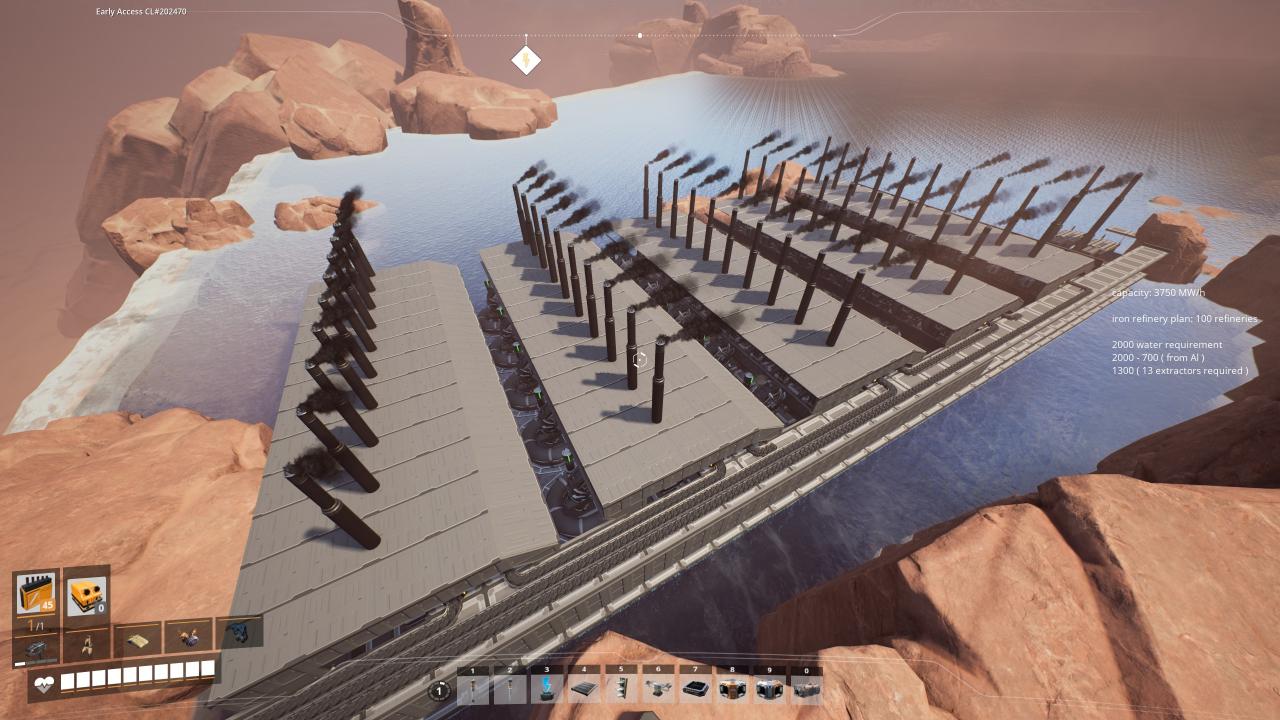
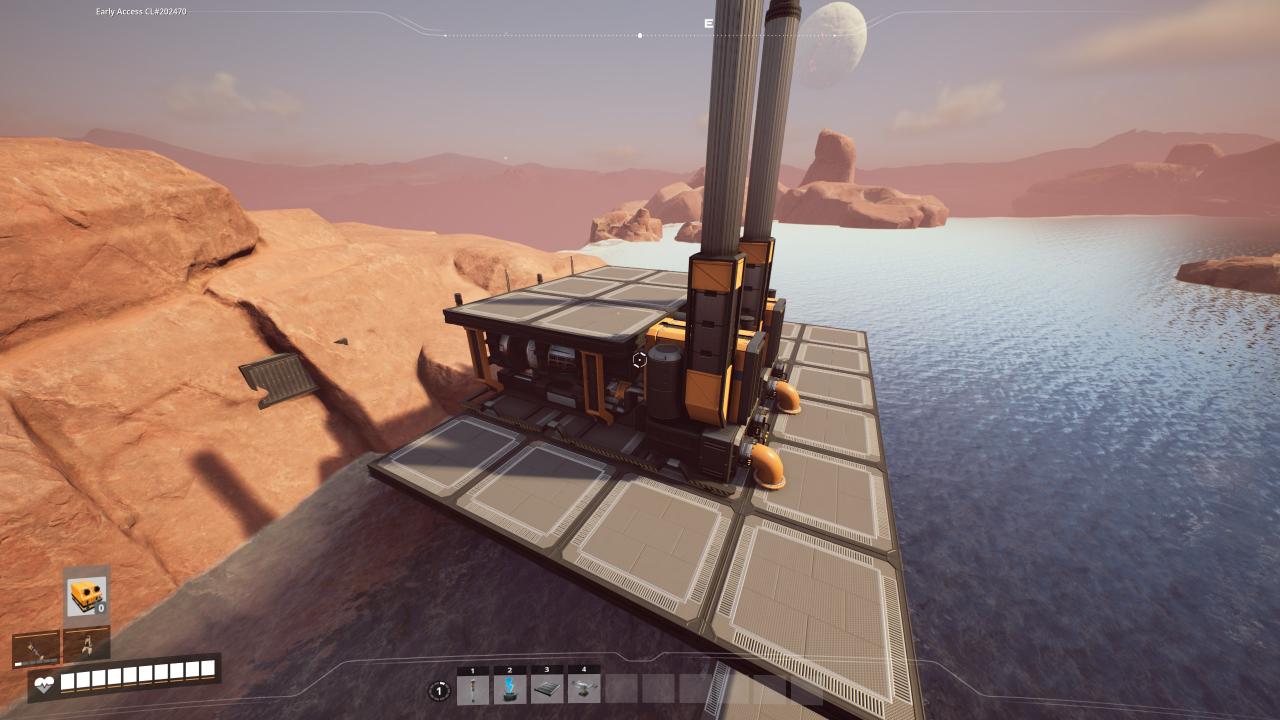
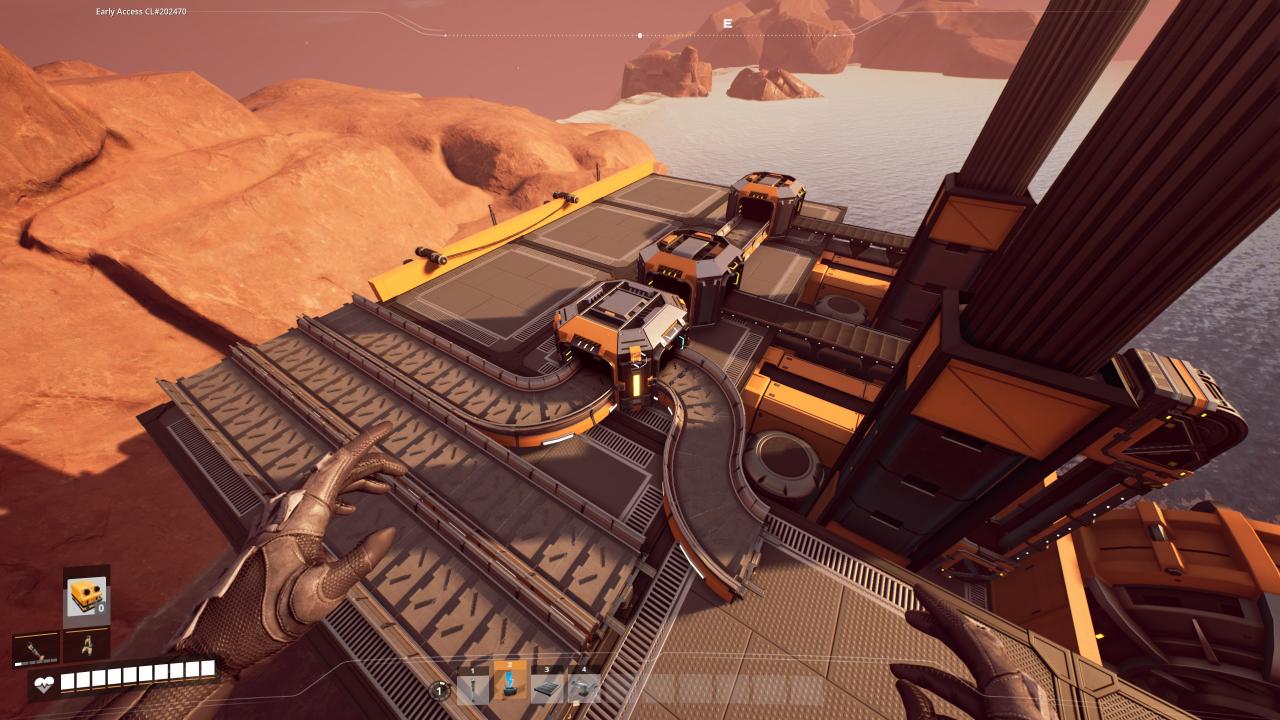
Here’s an image of my current coal setup in my survival world so you know what to expect by following this method. There is no overclocking involved, so every 10 generators in line you see here are consuming 150u/m of coal to output 750MW/h. I’ll refer to these as “modules”.
click the url at the top left of the popup if you get an error when trying to view any images in the guide
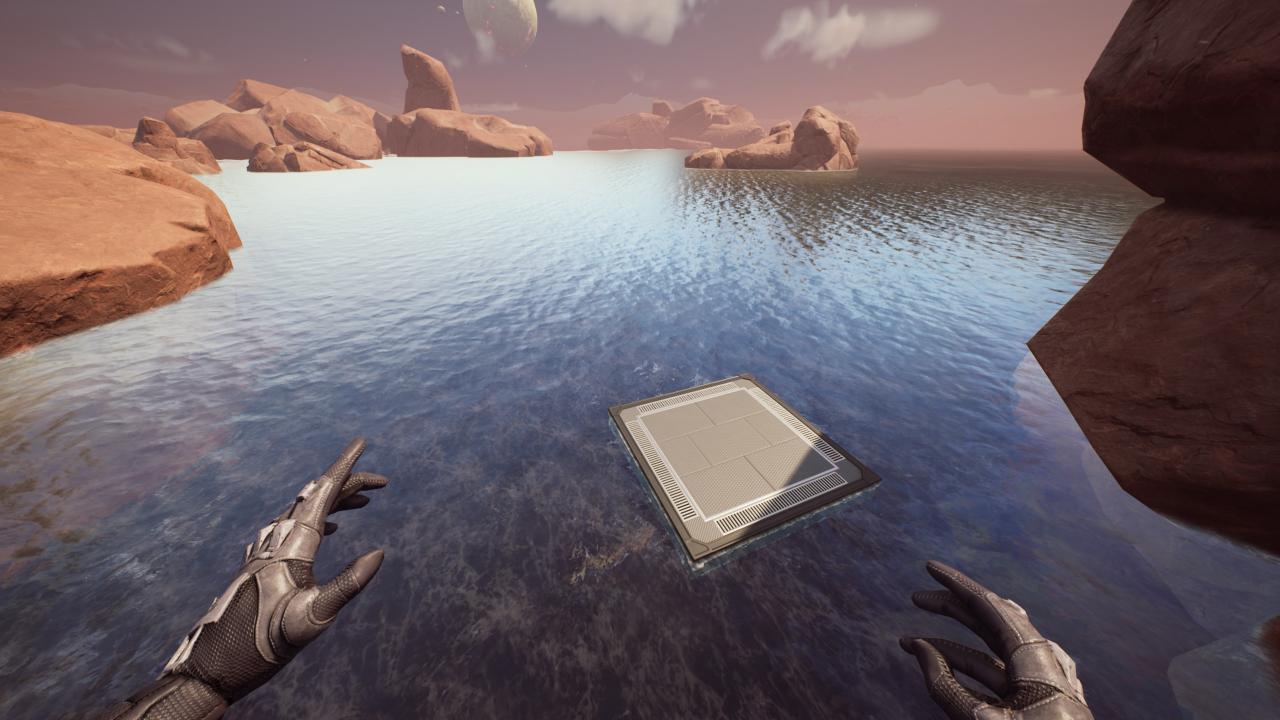
*The example I will be showing in this tutorial uses the vast coastline to the North-East right up against the dune desert waterfall. It is extremely close to 2 Normal and 1 Impure coal nodes on the cliff edge. this map isn’t showing the nodes i’m talking about but they are there )*
1.) Initial Foundations & Generator Placement
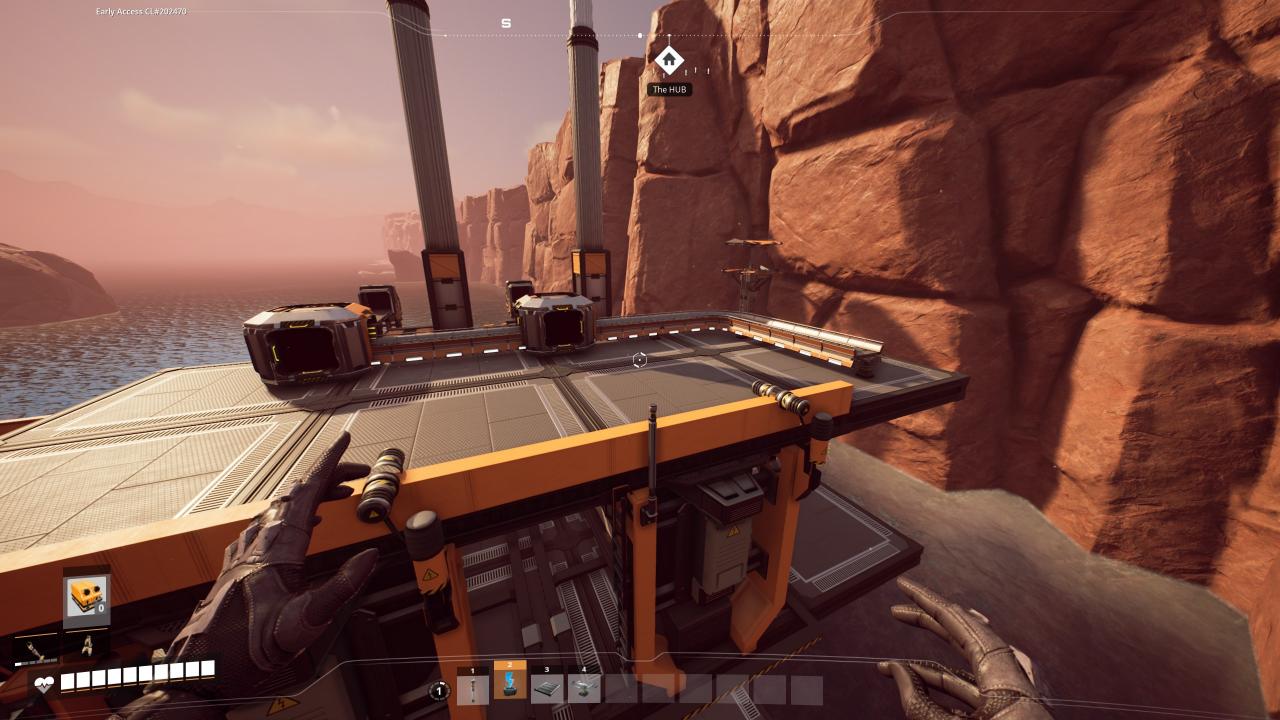
 Begin by creating a foundation layer at sea level. This is important for how we will set up our plumbing. Be sure to place your foundations in the correct orientation relative to the surrounding environment. If anything is crooked you won’t be able to make the best use of the space available to you.
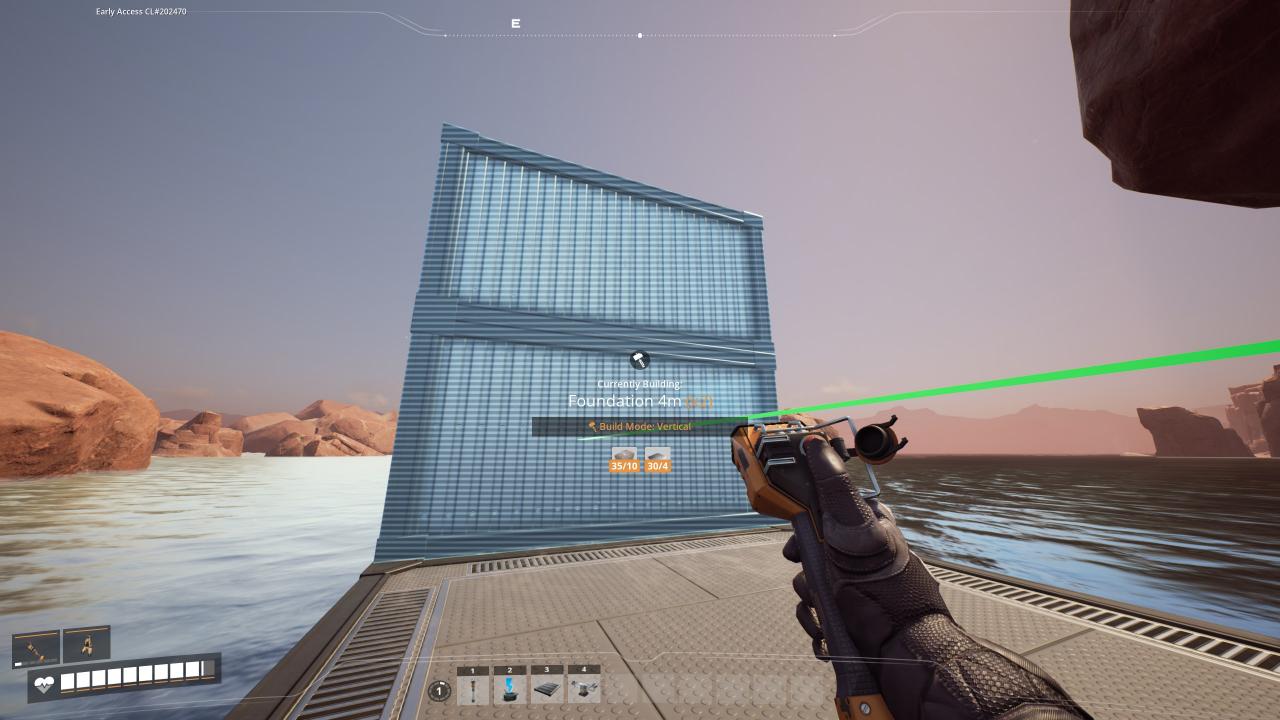 Next you should measure out a second floor 8m above your initial foundation layer. We are doing this because water extractors actually provide you with a default 10m of headlift before you need to use pumps. I prefer to build at 8m to guarantee the headlift won’t bug out.
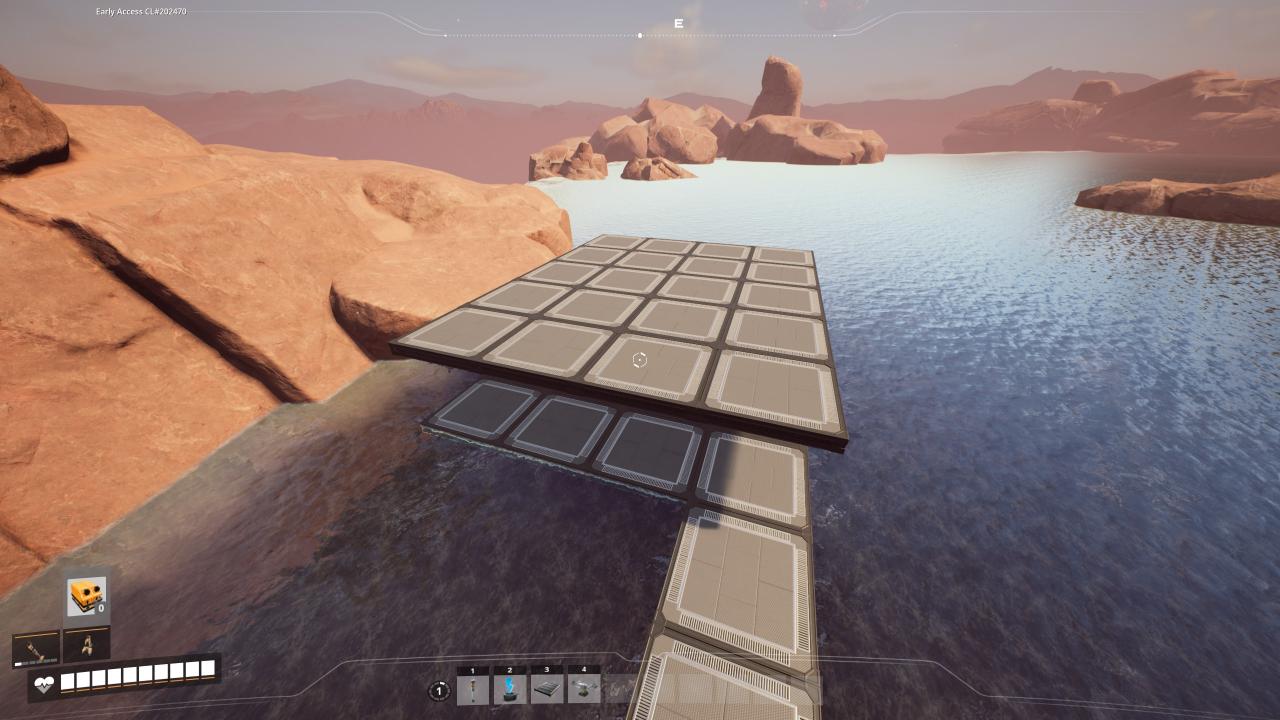 After setting the height for the second level where our generators will be placed, you’ll want to make a grid with a width of 4 foundations. ( As of update 6 you can also use half foundations, so you can use 3.5 foundations if that’s preferrable to you. This is where our generators will go.
 Regardless of if you use a half foundation or not, you’ll just want to align the generators so that the conveyer/pipe slots are right on the 2nd to last foundations edge.
2.) Overhead level & Splitters
 Place your pipe floor holes on the other side of the foundation edge. You can adjust your build modes as you see fit, however “noodle” should do fine for now.
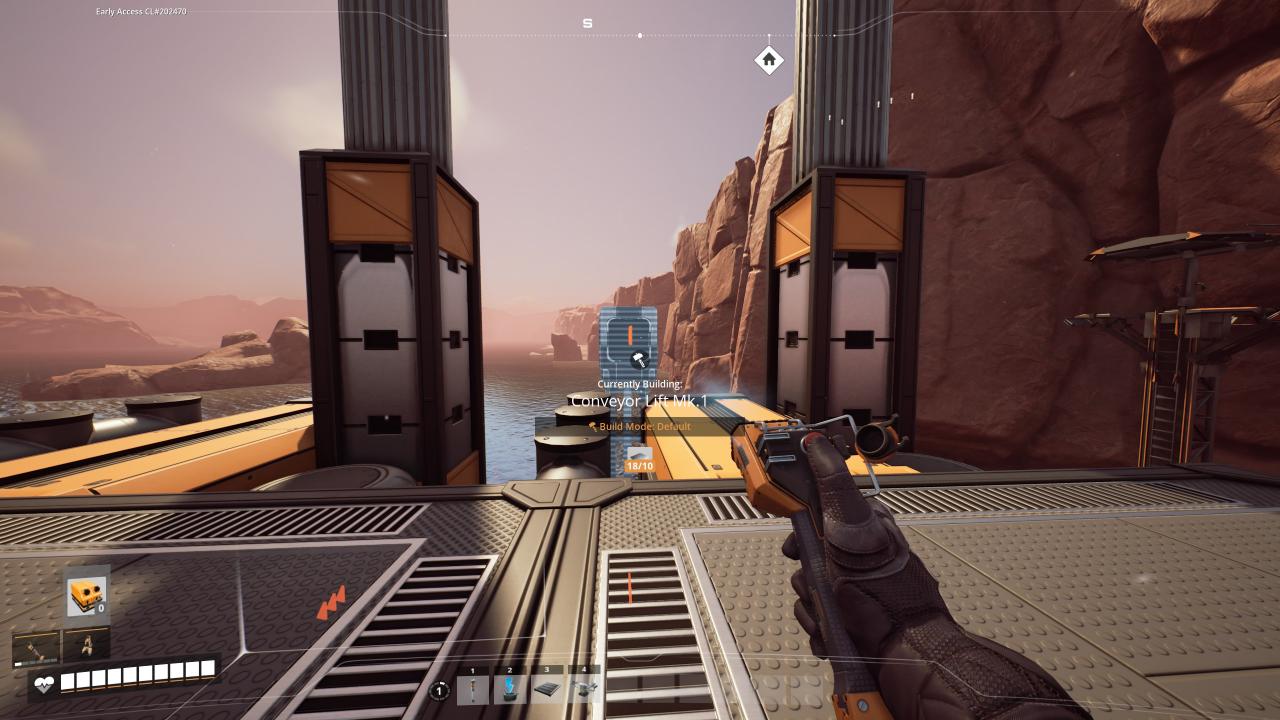 Now route an elevator from the input slot facing the newly created floor. Make sure that the elevator is a mk.1 as this is essential to limiting the loading time of your manifold. Coal generators only require 15 u/m of coal anyway at base clock. loading faster than this just means you’ll have less generators running the first few minutes of their startup depending on your total coal input. This can just be a pain in early game unless you “pre-load”.
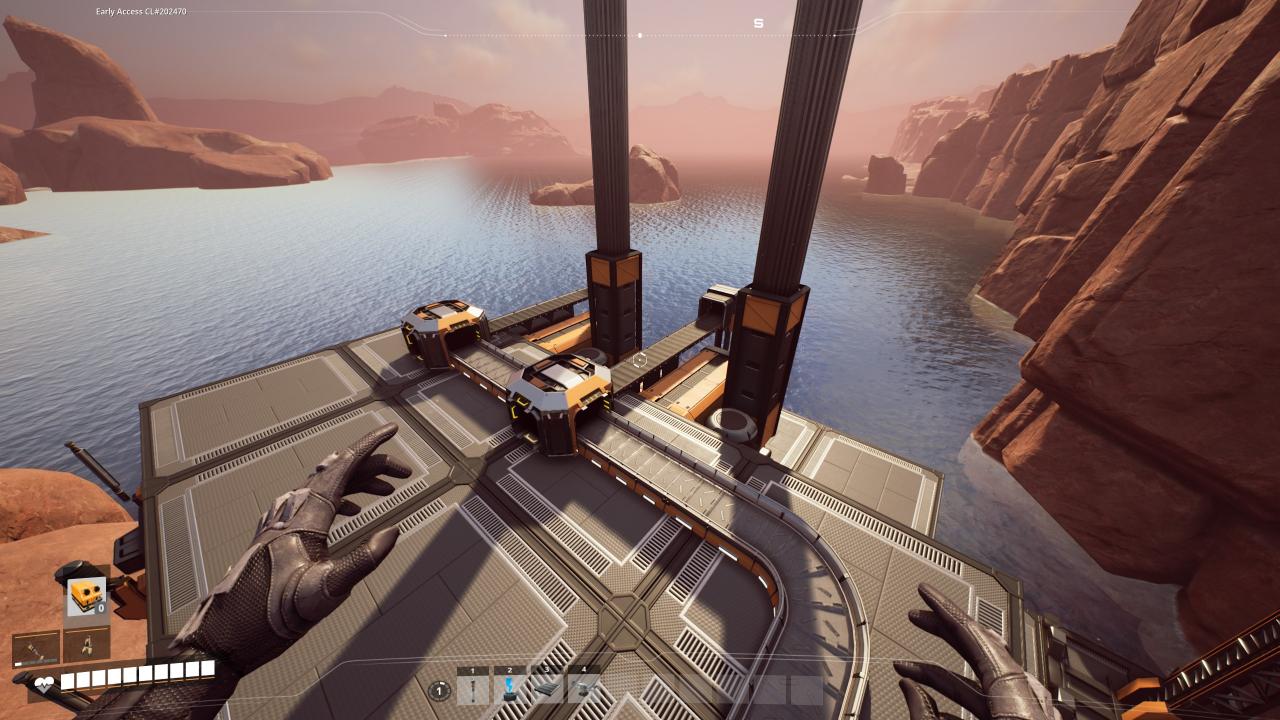 Now we can simply lay out our splitters in manifold fashion. Make sure that your main line here is the fastest belt speed available to you. This setup is totally modular and goes to show why manifold loading is the optimal way to do coal setups.
3.) Extractor Placement & Plumbing
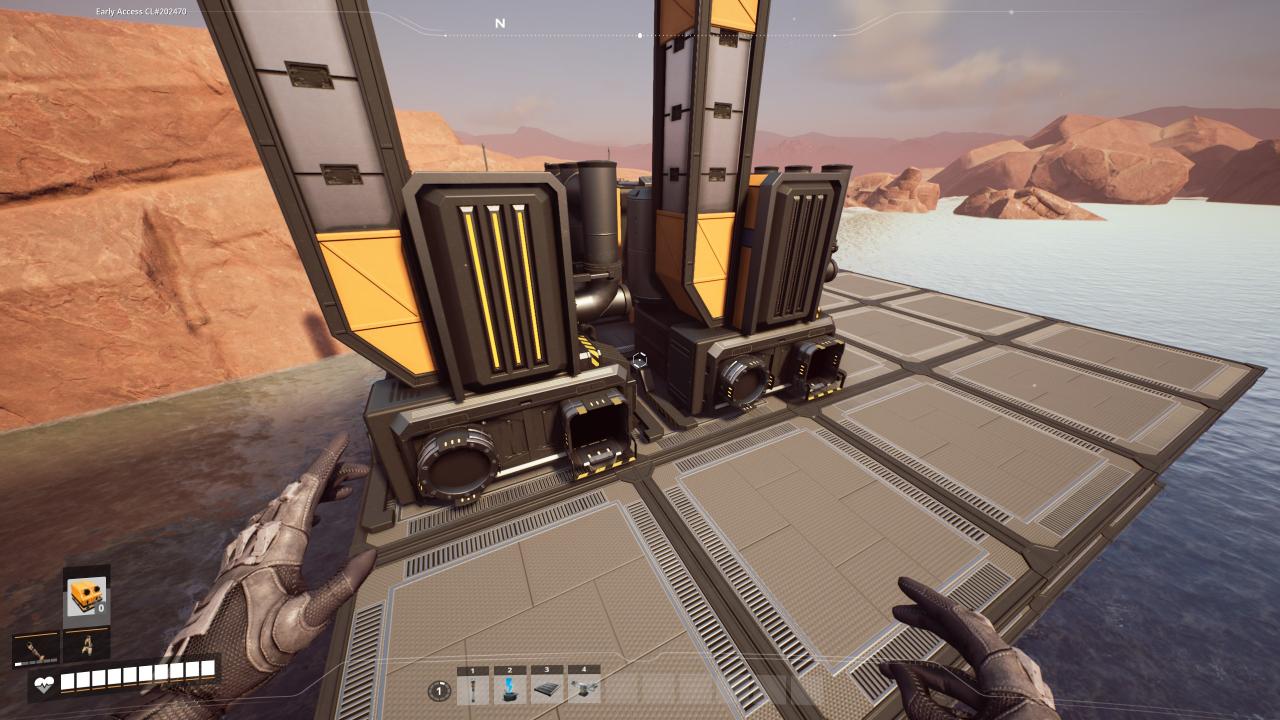
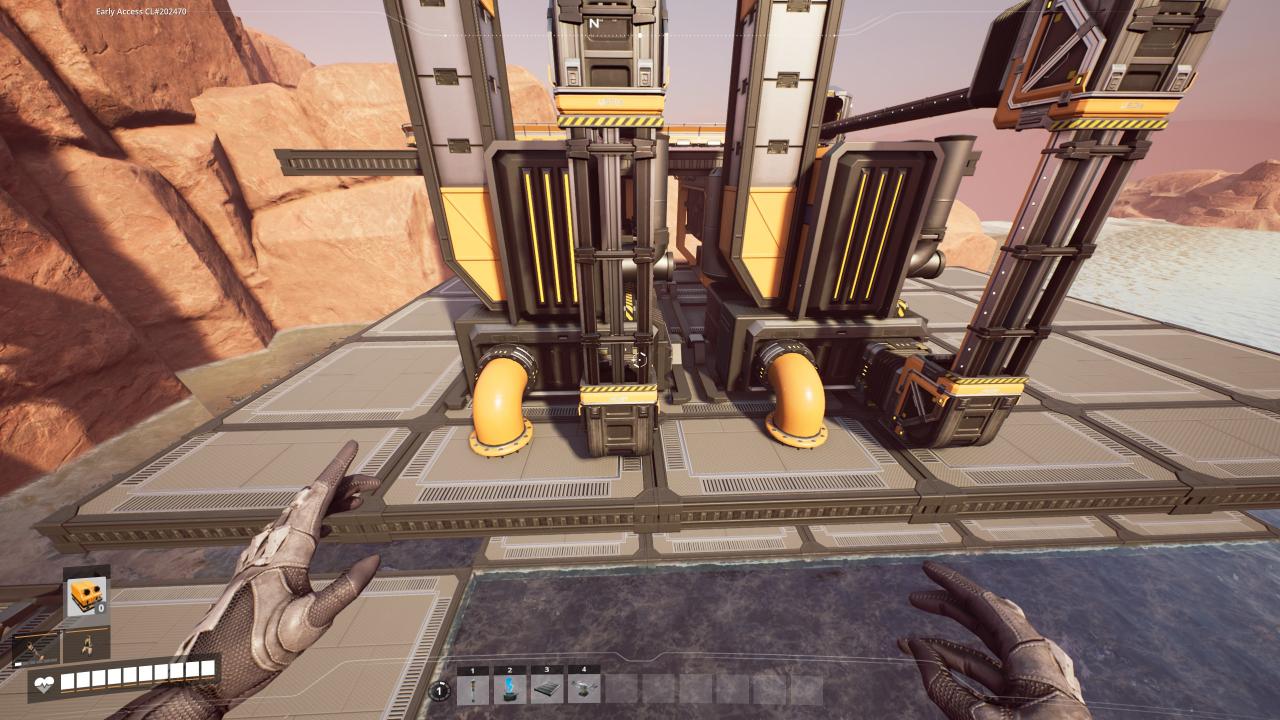 Roughly locate the centerpoint between the input for our water pipes. This is where we will place our water extractor.
 Place the extractor at this point with the input pretty much aligned at the far edge of the foundation as shown. You don’t need to be too precise with this, but it will make your build look cleaner and you’ll waste less space when adding more.
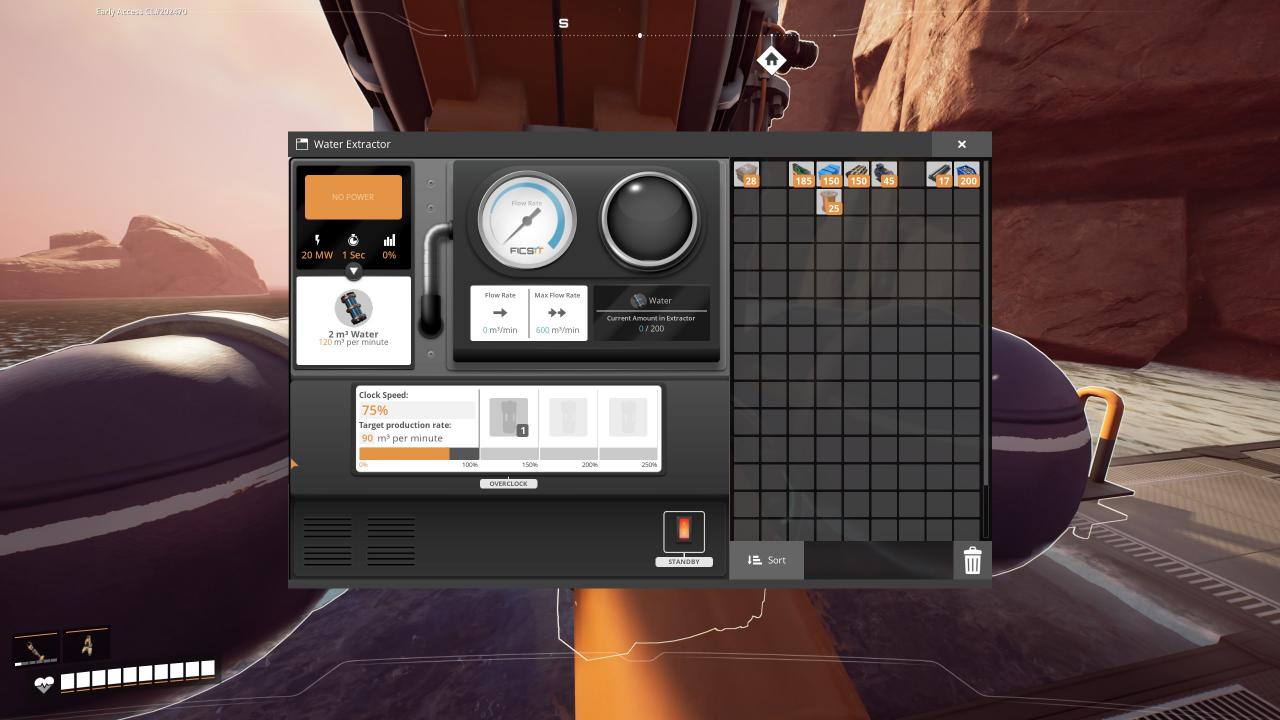 The convenient part of laying out our extractor in this way is that when set to 75% clock, an extractor can feed exactly 2 coal generators. With the current overclocking algorithm you’ll be saving power this way and making optimal use of space. Trust me, after placing dozens upon dozens of these guys you’ll be glad for it to be as simple as snapping side by side.
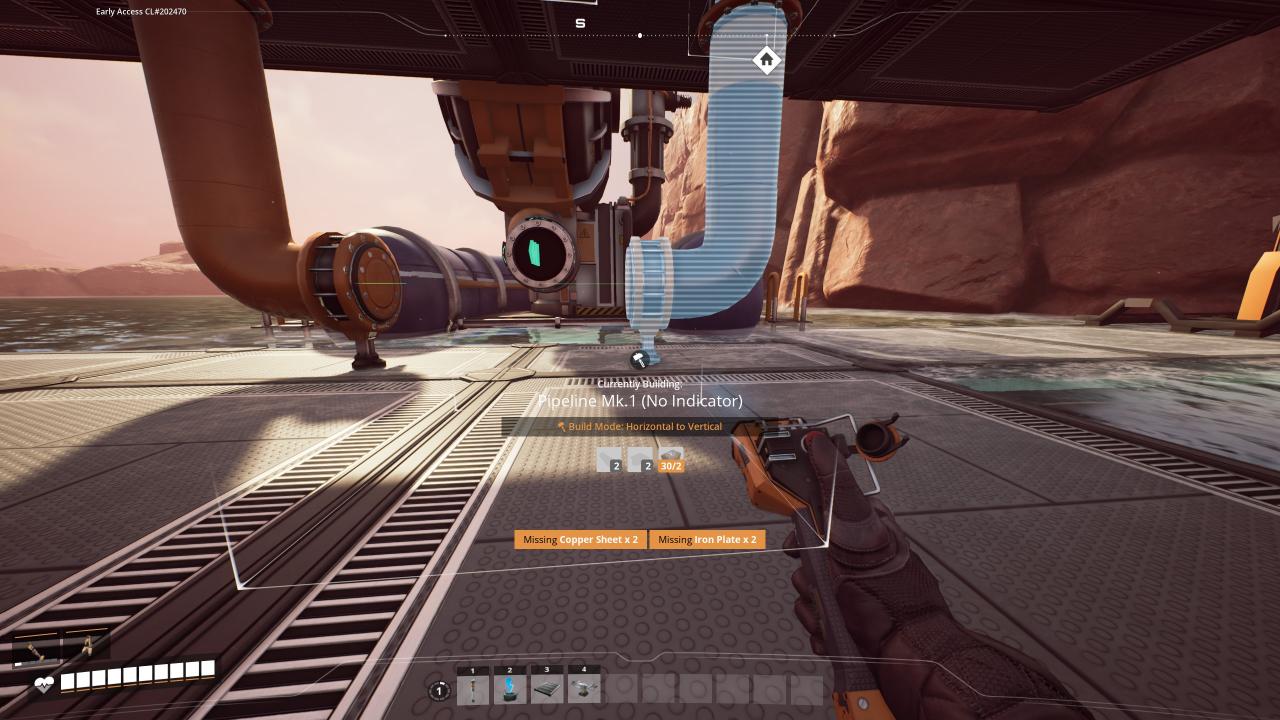
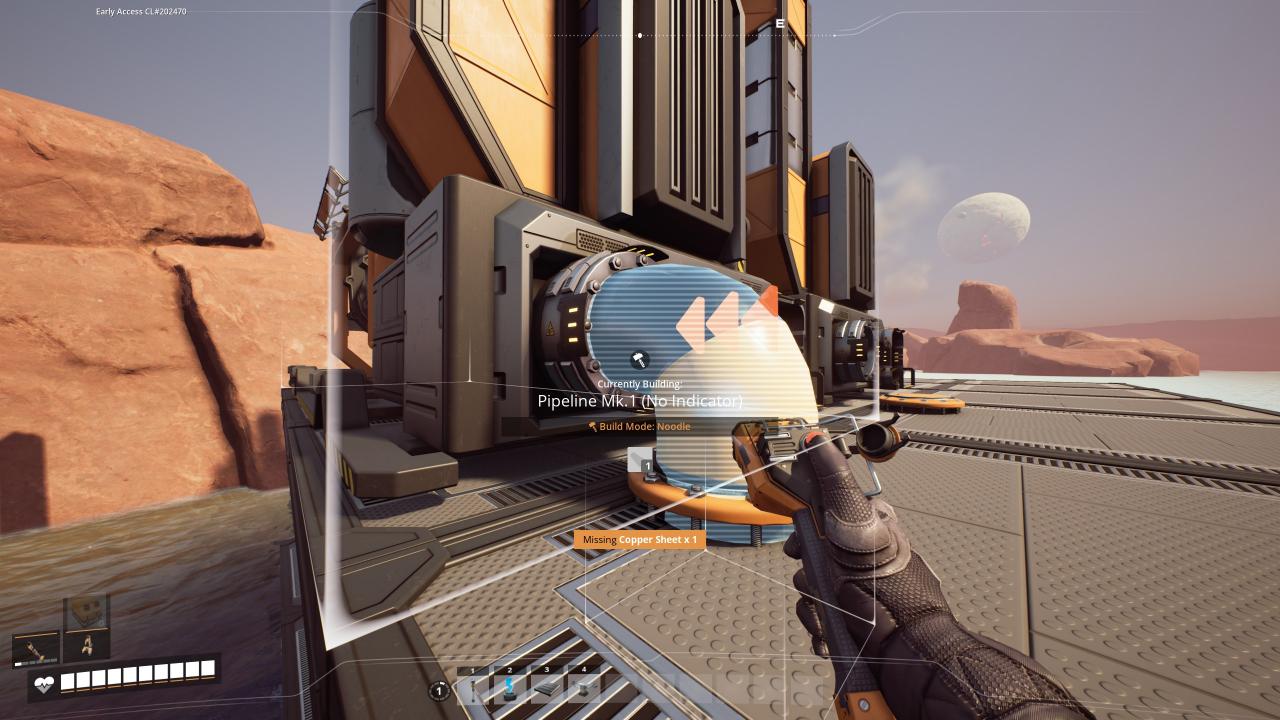
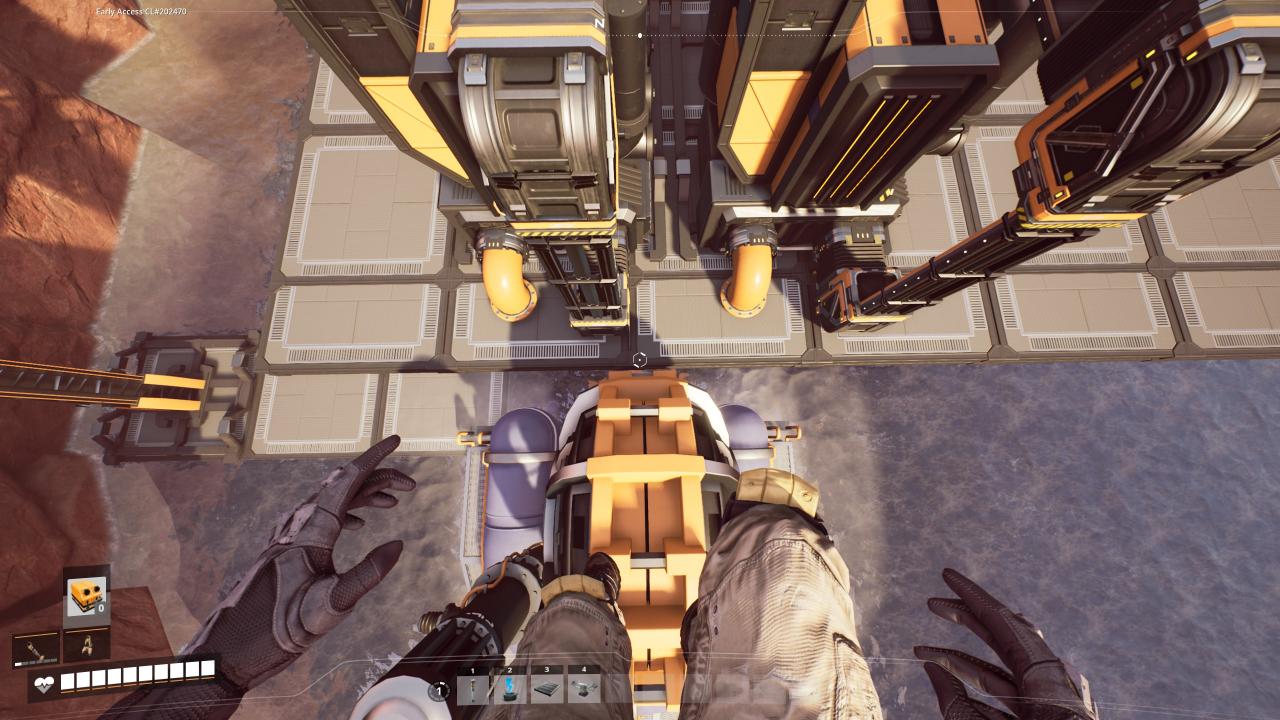
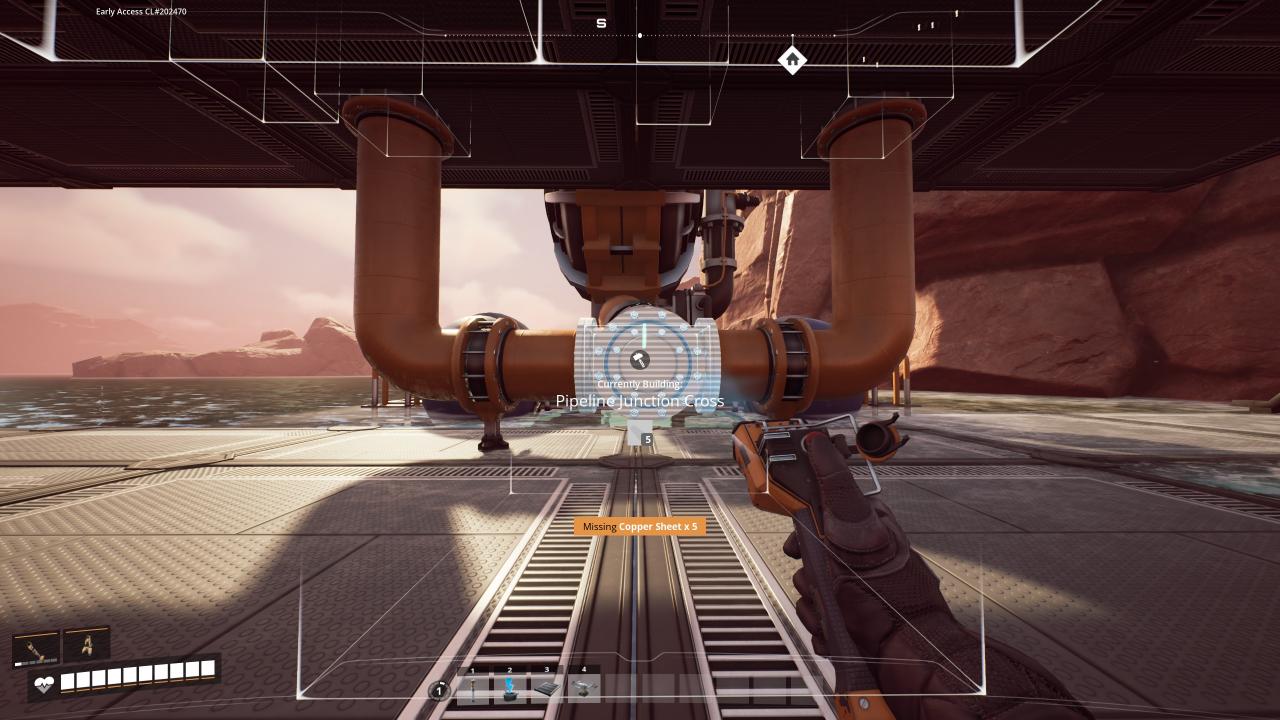 Now we can just go back down to our bottom level and hook everything up. If you connect your two pipes as shown you can save time by just procedurally snapping a 4-way connector.
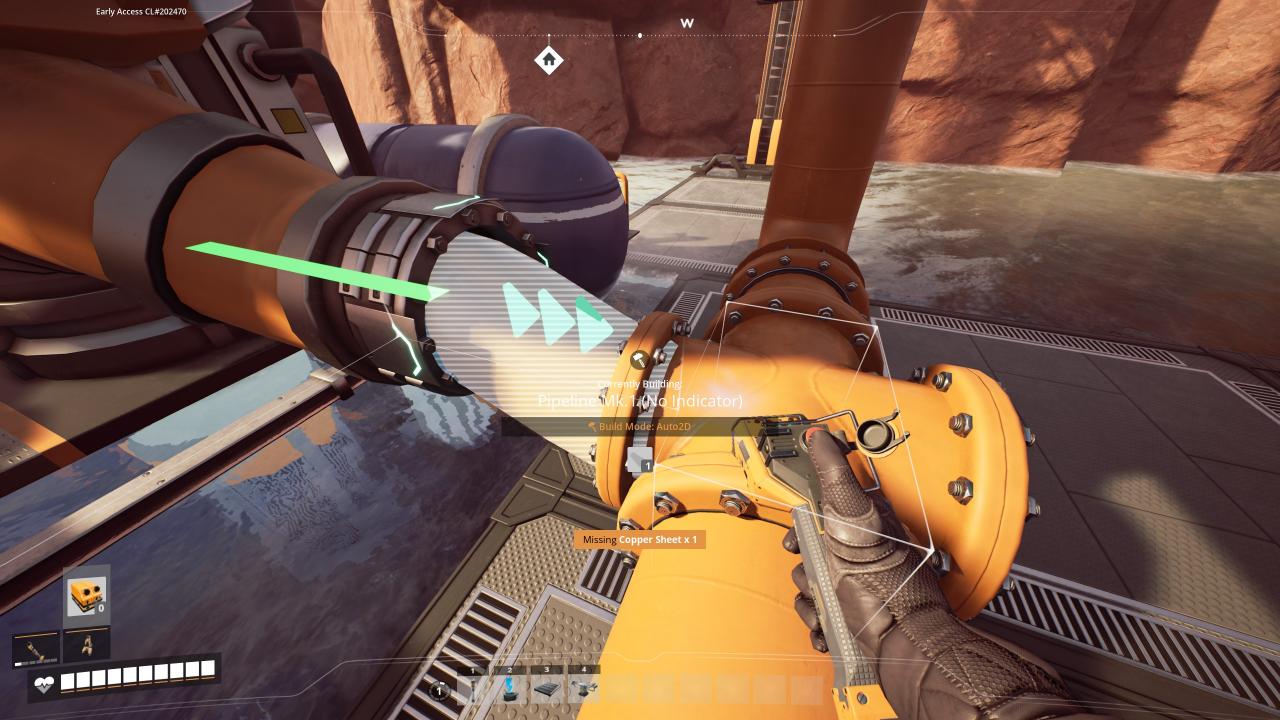 It seems like a tight squeeze, but by switching to the “Auto2D” mode we can connect our extractor to the junction.
6.) Power Connections
 To set up power for the extractors I just like to place a wall on the second floor. Using this we can use a double power connector to easily route our wires on the inside without everything looking ugly.
 To wrap everything up we can use the same method to rig up our generator outputs.
7.) Optional Smart Splitting
I like to use a smart splitter at the beginning of each generator module. This way I can build as many generators as the terrain allows for, and if I encounter a rock or something impeding my way I can just shuffle the flow of coal to a new module off to the side. This is super useful for making use of all space available regardless of where on the map you are building.
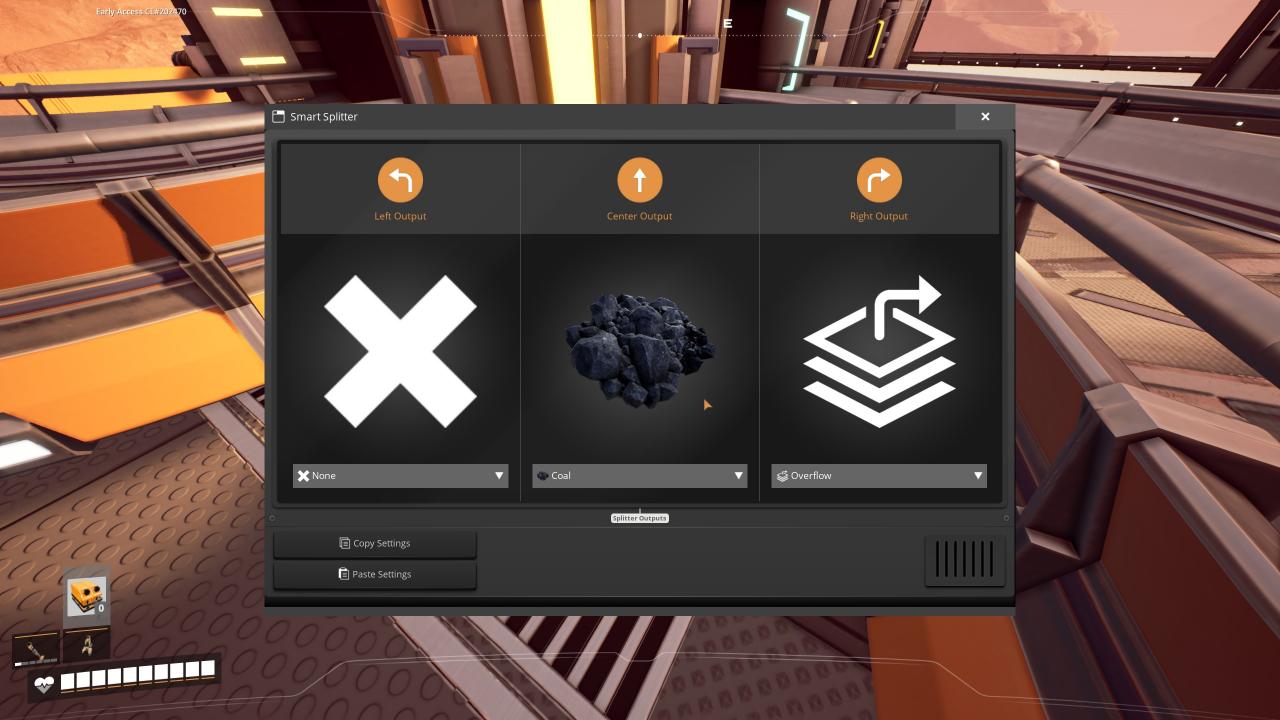
Then you can simply set up the logic to allow coal into the center output and send all overflow to the left or right depending on how your plant is set up.
By SpaceWombat
More Guides:
- Satisfactory: How To Make A Secret Base Easy
- Satisfactory: How to Make a Train Station Outpost (Update 6)