
Crimson Moon hit me harder than I expected. I died, I died again, and then I realized that was the whole point. This is a roguelike through and through — you replay chapters, scrape together loot, and slowly turn a hopeless character into something that can actually survive. The game doesn’t hold your hand, and the first few hours can feel brutal if you don’t understand how the loop works. After spending significant time with it, I’ve figured out the systems that matter most and the mistakes that will waste your time. Here’s what I wish someone told me before I started.
Quick Answer
- Core loop: Play chapters repeatedly, collect loot, equip better gear, die, repeat until you clear the chapter.
- Loot rarity: White < Green < Blue < Purple. Purple is the highest tier.
- Loot carryover: Picked-up items AND stored items come with you after every mission — even if you fail.
- Secondary weapon: Equip it manually from the bottom-left sword icon. Many players miss this.
- Ranged attacks: Target an enemy first, or your frost/bleed shots will miss.
- Boons: Pick one build (bleed, frost, “never die”) and stack boons that support it.
- Loadout changes: Only possible when selecting a mission, before passing through the gates. Always hit save.
The Roguelike Loop: Embrace Dying, Keep the Loot
Crimson Moon doesn’t apologize for being a roguelike. You will play every chapter repeatedly until you get better. Expect to die — that’s not failure, that’s progression.
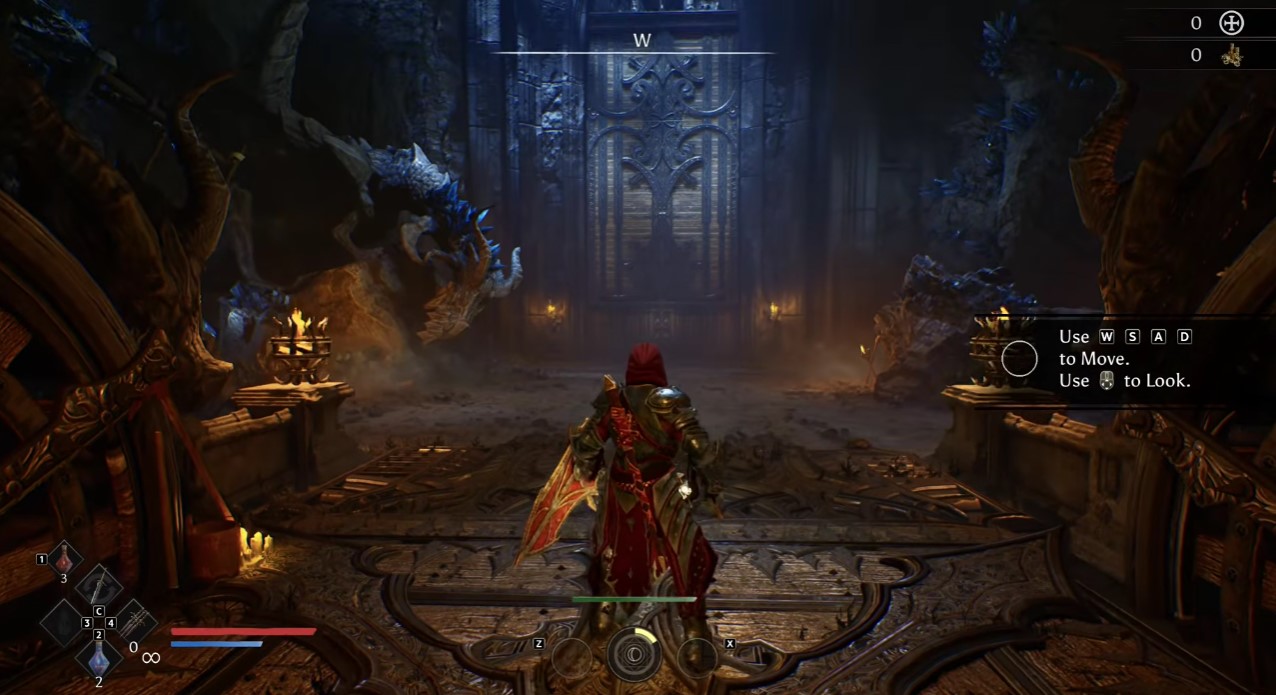
The loop is simple:
- Play a chapter and see how far you can get.
- Collect loot along the way.
- Equip that loot.
- Try again until you beat the chapter.
What makes this tolerable is the loot system. Items are color-coded by rarity: white is common, green is uncommon, blue is rare, and purple is the highest tier you’ll find. Purple items are the ones you want to build around, but early on, even a good green can carry you through a tough section.
The key mindset shift: every death is a loot run. You’re not starting over — you’re banking gear for the next attempt.
Loot Priority: Stats First, Bonuses Second
When I pick up gear, I check two things in order:
- Does it have a higher stat than what I’m currently wearing?
- Does it provide a bonus?
Even if the stats match your current gear, a bonus effect can make the item worth equipping. Don’t dismiss an item just because the numbers look similar — read the bonus text.
You start with only two reserved item slots, visible in the reserved item slot section of your inventory. The first two are unlocked from the beginning, and more unlock as you level up. Use these slots wisely — they’re your safety net for carrying valuable items out of a run.
Here’s the part that took me too long to realize: stored items and picked-up items both come with you when you complete a mission. And even if you don’t complete the chapter, those items still come with you and remain accessible. This is the entire backbone of progression in Crimson Moon. You can fail a mission and still walk away richer.
The Consumable Wheel and the Secondary Weapon You’re Ignoring
On the bottom right of your screen, there’s a wheel for different item sets — healing potions and other consumables live here. The throwing knife is the most important item on that wheel. Always have it equipped. It’s your ranged option when closing distance is a bad idea, and it can save you in tight spots.
But here’s the thing most players miss: on the bottom left, between the throwing knives and the healing potion, there’s a sword icon. Some swords come with a specific item attached, but you have to click it to actually wield it.
That’s your secondary weapon slot.
Your character has a primary sword and a secondary weapon. The secondary weapon can be used, but you must equip it manually. I spent way too long not understanding why I couldn’t use the other item in my loadout. If you’re in the same boat — click that sword icon and equip your secondary.
Attack Buttons and Why Your Ranged Attacks Miss
The control scheme took me a minute to map out. On controller, press Y (on mouse, likely R) to access the bottom menu. Pay attention to the two attack buttons — they can change depending on the weapon you’re holding:
- LT is the left trigger attack.
- RT is the main attack.
The mistake I kept making: using ranged attacks without selecting a target. If you hold RT for a ranged attack — frost, bleed, whatever — and you haven’t locked onto an enemy, the attack can completely miss. The enemy isn’t targeted, so your shot goes nowhere useful.
Always ensure you have a target selected before using ranged attacks. This one habit will save you a lot of frustration, especially in chaotic fights where you’re trying to keep distance.
Boons: Commit to One Build
Boons are where your build actually comes together. You’ll pick them up during runs and get options to choose them at certain gates. Multiple builds are viable — bleed, frost, or a “never die” tank setup are the ones I’ve seen work.
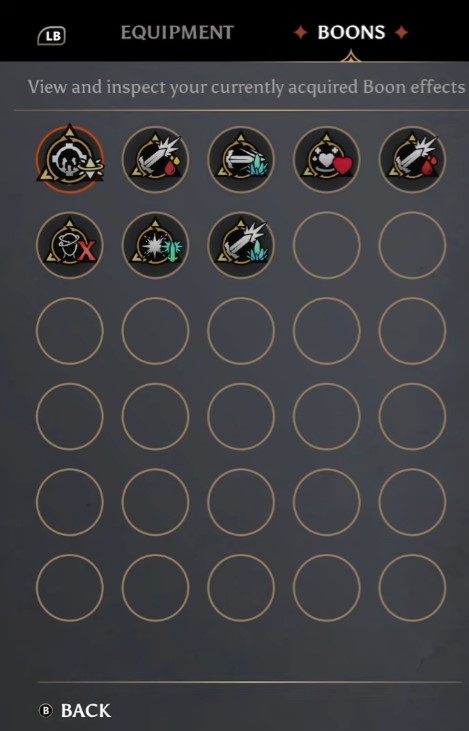
My advice: pick a specific build and work toward those items as you level up. Don’t grab a bleed boon one run and a frost boon the next and expect synergy. You can transition to a different build later if you want to try something else, but early on, focus helps.
Some boons are stackable. You’ll know if a boon can stack by looking for a small icon next to it that shows how many boons are stacked on that particular item. Stacking is how you turn a decent build into an oppressive one — lean into it when you see the option.
Purifying Weapons and Keeping Loot Between Runs
The purification system confused me at first, but it’s actually straightforward. To purify weapons, you play the mission. When loot is picked up and items are stored, both types come with you upon mission completion.
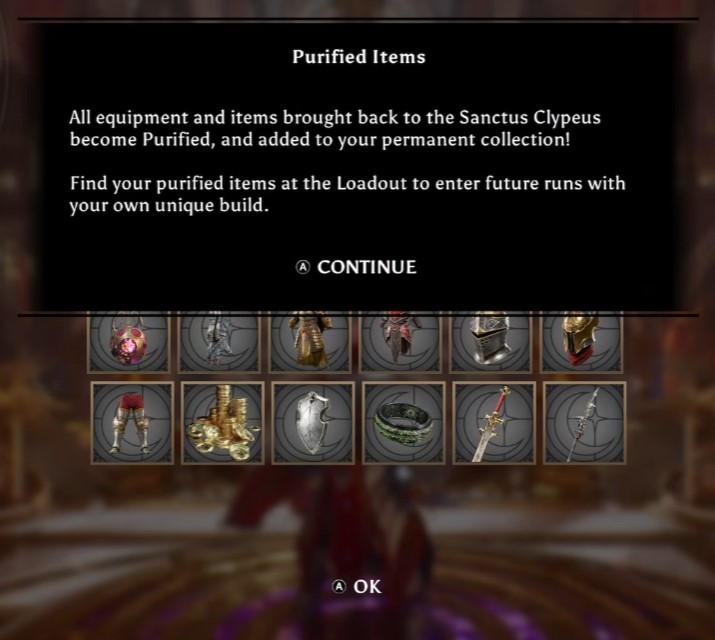
And again, the critical part: even if you don’t complete the chapter, these items still come with you. You can access them afterward. This is how you keep loot between runs.
If you want to dig deeper into how I handle equipment collection and purification across runs, check out my full loadout breakdown — it covers the specifics of what’s worth keeping and what gets purified.
Quests, Gold, and the Armory: Your Economic Engine
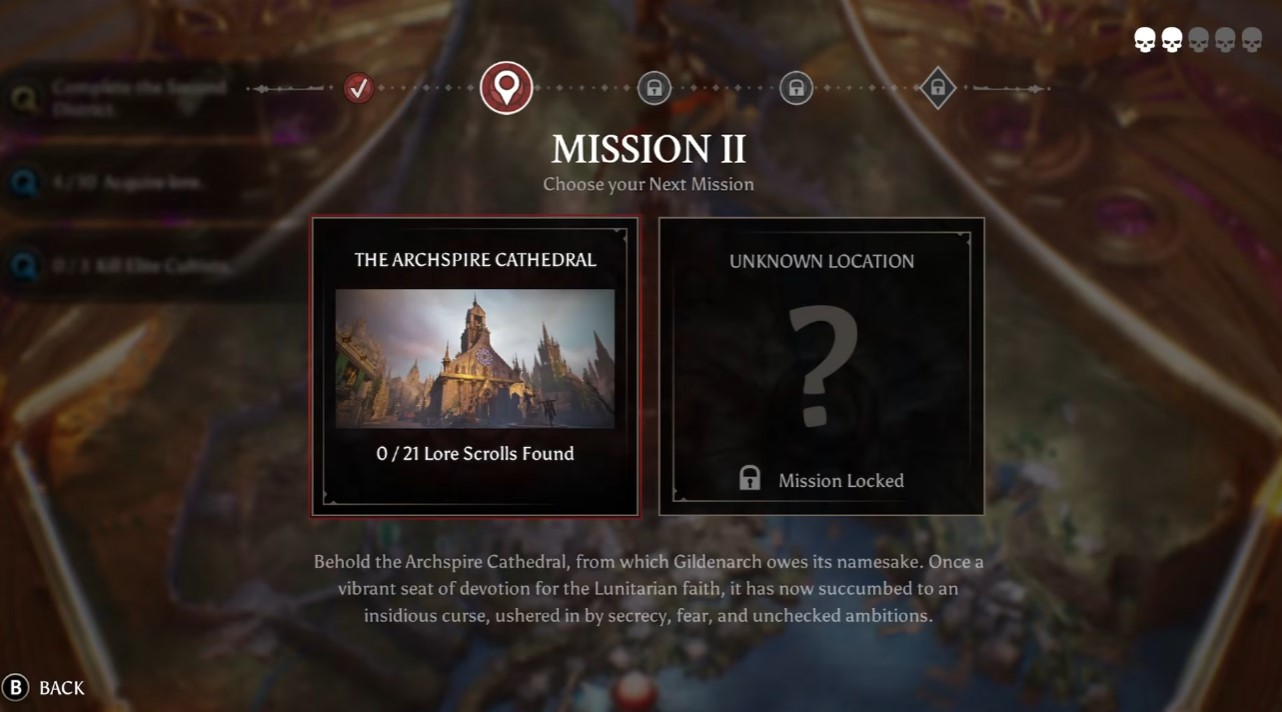
After the first part of the prologue, you’ll meet an NPC who gives quests. Pick up every single quest. The rewards are genuinely good — I’ve seen 10 gold and 100 gold quests, and that difference matters early.
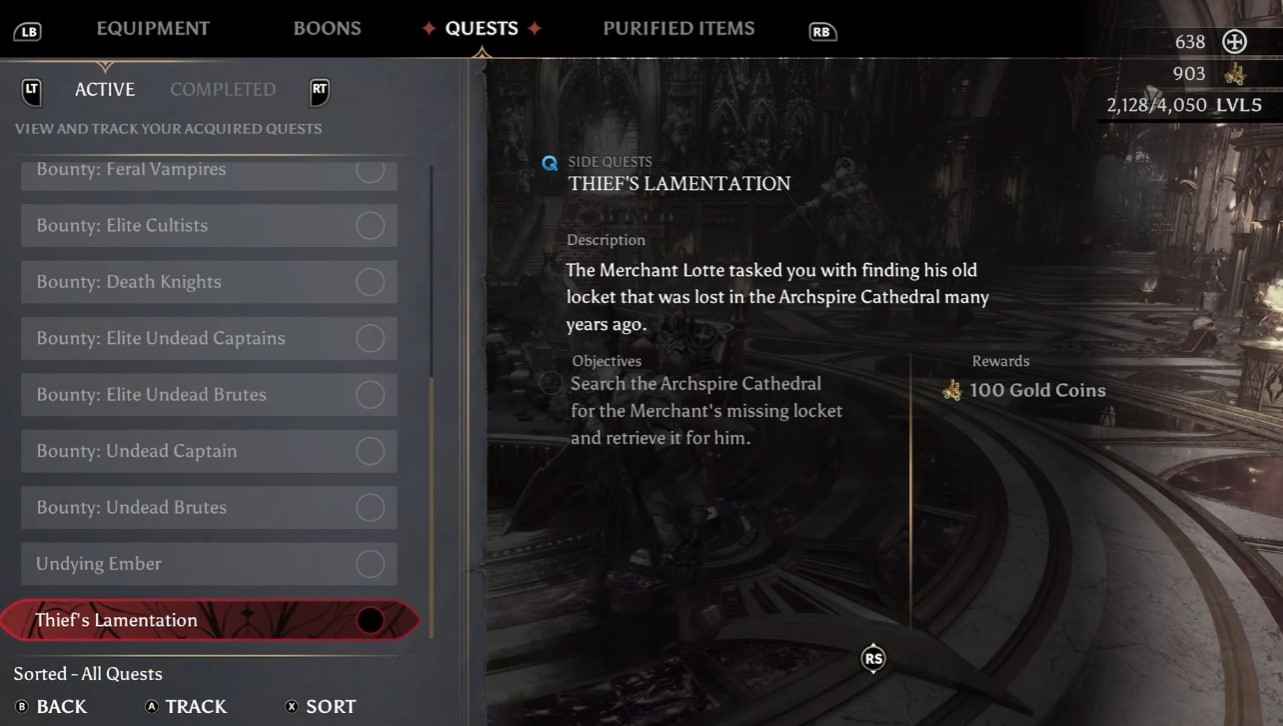
A few things I learned about the quest system:
- You can mark quests on the map, but only up to three at a time (the main one plus two others).
- Gold is critical for buying from the armory.
- Replaying chapters is a solid way to farm gold if you’re short.
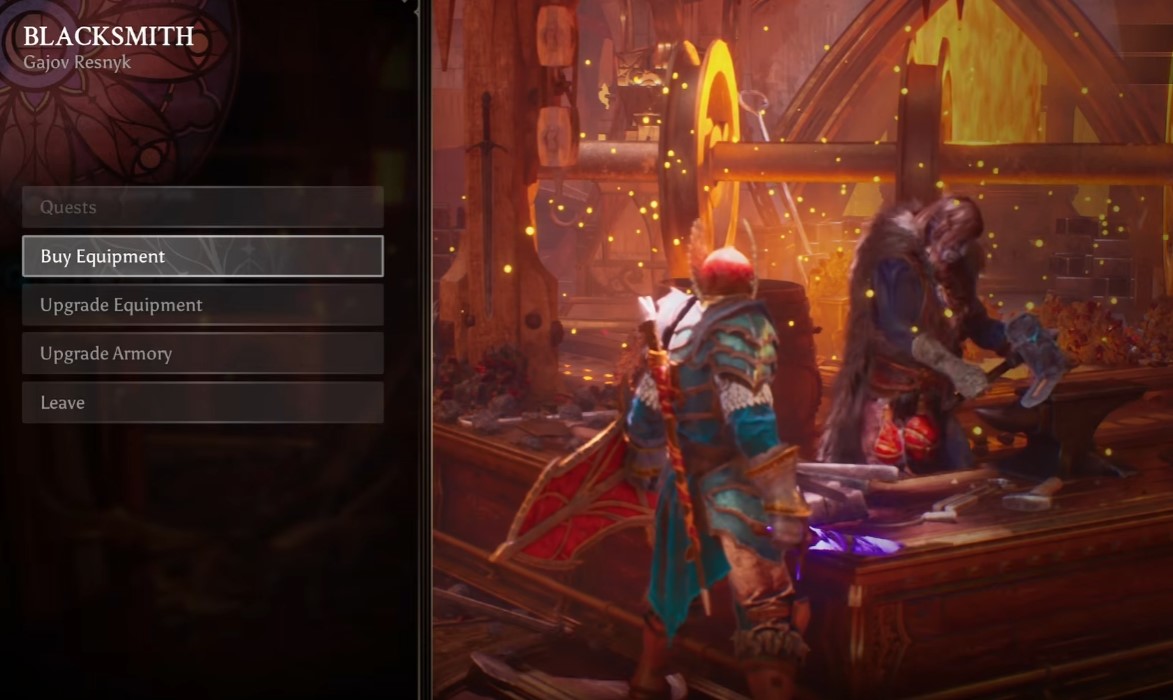
The armory NPC has three options:
| Option | What It Does |
|---|---|
| Buy Equipment | Purchase new gear, some locked by level |
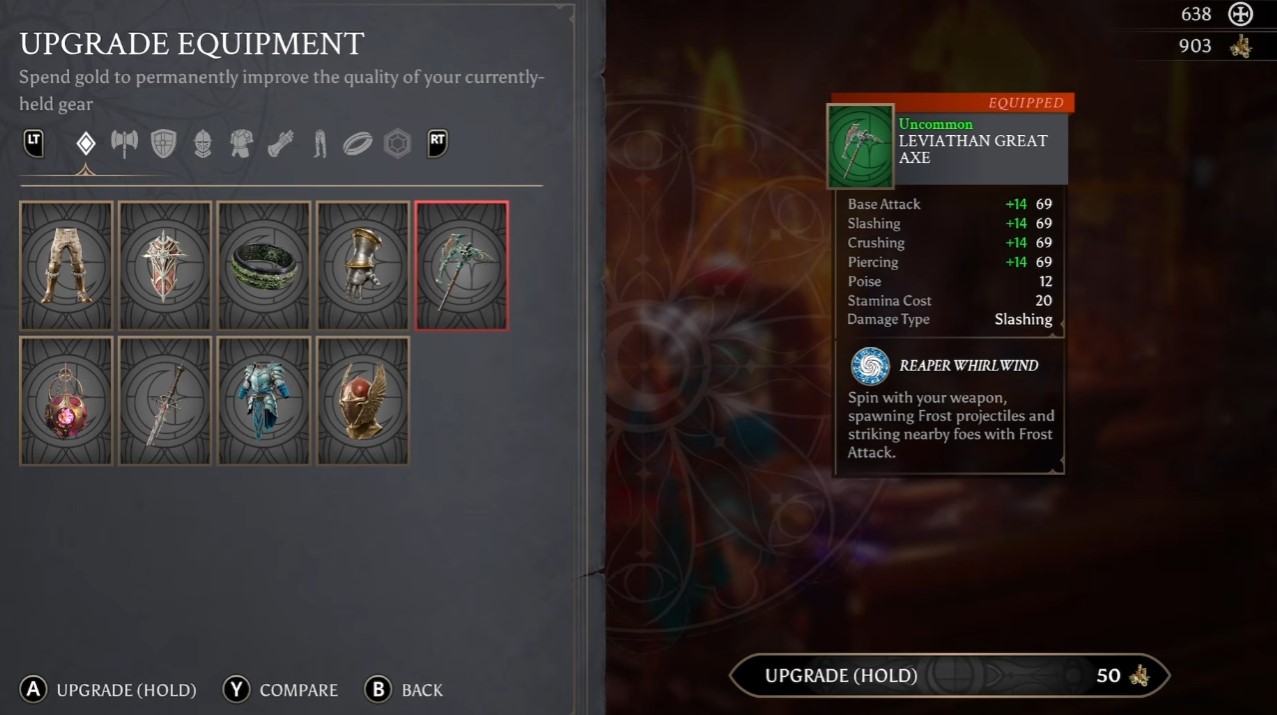
| Upgrade Equipment | Improve items you already own for gold |
| Upgrade Armory | Invest in the armory itself |
You can upgrade items you like for gold. Some items are worth upgrading, some aren’t — check the stat gain before you commit your gold.
Here’s a trick I found: in the buy equipment menu, some items are locked to a level requirement (say, level 10). But if you click the right bumper, there’s a Special Offers tab. This tab lets you buy weapons early without waiting to reach the required level. The catch? Special offers may require a specific currency — I’ve seen items priced at 700 of a certain type. It’s a trade-off, but if a weapon fits your build, it can be worth skipping the level grind.
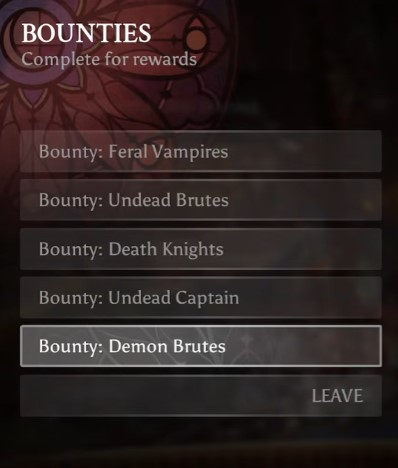
For more detail on how I farm bonus XP and gold through bounties, I’ve written that up separately — it’s the fastest route I’ve found to build up your economy.
The Merchant: What to Buy and When
The merchant NPC sells items, and your buying strategy should always keep your build in mind. Don’t grab random gear just because it’s available — ask yourself if it supports what you’re trying to do.
There’s a potion available at level 11 that’s genuinely excellent. I’d recommend picking it up when you hit that level. If you’re having trouble killing enemies, look for something that gives more firepower instead — survivability doesn’t help if you can’t put enemies down.
Changing Your Loadout: The Process That Actually Works
You can’t change your gear whenever you want. To change your loadout, you must either die or pick up items. When you select a mission, a door opens — walk through it, and before going through the gates, you’ll get an option to select your gear.
This pulls up the loadout menu. Here’s the process I follow:
- Hit edit (minus/Y on controller).
- Go through your items.
- When clicking on an item, hit compare to see how it stacks against your current equipment.
- Change any of these slots: helmet, chest piece, boots, gauntlets, primary weapon, secondary weapon, shields, angel.
- Most importantly, hit save.
The save button is not optional. Sometimes the game won’t count your changes if you don’t press it — I’ve lost loadout changes this way. After saving, your angel will appear as you spawned, and you can proceed into the mission.
For a deeper look at how I upgrade weapons and shields back at the hub, I’ve got a separate guide covering that system in full.


