
The seven purple gourd challenges are Big Walk’s true end-game gauntlet — a mix of tedious transport missions, waiting games, and communication puzzles that will test your patience as much as your problem-solving. I’ve cleared all seven, and this guide gives you the exact order, locations, and working solutions for each one, so you don’t waste hours figuring out the same tricks I had to learn the hard way.
Unlock Conditions & What to Expect
All seven purple challenges unlock immediately after you beat the main ending and complete the black sphere puzzle. There are exactly 7 challenges total, scattered across the game world — several are concentrated around the golf course area, while others are tucked into rooms you might have walked past during the main story.
Note: A noclip mod was used for demonstration purposes in the community, but it is not required to complete any of the challenges. Everything here is doable with normal movement and standard tools.
If you’re still exploring the world, you might want to check the Big Walk Map Guide first to get your bearings — it makes locating each challenge point significantly easier.
Challenge 1: Golf Course Arrow Return
Location: Golf course area
This is the most tedious of the seven — expect roughly 1 hour with 2 players. More players make it significantly easier.
An arrow marker is visible at the challenge start, but the actual objective is to follow that arrow all the way back to the original puzzle location, which sits down in a lower area near where the arrow points. Your job: transport the puzzle object back to its original point using a combination of the train and the drawbridge.
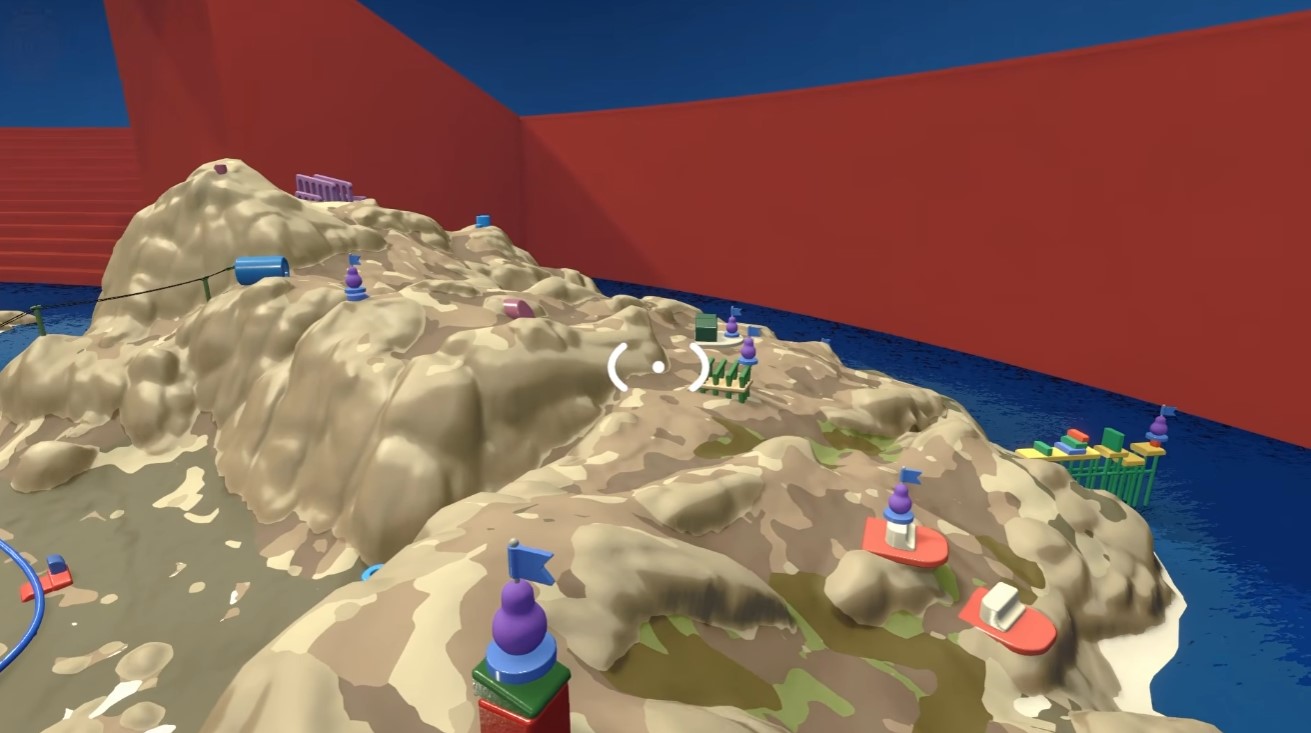
The process is straightforward but punishing:
- Follow the arrow to the original puzzle site
- Pick up the puzzle object
- Use the train to move it across the first gap
- Coordinate with a partner to lower the drawbridge at the right moment
- Carry the object to the final position
Do not drop the object. If it falls off the side, you’re redoing progress. Take your time — there’s no time limit, only the risk of your own impatience.
Warning: The train timing is the biggest failure point. Have one player ride ahead and wait at the drawbridge control while the other handles the object. Rushing this step costs you 10+ minutes of backtracking.
Challenge 2: 30-Minute Wait Timer
Location: Near the golf course area
This challenge is exactly what it sounds like: a 30-minute waiting game.
Find the room with buttons similar to the 5-minute puzzle from the main game. Press the button to start the timer, then leave. Go do literally anything else for 30 minutes — collect collectibles, explore, or knock out the All 7 Radio Station Locations Guide while you wait.
When you return, the purple item will be revealed in the room. That’s the entire challenge.
Tip: This is the only purple challenge you can “cheat” by multitasking. Don’t sit and stare at the timer — use the downtime productively.
Challenge 3: Light Communication Grid
Location: A room with lights on the wall
Two players are separated here — one sees the lights, the other can communicate via a light device on their side. You cannot talk about what you see, so you need a numbering system.
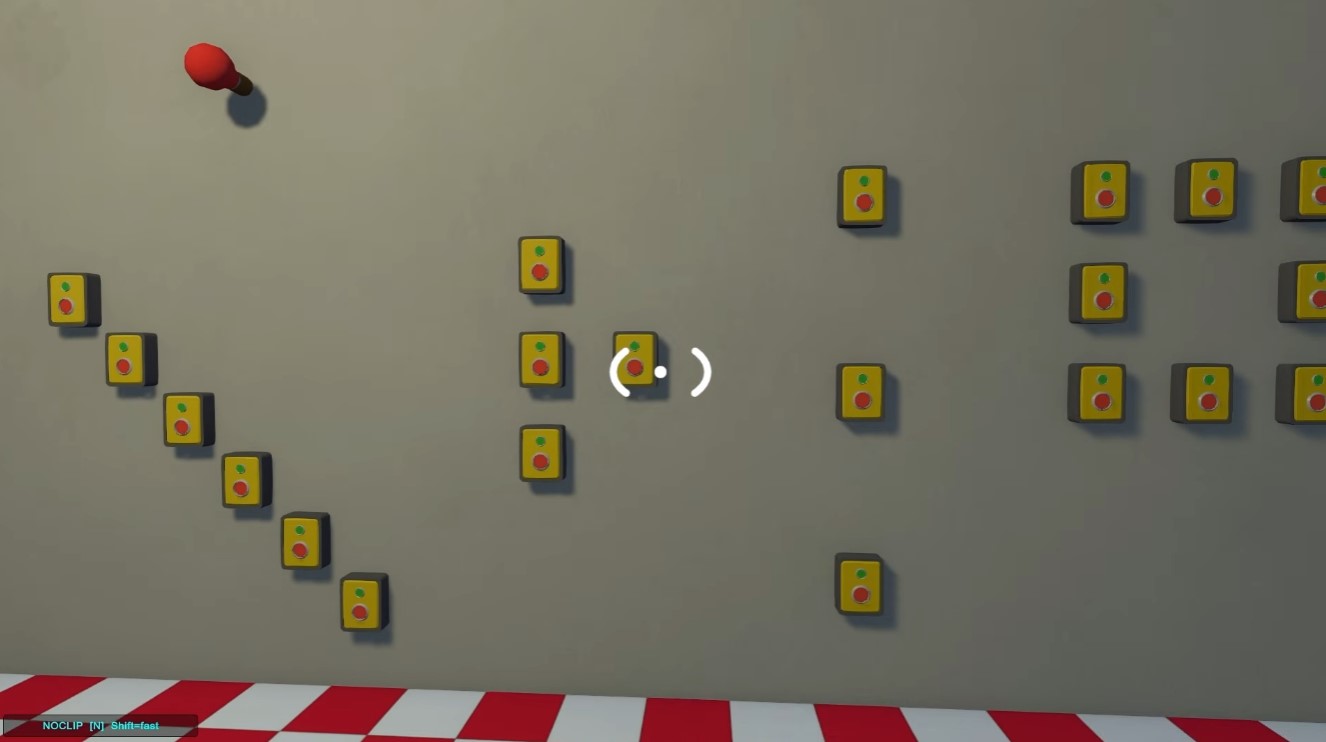
The grid scheme that works:
- Positions 1–16 on the walls (including 2 on the bottom)
- Plus 16 on the floor
- Read lights left to right, like a clock face
Communication protocol:
- The observing player spots a light and identifies its position number (e.g., clock position 11)
- The observer clicks the light device 11 times to signal “11”
- The other player confirms by clicking once for yes, twice for no
- Then ask “what number?” and repeat the process for each light
It’s tedious, but it works with a consistent system. The biggest mistake is changing your numbering scheme mid-puzzle — agree on it before you start.
Challenge 4: Music Box Puzzle
Location: A room with a music box
Players cannot communicate verbally about the music in this one, so you need a physical workaround.
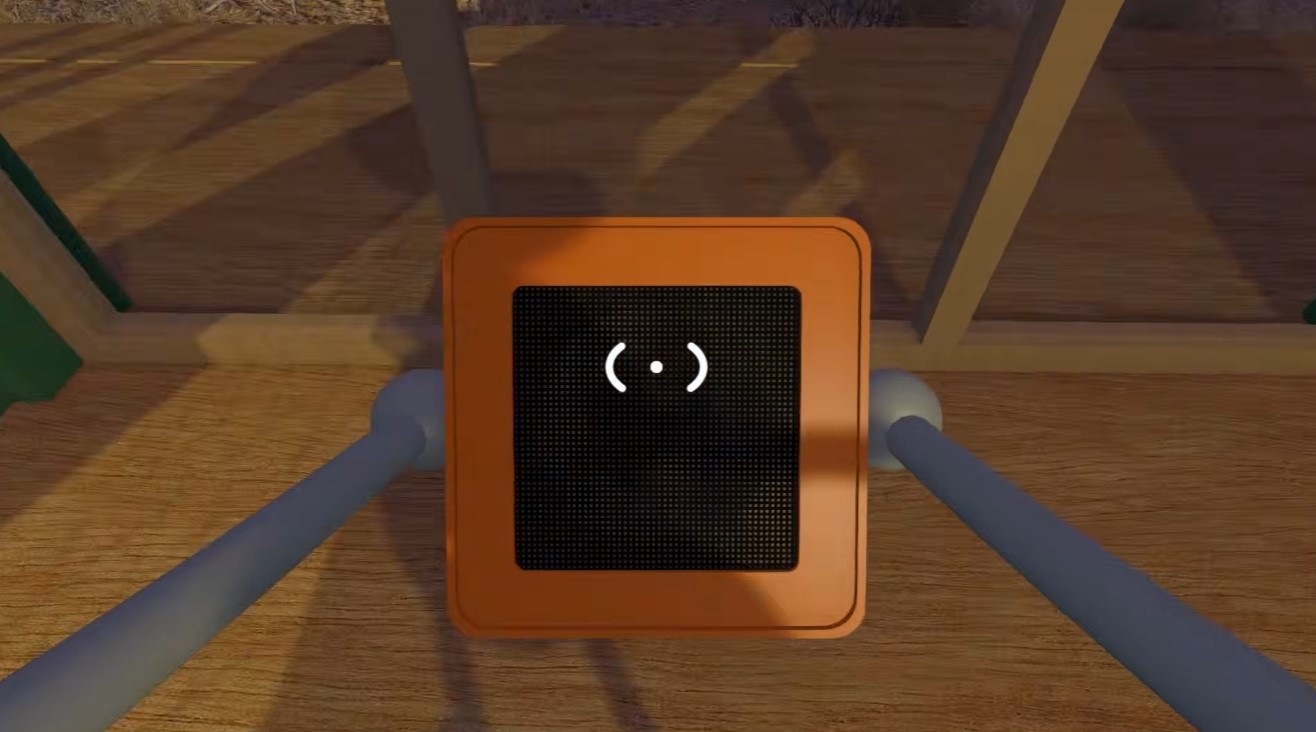
The solution method:
- Physically grab the music box items and space them around the room in a numbered arrangement (position 1, position 2, etc.)
- The communicating player memorizes which item is which number
- Tap on the glass a number of times corresponding to the item number needed
- Example: tap 3 times for item 3, and the other player places it in the first slot
This takes a couple of tries to get right, mostly because the other player needs to count carefully. Slow down your taps — there’s no penalty for pacing.
Challenge 5: Alignment Matching
Location: A room requiring alignment of objects
Objective: align all items with their corresponding targets. There are 9 items total.
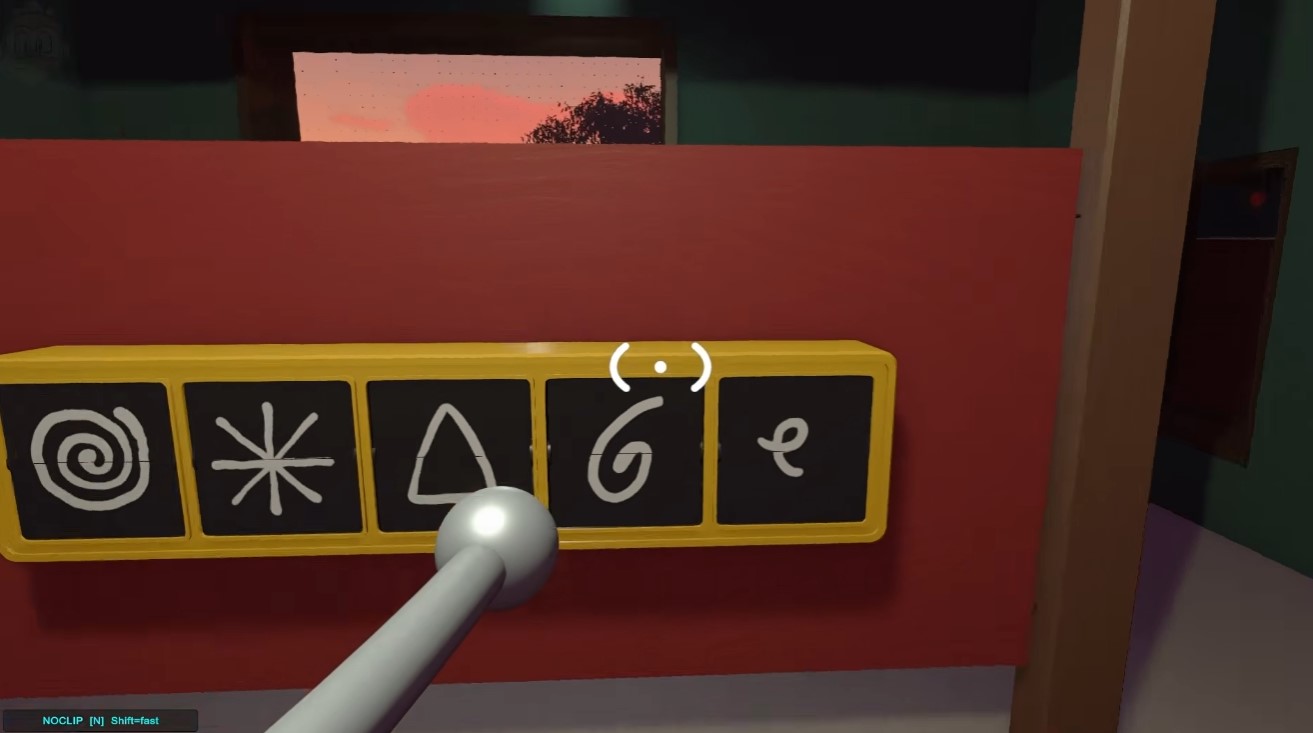
The method:
- Bring all 9 items down to the floor
- Line them up against a wall
- Assign each item a number (1–9, left to right)
- Since verbal communication is not possible, use tapping on the glass — tap the number of times corresponding to the item’s position (e.g., 4 taps for item 4)
Counting is the key. One player needs to be disciplined about their tap rhythm — if you tap too fast, the other player will lose count and you’ll have to redo the sequence.
Tip: Establish a 1-second interval between taps. It feels slow, but it eliminates miscounts.
Challenge 6: Number Matching & Patience Test
Location: A room with a series of numbers on display
Players can communicate here, but it’s difficult. The good news: there’s a structural shortcut.
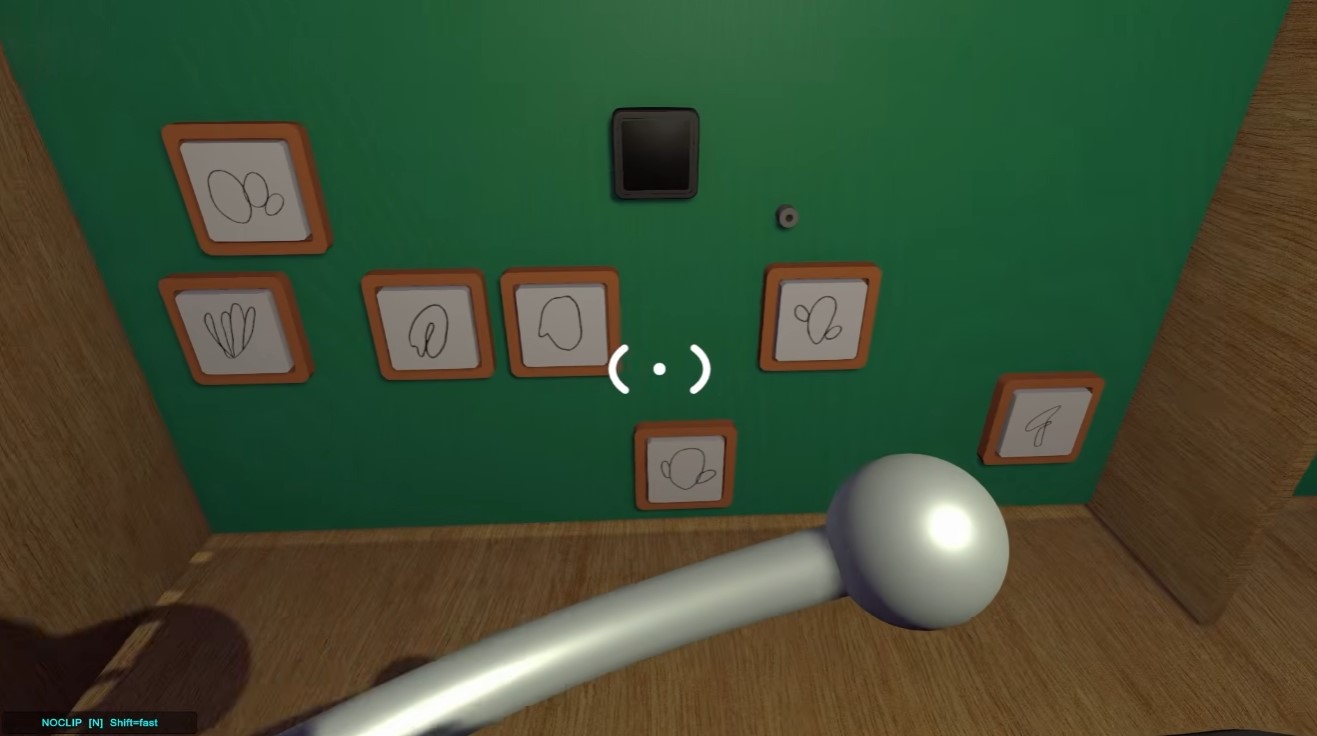
Key insight: The numbers on one side do not change — they are always the same.
Strategy:
- Both players enter the room together
- Note which numbers correspond to the ones on the other side
- Eliminate the ones that don’t match
- Kick out the unnecessary numbers
Alternatively, you can try to explain this verbally, but it will take significantly longer. This challenge is a test of patience above all — the numbers don’t move, so there’s no time pressure. Work methodically.
Challenge 7: Purple Flag Pole Course
Location: The final purple challenge area
This is the infamous purple flag pole challenge — and despite the reputation, it’s actually the easiest of the seven.
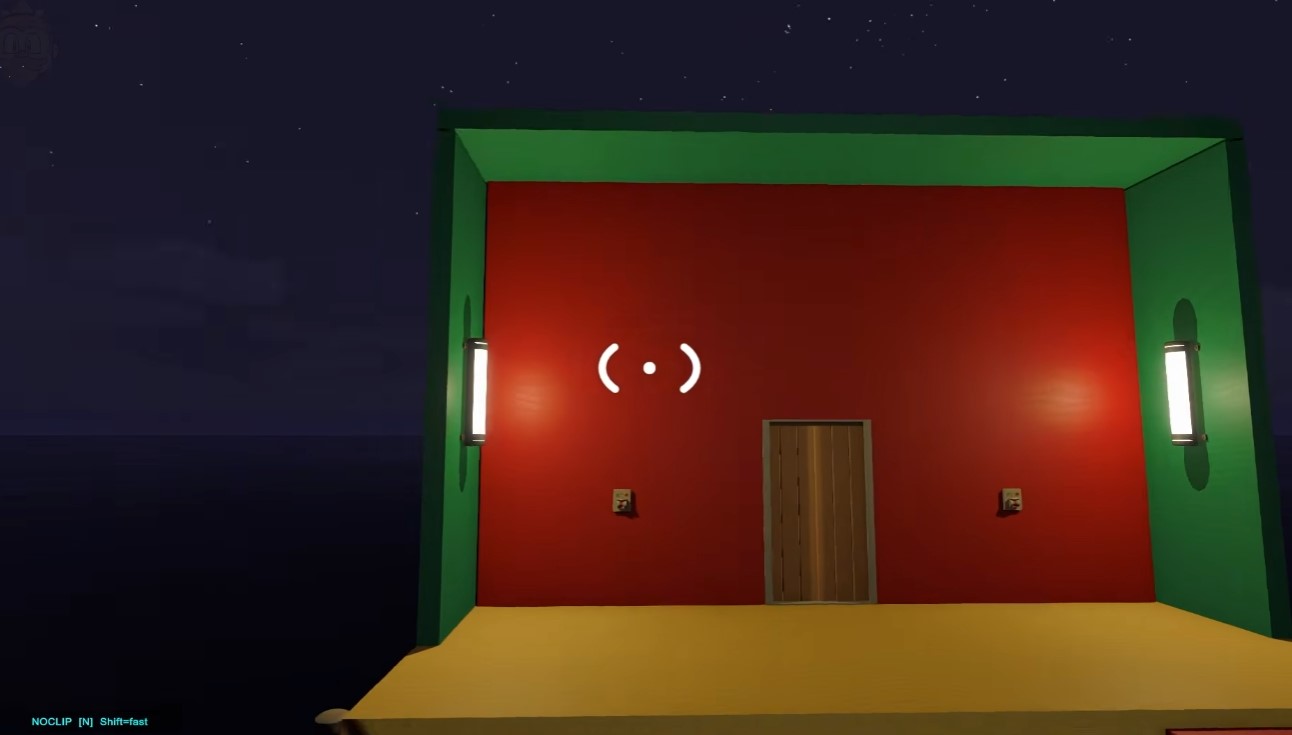
The method:
- Kick the object further up the course to mark your path — this tells you where to go next
- Take your time and establish a good rhythm
- Remove any backpacks before attempting — they will cause you to get stuck on geometry
- Once you reach the gate and open it, the rest becomes easy
The course is more about patience than skill. The backpack issue is the #1 cause of frustration — players forget they’re wearing one and suddenly can’t fit through a gap.
For a deeper breakdown of this specific challenge, check the Purple Flag Pole Golf Puzzle Guide.
Common Mistakes Table
| Mistake | Consequence | Fix |
|---|---|---|
| Dropping the object in Challenge 1 | 10+ minutes of backtracking | Move slowly, coordinate train/drawbridge timing |
| Changing numbering scheme mid-puzzle (Challenges 3–5) | Total communication breakdown | Agree on the grid/system before starting |
| Tapping too fast in glass communication | Miscounted sequences, redo | Use a steady 1-second tap interval |
| Wearing a backpack in Challenge 7 | Getting stuck on course geometry | Remove all backpacks before starting |
| Rushing the 30-minute wait | Nothing — just wasted anxiety | Do other collectibles while waiting |
Final Thoughts
The purple gourd challenges are Big Walk’s end-game content done right — they force you to use every mechanic you learned in the main game, plus a few you probably didn’t know existed. Challenge 1 is the grind, Challenges 3–5 are the communication puzzles that will test your friendship, and Challenge 7 is the victory lap.
Once you’ve cleared all seven, you’ve effectively seen everything Big Walk has to offer in terms of puzzles. If you’re chasing 100% completion, don’t forget that the purple gourds are just one layer — the Big Walk Secret Ending Guide covers the remaining content you’ll need to find.
More Guides:
- Big Walk: The Purple Flag Pole Golf Puzzle Guide
- Big Walk: How to Solve the 3259, 1883 2321, 1976 Red Coordinates Puzzle
- Big Walk: How to Solve the Yellow/White Counting Binoculars Ocean Puzzle
- Big Walk: How to Solve the Green Seat Speaker Headphones Sound Button Puzzle
- Big Walk Green Flare Puzzle Guide: How to Find the Hidden Seaside Box


