This is a guide I’ve made to consolidate all my knowledge of DRG’s weapon assortment in search for the best and worst weapons, and their respective overclocks, for each of the 4 classes. The guide also submits a number of builds that I consider to be the best in terms of versatility and strength. Only Haz5 4-player performance is taken into account when judging any of the guns.
 Key Aspects:
- Scout can dole out very high amounts of DPS against single targets
- Scout sorely lacks in AoE and CC departments compared to other 3 classes; enhancing these capacities is the most important thing for most builds.
- Scout is by far the most mobile class in the game, therefore all mobility perks have reduced value
Overall Rating: ★★★★
General Information
– Great accuracy
– Middling damage
– Fast reload
Stats:
Damage: ⬤⬤⬤◐⭘, sustained
Accuracy: ⬤⬤⬤⬤◐
Gross Ammo Efficiency: ⬤⬤⬤◐⭘
Single-Target Effectiveness (Short Range): ⬤⬤⬤⬤⭘
Single-Target Effectiveness (Medium-to-Long Range): ⬤⬤⬤⬤⭘
Crowd-Control Effectiveness: ◐⭘⭘⭘⭘
Best Overclocks:
Bullets of Mercy ⬤⬤⬤⬤⭘
Significantly increases damage dealt to enemies afflicted by a debuff with a slight magsize decrease. Easy to use and proc. Good ST damage boost without serious downsides.
AI Stability Engine ⬤⬤⬤⬤⭘
Decreases damage per shot and RoF, but gives a huge weakspot damage bonus and removes all recoil. Extremely accurate, with good ammo efficiency and damage at any range, provided the player aims for weakpoints.
Builds:
Bullets of Mercy OC + BP Boltshark ⬤⬤⬤⬤⭘
A generalist build for GK2; strike a good balance between damage, ammo efficiency and accuracy. Focusing tough and special enemies is advised with GK2. Bodkin Point provides strong CC against swarms.
AI Stability Engine OC + GR Zhukovs ⬤⬤⬤⬤⭘
A build, intended for ST focus. Good ammo efficiency and works equally good at any range. GK2 is used for long-range sniping of special enemies or magdumping into tougher enemies. Zhukovs are also used for magdumping, with a limited CC capability.
Other Notable Overclocks:
Electrifiying Reload ⬤⬤⬤⭘⭘
Electrocutes hit enemies upon reload, but slightly lowers total ammo. Electrocution duration is doubled compared to normal. Decent CC and good ammo efficiency, but doesn’t really increase DPS.
Overclocked Firing Mechanism ◐⭘⭘⭘⭘
Increases RoF and DPS accordingly, but substantially decreases accuracy. Very poor ammo efficiency.
Overall Rating: ★★★★★
General Information
– Spread gets increasingly stronger with each consectuve shot
– Very strong ST damage
– Fairly Fast Reload
Stats:
Damage: ⬤⬤⬤⬤◐, burst
Accuracy: ⬤⬤⬤◐⭘
Gross Ammo Efficiency: ⬤⬤⬤⬤⭘
Single-Target Effectiveness (Short Range): ⬤⬤⬤⬤⬤
Single-Target Effectiveness (Medium-to-Long Range): ⬤⬤⬤⭘⭘
Crowd-Control Effectiveness: ⬤◐⭘⭘⭘
Best Overclocks:
Hipster ⬤⬤⬤⬤⬤
Moderately reduces damage per shot, but doubles total ammo, increases RoF, decreases spread and recoil. Provides a massive boost to ammo efficiency and DPS at the same time. An extremely strong OC.
Builds:
Hipster OC + BP Boltshark ⬤⬤⬤⬤⬤
Top-of-the-range M1000 build; extreme ST of hipster paired with strong CC of BP crossbow. Extremely versatile, with good ammo efficiency.
Hipster OC + CB Boltshark ⬤⬤⬤⬤◐
Bigger focus on ST DPS than the previous one. Retains strong CC, but puts a significant strain on M1000’s ammo supply, leading to weaker ammo efficiency.
Other Notable Overclocks:
Active Stability System ⬤⬤⭘⭘⭘
Encourages incorporating focus shots into the playstyle. Decent-ish OC, but the non-hipster M1000 suffers from poor ammo efficiency to seriously consider this.
Hoverclock ◐⭘⭘⭘⭘
Provides no real combat advantage. Can prevent fall damage for newer players, but is worthless otherwise.
Overall Rating: ★★★★★
General Information
– Mediocre accuracy and slow projectile speed
– Very strong ST damage
– Mediocre CC
– Doesn’t need to reload, but fairly fast to overheat
Stats:
Damage: ⬤⬤⬤⬤⬤, semi-sustained
Accuracy: ⬤⬤◐⭘⭘
Gross Ammo Efficiency: ⬤⬤⬤◐⭘
Single-Target Effectiveness (Short Range): ⬤⬤⬤⬤⬤
Single-Target Effectiveness (Medium-to-Long Range): ⬤⬤⭘⭘⭘
Crowd-Control Effectiveness: ⬤⬤⬤⭘⭘
Best Overclocks:
Overtuned Particle Accelerator ⬤⬤⬤⬤◐
Nearly doubles damage, but massively increases spread, making the weapon ineffective at medium and long range. Extreme ST damage and DPS, and, given the scout’s mobility, is a very worthwhile OC. Good ammo efficiency.
Thermal Exhaust Feedback ⬤⬤⬤⬤⭘
When weapon temperature reaches 50%, projectiles gain progressively increasing damage and apply heat to enemies. Increased temperature build-up that comes along with the OC helps reach this state quicker, but you risk overheating the gun completely. Greatly increases damage without sacrificing accuracy, but it’s difficult to maintain. Mediocre ammo efficiency.
Aggressive Venting ⬤⬤⬤◐⭘
Applies heat, burns and fears everything in a wide area around the player upon overheating, and reduces overheat duration slightly. Strong CC without drawbacks.
Builds:
Thermal Exhaust Feedback OC + TV Boltshark ⬤⬤⬤⬤◐
Mixed ST and CC from DRAK for sustainability, and the extreme ST from TV crossbow annihilates special and tougher enemies. Frontloads DPS with decent versatility, but ammo efficiency is on the lower side, and it’s extremely easy to overheat the DRAK.
Overtuned Particle Accelerator OC + CB Boltshark ⬤⬤⬤⬤◐
CQC build with similar strengths as the one above. Extreme ST damage and great CC with decent ammo efficiency, but limited to close range. Worse for bosses and some special enemies.
Aggressive Venting OC + ED Zhukovs ⬤⬤◐⭘⭘
Strong CC and AoE from DRAK and extreme ST from Zhukovs. Situationally very good and offers decent ammo efficiency, but isn’t too especial.
Other Notable Overclocks:
Shield Battery Boost ⬤⬤⬤⬤⭘
Significantly boosts damage and projectile velocity, but negates it whenever the shield is not full, which makes it difficult to benefit from. Additionally, permanently increases RoF and total ammo. The only downside is increased per-shot heat, but it can be balanced out with ease. This OC shines in open environments, but doesn’t have any substantial drawbacks. A clean OC in disguise.
Impact Deflection ⬤⬤⬤◐⭘
Makes projectiles ricochet off enemies or terrain. Strong AoE and boosted ST damage against ground targets, but works quite poorly against aerial threats and some special enemies. Reduced RoF also lowers DPS.
Rewiring Mod ⬤⬤⬤⭘⭘
Refunds a portion of ammo upon overheating. Extreme total ammo boost, but very awkward to use and lowers DPS.
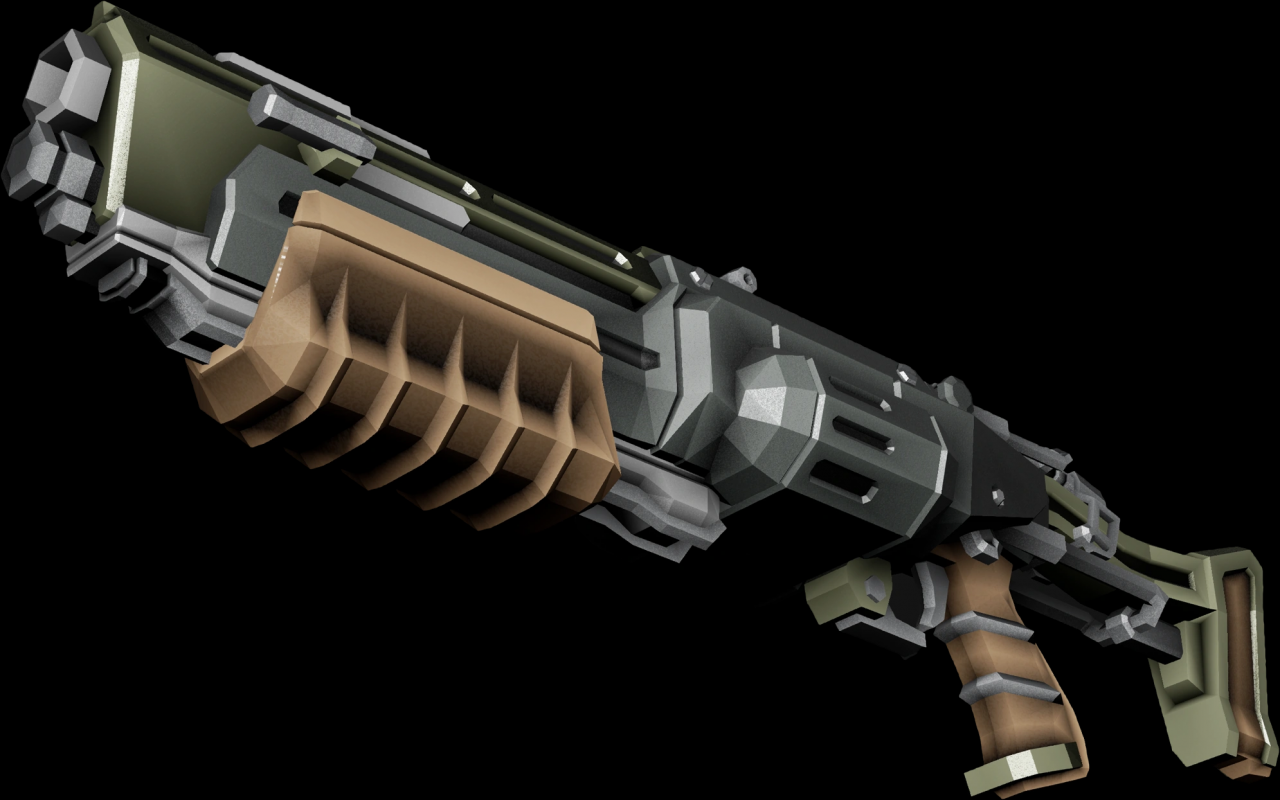
Sawed-Off Boomstick
Overall Rating: ★★
– Two shots and a long reload
– Huge spread, only effective at point-blank
– Very good ST damage
– Middling CC
Stats:
Damage: ⬤⬤⬤◐⭘, burst
Accuracy: ⭘⭘⭘⭘⭘
Gross Ammo Efficiency: ⬤⬤⬤⭘⭘
Single-Target Effectiveness (Short Range): ⬤⬤⬤⬤⭘
Single-Target Effectiveness (Medium-to-Long Range): ⭘⭘⭘⭘⭘
Crowd-Control Effectiveness: ⬤⬤⭘⭘⭘
Notable Overclocks:
Jumbo Shells ⬤⬤⬤⭘⭘
Very strong burst ST damage, minus the ammo.
Shaped Shells ⬤⭘⭘⭘⭘
Increases accuracy somewhat, but subtracts total ammo in return.
Special Powder ◐⭘⭘⭘⭘
Provides no real combat advantage. Can prevent fall damage or grant propulsion for newer players, but is worthless otherwise.
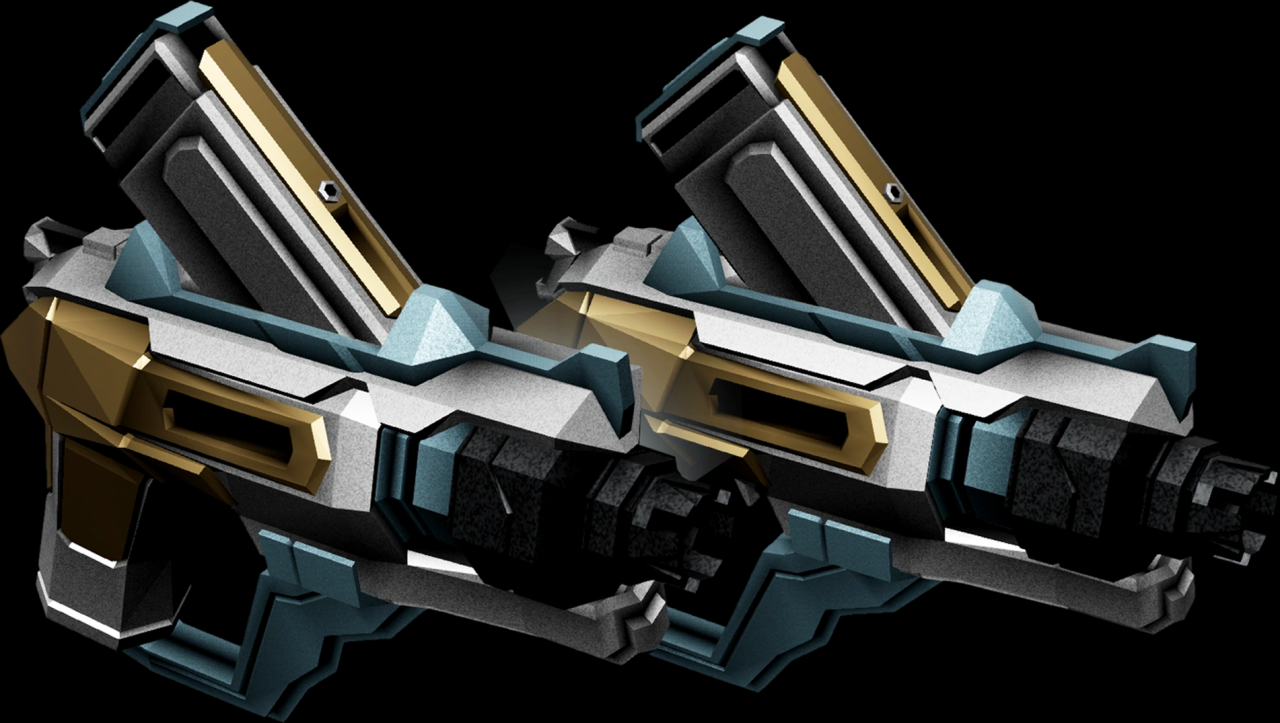
Zhukov NUK17 Automatic Pistols
Overall Rating: ★★★★★
– Mediocre accuracy
– Extreme ST damage
– Can be specced for CC
Stats:
Damage: ⬤⬤⬤⬤⬤, semi-sustained
Accuracy: ⬤⬤◐⭘⭘
Gross Ammo Efficiency: ⬤⬤⬤⬤⭘
Single-Target Effectiveness (Short Range): ⬤⬤⬤⬤⬤
Single-Target Effectiveness (Medium-to-Long Range): ⬤⬤◐⭘⭘
Crowd-Control Effectiveness: ⬤⬤⬤◐⭘
Best Overclocks:
Embedded Detonators ⬤⬤⬤⬤⬤
Extreme ST damage in a short amount of time. Best-in-line for Zhuks.
Cryo Minelets ⬤⬤⬤⬤⭘
Strong CC and damage amplification. Can still be used in its regular role, albeit with a slight damage decrease.
Gas Recycling ⬤⬤⬤⬤⭘
Very strong ST damage; weaker than the embedded detonators against single targets, but can part-time as a swarm clearing weapon with decent results.
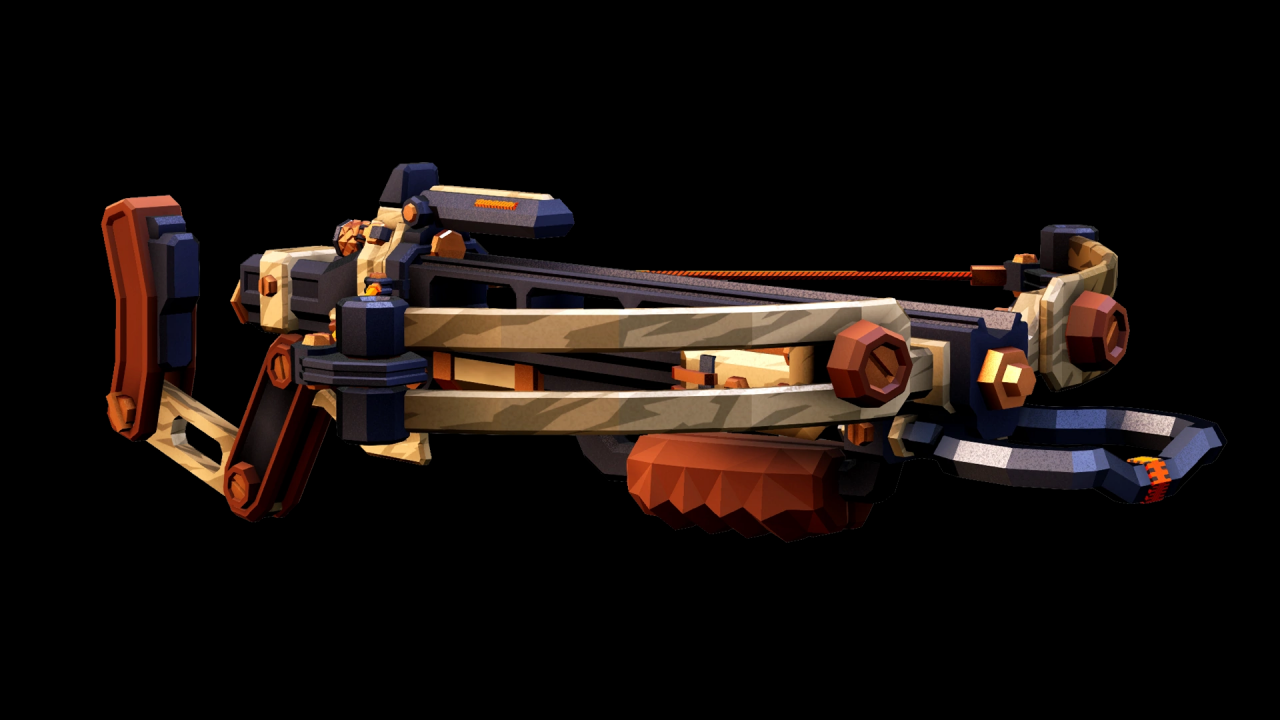
Nishanka Boltshark X-80 Crossbow
Overall Rating: ★★★★★
– Needs reloading after each shot
– Accurate with a fairly fast projectile, but affected by gravity
– Can be specced either for extreme ST or extreme CC capabilities
– Decent ammo efficiency
– Has access to secondary bolts with a separate ammo pool
Stats:
Damage: ⬤⬤⬤⬤⬤ burst
Accuracy: ⬤⬤⬤⬤⭘
Gross Ammo Efficiency: ⬤⬤⬤◐⭘
Single-Target Effectiveness (Short Range): ⬤⬤⬤⬤⬤
Single-Target Effectiveness (Medium-to-Long Range): ⬤⬤⬤⬤◐
Crowd-Control Effectiveness: ⬤⬤⬤⬤◐
Secondary Bolts:
1. Pheromone Bolt
Adds a mediocre amount of CC, but isn’t too reliable. Superfluous when using Bodkin Points, but can prove useful in tandem with cryo bolts for baiting.
2. Chemical Bolt
Causes toxic DoT on a hit enemy and blows them up upon death, causing a moderately powerful explosion. Can clear lesser swarms of weaker enemies, but is far too inconvenient to trigger.
3. Taser Bolt
Discharges electricity when hitting an enemy or in a small radius when planted into terrain. Two taser bolts can work as nodes, running an electric current between each other. Causes slow and a weak DoT. Fairly good with Bodkin Points to counter swarmers. Planting multiple such bolts into a single enemy combines their effect, leading to strong DoT and overall damage, while heavily slowing the target.
Best Overclocks:
Bodkin Points ⬤⬤⬤⬤⬤
Very Strong CC. Always hits a maximum of 3 enemies, while proccing stun and fear. Good ammo supply and efficiency.
Cryo Bolt ⬤⬤⬤⬤⬤
Extreme CC and damage amplification. Freezes everything around it in a good radius at a rapid pace. Works both when hitting an enemy or terrain, actually freezes faster if planted in the latter. Instantly kills frozen swarmers and aerial enemies. Huge ammo supply and good efficiency.
Other Notable Overclocks:
Specialist ⬤⬤◐⭘⭘
Increases secondary bolt count and duration of their effects. A good, clean upgrade, but not too impactful.
Fire Bolt ⬤◐⭘⭘⭘
Weak DoT source. Heats up everything around it in a good radius at a rapid pace. Works both when hitting an enemy or terrain, actually ignites faster if planted in the latter. Can’t effectively ignite rival robots. Good against weak enemies, useless otherwise.

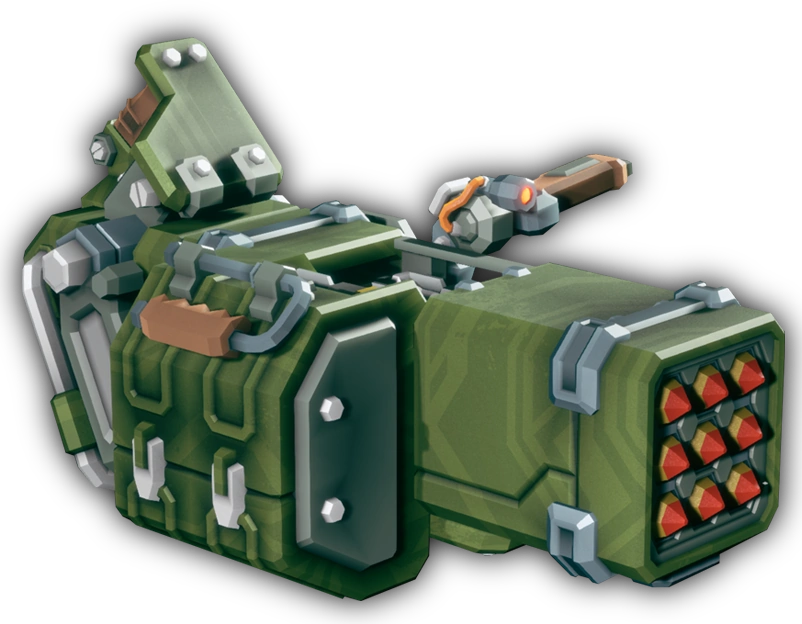
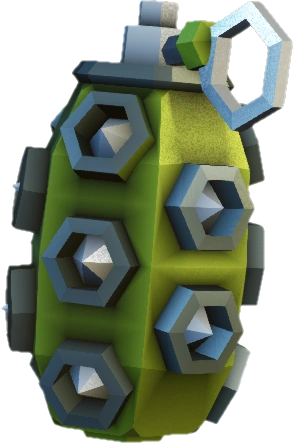
Inhibitor Field Generator
Overall Rating: ★★★★
Count: 6
Hazard to user and teammates: ⭘⭘⭘⭘⭘
Applies a very strong slow in a fairly wide radius for 15 seconds, and also amplifies damage taken by all enemies in area of effect by 30%. Can be used either for CC to stop an advancing swarm, or to immobilise and weaken an HVT. Non-lethal, but flexible, and works with most builds.

Cryo Grenade
Overall Rating: ★★★★
Count: 4
Hazard to user and teammates: ◐⭘⭘⭘⭘
Applies an extreme amount of frost to everything in a wide radius. A single cryo grenade immediately freezes most enemies. Extreme CC and damage amplification. Extremely effective against aerial enemies. Scanty. Less useful in some builds.

Pheromone Canister
Overall Rating: ★★★
Count: 4
Hazard to user and teammates: ⭘⭘⭘⭘⭘
Makes affected enemies targets for other bugs for 15 seconds. Only a certain number of enemies will be attracted to the pheromone, so it’s not entirely reliable. Scanty. Non-lethal.
 Key Aspects:
- Gunner strikes a good balance between single-target damage and crowd control.
- Gunner is the least mobile class in the game, and compensates by employing turtling tactics with his strong defensive gadgets. Still, gaining increased CC is preferable.
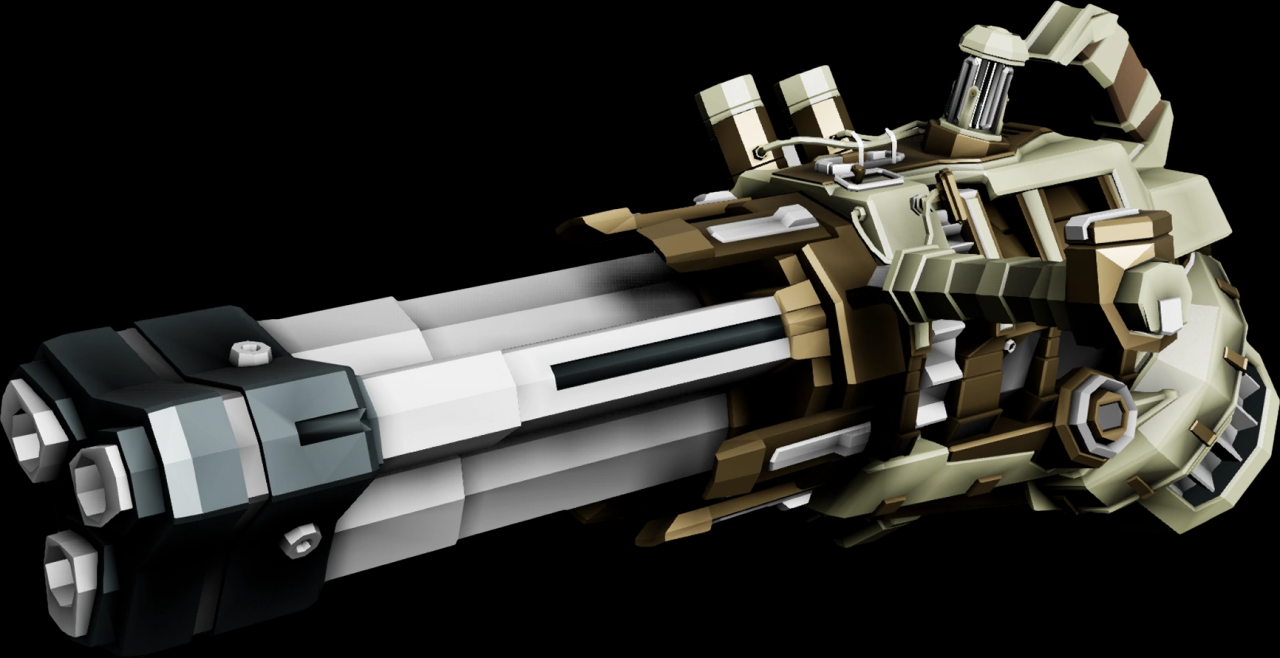
Overall Rating: ★★★★★
General Information
– Gets fairly accurate overtime
– Strong ST damage
– No reloads, extremely hard to overheat
– Most versatile gunner primary
Stats:
Damage: ⬤⬤⬤⬤⭘, sustained
Accuracy: ⬤⬤⬤⭘⭘
Gross Ammo Efficiency: ⬤⬤⬤◐⭘
Single-Target Effectiveness (Short Range): ⬤⬤⬤⬤◐
Single-Target Effectiveness (Medium-to-Long Range): ⬤⬤⬤◐⭘
Crowd-Control Effectiveness: ⬤⬤⬤⭘⭘
Notable Overclocks:
Lead Storm ⬤⬤⬤⬤⬤
Huge increase in DPS and total damage, probably the best OC for the minigun in most builds. Loss of mobility when firing can be circumvented to a degree by jumping around. The penalty to stun makes it less effective against big swarms due to reduced CC.
Exhaust Vectoring ⬤⬤⬤⬤⭘
Half the damage bonus of Lead Storm and increased initial spread, but retains the movement and stun capabilities. Can be a better option in mixed damage builds.
Burning Hell ⬤⬤⬤⭘⭘
Applies heat at a rapid pace to enemies in a moderately wide radius around the player. Very strong against small enemies like crawlers, and helps to save ammo when fighting normal grunt swarms. It also enables the use of Volatile Bullets for the revolver. Faster weapon overheat can be considered an upside, given how hard it is to actually overheat a minigun; this gives T5 aggressive venting and T5 hot bullets a lot more value when used with this OC.
A big drawback of the OC is that it requires you to get dangerously close to enemies to get them on fire. Fire is one of the weakest DoT sources in the game, due to low damage ticks and no crowd control capabilities. Getting into a slasher’s face just to set it on fire and get slashed to death is rarely a rewarding tactic; furthermore, against tougher targets, this OC provides no tangible increase in DPS, and no increase in total damage, severely cutting down on ammo efficiency.
Builds:
Lead Storm OC + HF Coil Gun ⬤⬤⬤⬤⬤
Extreme ST damage, and extreme AoE and CC. Minigun is also decent against swarms. Good ammo efficiency. Best-in-line for the minigun
Lead Storm OC + MB Revolver ⬤⬤⬤⬤⭘
This one offers more granular CC compared to the aforementioned build, but is less effective and somewhat sluggish against huge swarms. Good ammo efficiency.
Burning Hell OC + VB Revolver ⬤⬤⬤⭘⭘
Extreme ST damage and strong AoE, but poor CC. Very risky against big swarms. Good ammo efficiency.
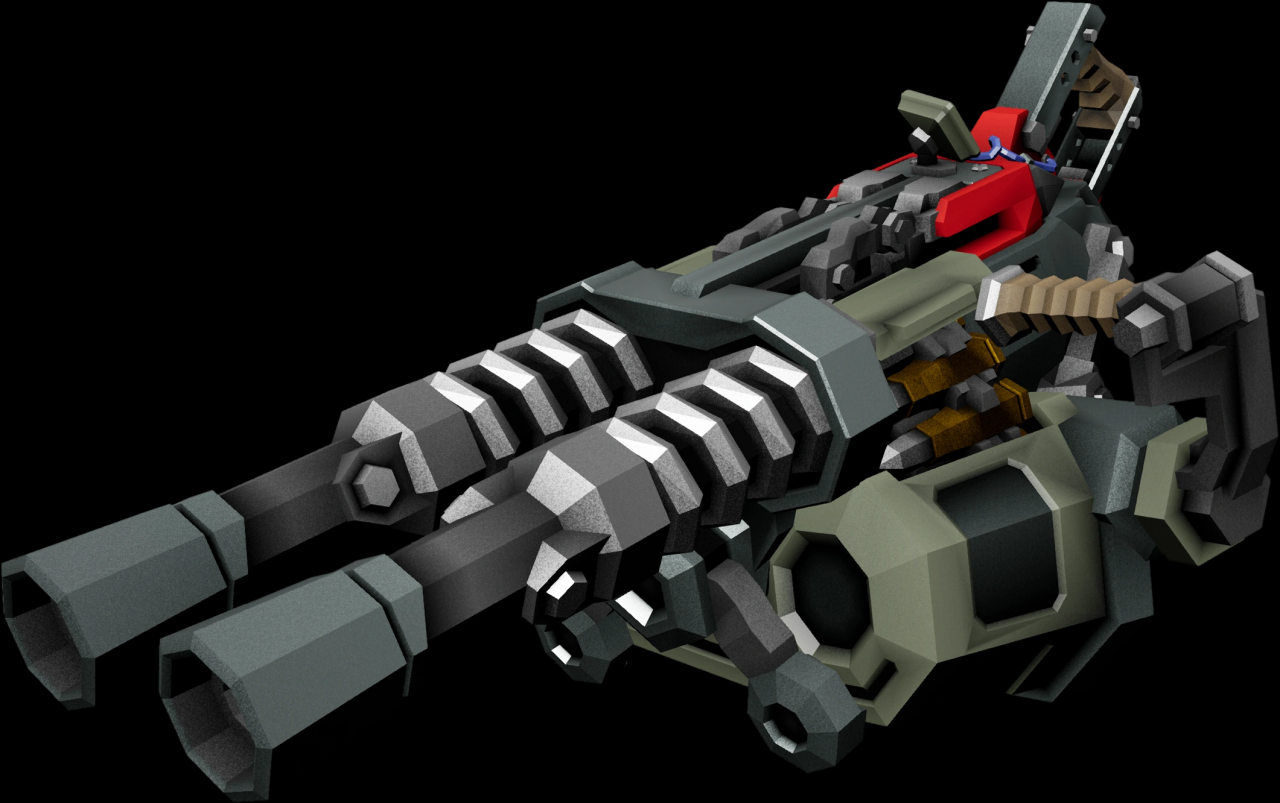
Overall Rating: ★★★★
General Information
– Awful spread & accuracy
– Very strong ST or CC damage, but can only be specced into one
– Very slow reload
Stats:
Damage: ⬤⬤⬤⬤⬤, burst
Accuracy: ⬤⭘⭘⭘⭘
Gross Ammo Efficiency: ⬤⬤⬤⬤◐
Single-Target Effectiveness (Short Range): ⬤⬤⬤⬤⬤
Single-Target Effectiveness (Medium-to-Long Range): ⬤⭘⭘⭘⭘
Crowd-Control Effectiveness: ⬤⬤⬤⬤⬤
Best Overclocks:
Neurotoxin Payload ⬤⬤⬤⬤⬤⬤
Slightly reduces direct and AoE damage, but increases AoE range and adds a high chance to apply neurotoxin debuff to enemies caught in the blast. Neurotoxin is decently effective at killing and slowing enemies. When used in tandem with the T5 fear upgrade, makes the player nigh untouchable to most enemies. Extremely effective CC capabilities, and the cannon is still usable as a DPS tool against tougher enemies. Extreme ammo efficiency.
Big Bertha ⬤⬤⬤◐⭘
Nearly doubles damage per shot and reduces spread, while bisecting magsize, and reducing total ammo and fire rate. Frontloads extreme DPS, but due to low magazine capacity it constantly runs dry. The reduced spread doesn’t help much, and the gun still remains highly inaccurate.
Builds:
Neurotoxin Payload OC + HP/ER/SS Revolver ⬤⬤⬤⬤⬤
Extreme CC and mediocre ST damage from thunderhead, revolver deals with HVTs. Extreme ammo efficiency.
Big Bertha OC + TTC Coil Gun ⬤⬤⬤◐⭘
Extreme ST at point-blank, mediocre against crowds without speccing into fear, coil gun provides mixed CC and ST capabilities. Good ammo efficiency.
Other Overclocks:
Splintering Shells and Carpet Bomber ⬤⬤⬤⭘⭘
These provide very strong CC, but ST and ammo efficiency is either mediocre or curbed; completely superseded by Neurotoxin.
Combat Mobility ⬤⬤◐⭘⭘
Allows for speccing into decreased spread, but doesn’t add anything substantial in itself, and the accuracy still remains subpar.
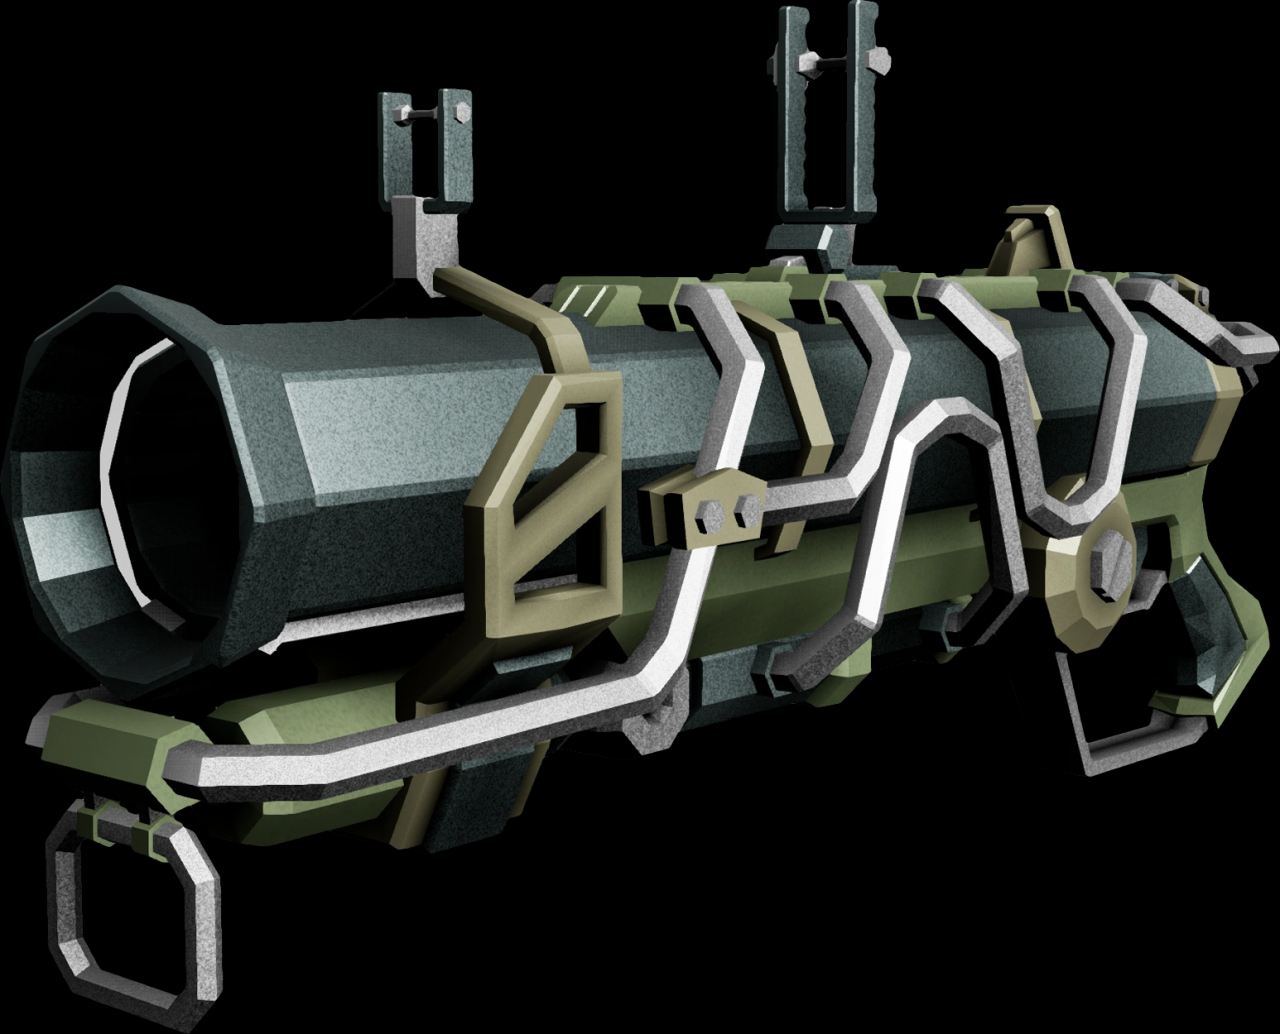
Overall Rating: ★★★★★
General Information
– Extreme accuracy
– Slow projectile speed, MCLOS guidance
– Very strong ST damage
– Good AoE but mediocre CC
– Mediocre reload time
Stats:
Damage: ⬤⬤⬤⬤⬤, semi-sustained
Accuracy: ⬤⬤⬤⬤◐
Gross Ammo Efficiency: ⬤⬤⬤⭘⭘
Single-Target Effectiveness (Short Range): ⬤⬤⬤⬤⬤
Single-Target Effectiveness (Medium-to-Long Range): ⬤⬤⬤⬤⭘
Crowd-Control Effectiveness: ⬤⬤⬤⭘⭘
Best Overclocks:
Jet Fuel Homebrew ⬤⬤⬤⬤⬤
Decreases total ammo, magsize and AoE, but massively increase damage per missile and their velocity. Provides extreme ST damage potential and DPS, further augmented by the extreme accuracy of the base gun. Can be used against almost all enemies without sacrificing ammo efficiency.
Salvo Module ⬤⬤⬤◐⭘
Allows to load up to 9 dumbfire missiles, increasing damage of each individual one, and resulting in extreme ST burst, which is particularly effective against tough enemies and bosses. This is done by holding the left mouse button, which means that regular guided rockets can only be fired off individually. This makes it less effective and convenient to use against small groups of dispersed enemies, as well as spraying into hordes.
Fragmentation Missiles ⬤⬤⬤⭘⭘
A small increase in AoE damage and a rather noticeable increase in AoE range. A decent adjunct to anti-swarm hurricane builds
Builds:
Jet Fuel Homebrew OC + MB Revolver ⬤⬤⬤⬤⬤
Extreme ST of JFH and very strong CC of MB revolver. Extremely versatile and effective against all threats; best-in-slot for hurricane.
Fragmentation Missiles + VB Revolver ⬤⬤⬤⭘⭘
Good AoE and enables VB revolver to deal extreme ST; mediocre CC and poor ammo efficiency.
Salvo Module + MB Revolver ⬤⬤⬤⭘⭘
Stronger ST burst than JFH, but less granularity and is only better against tougher targets.
Other Overclocks:
Minelayer System ⬤⬤◐⭘⭘
Rockets embed themselves into terrain upon hitting it, turning into proximity mines. Nullifies hurricane’s long-range advantage by removing rocket guidance; mines do more damage in a wider radius than rockets, but need time to arm. Clunky and oftentimes hard to use. Ineffective against aerial enemies.
Plasma Burster Missiles ⬤⬤⭘⭘⭘
Replaces normal rockets with manoeuvrable plasma bursters that can penetrate through enemies and can hit multiple times, in exchange for decreased speed, hugely decreased damage and total ammo. An inconsistent OC, that is hard to use. Doesn’t provide any strong benefits over other OCs.
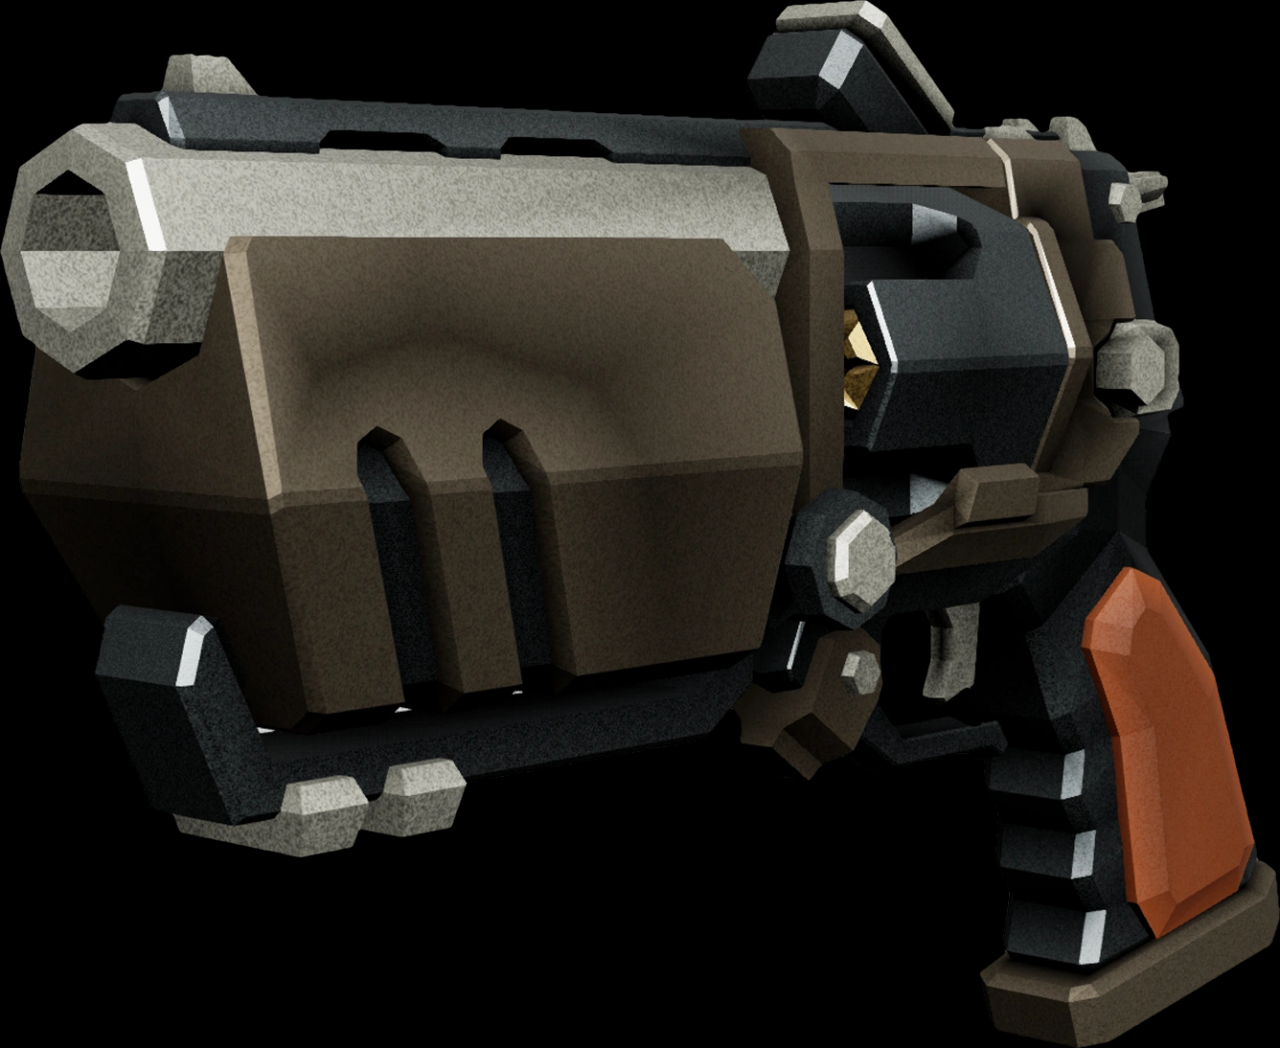
Bulldog Revolver
Overall Rating: ★★★★★
– Accurate due to firing in single shots
– Spread rises sharply with each consecutive shot in a burst
– Extreme ST damage per shot
– Can be specced into extreme CC
– Mediocre ammo and magazine capacity
Stats:
Damage: ⬤⬤⬤⬤⭘, burst
Accuracy: ⬤⬤⬤◐⭘
Gross Ammo Efficiency: ⬤⬤⬤⭘⭘
Single-Target Effectiveness (Short Range): ⬤⬤⬤⬤⬤
Single-Target Effectiveness (Medium-to-Long Range): ⬤⬤⬤⬤⭘
Crowd-Control Effectiveness: ⬤⬤⬤⬤◐
Best Overclocks:
Volatile Bullets ⬤⬤⬤⬤⬤⬤
Quadruples damage when hitting burning enemies. Colossal ST damage; outright broken and needs a nerf.
Magic Bullets ⬤⬤⬤⬤⬤
Extreme CC, good ammo efficiency, can be used to stun and slow tougher enemies in a pinch
Elephant Rounds ⬤⬤⬤⬤⬤
Doubles damage per shot at the expense of accuracy, ammo, magsize and reload. Extremely strong against tougher and special enemies, a waste of ammo against anything else.
Homebrew Powder ⬤⬤⬤⬤⬤
Randomly modifies damage dealt by each shot in a range from 75% to 200%. Increases average DPS and damage without any serious drawbacks.
Other Overclocks:
Six Shooter ⬤⬤⬤⬤⭘
Gives slighly more ammo, bigger magsize, faster RoF in exchange for awful spread. Mediocre ammo efficiency.
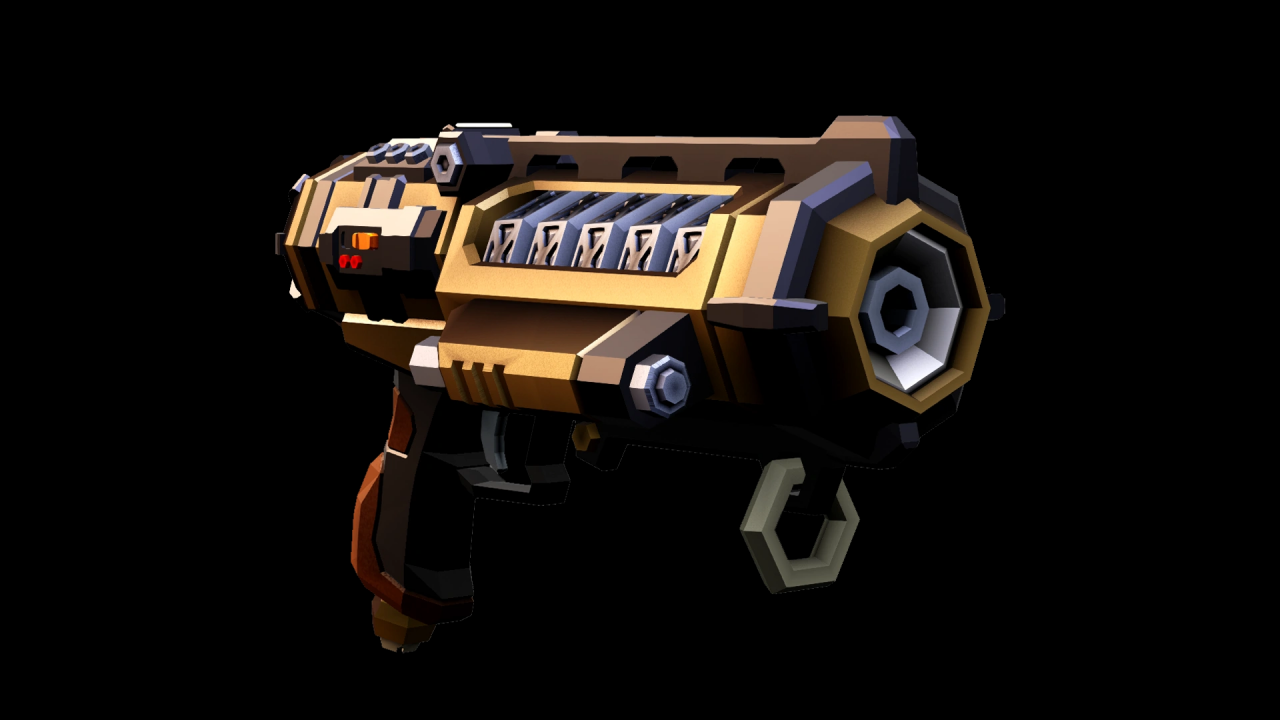
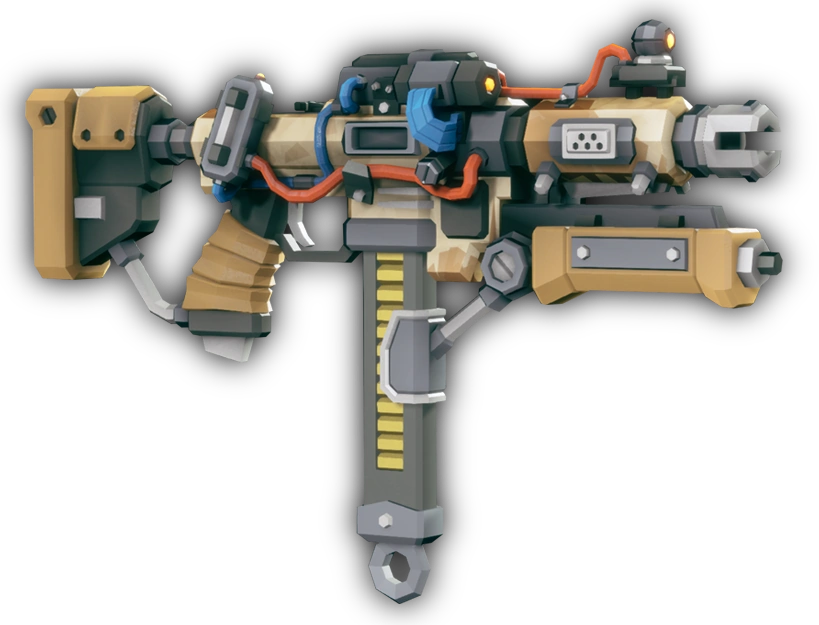
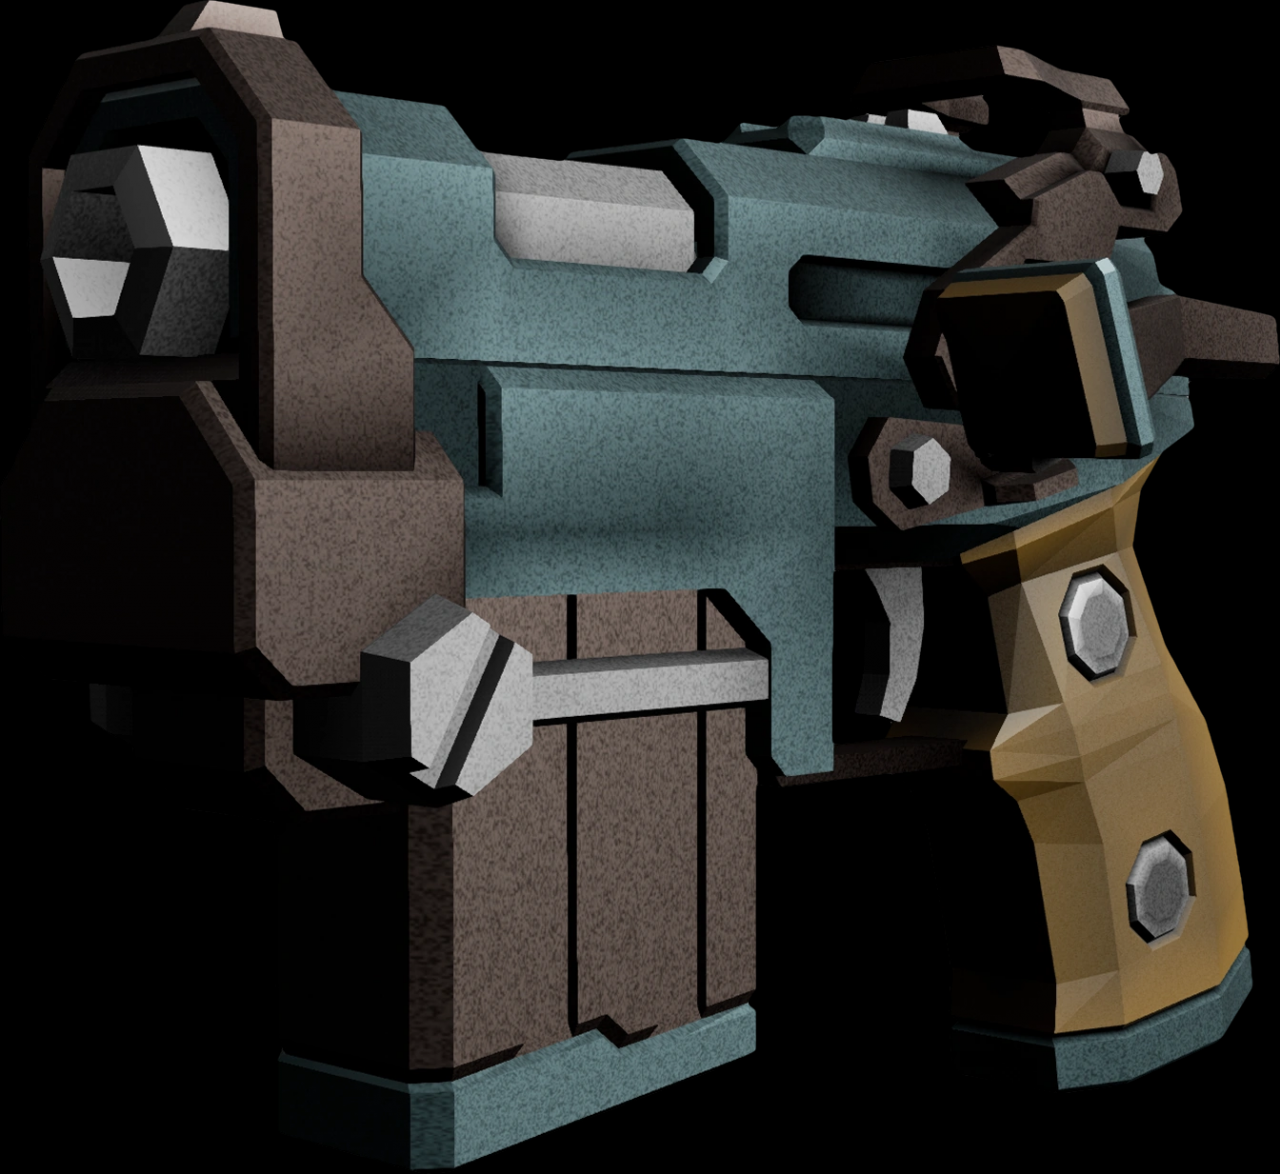
BRT7 Pistol
Overall Rating: ★
– Fires in 3-round bursts, poor accuracy at range
– Very hard to get good DPS without curbing some aspect of the gun
– ST focus, pretty useless against swarms
Stats:
Damage: ⬤⬤⬤⬤⬤, burst
Accuracy: ⬤⬤⭘⭘⭘
Gross Ammo Efficiency: ⬤⬤⬤◐⭘
Single-Target Effectiveness (Short Range): ⬤⬤⬤⬤⬤
Single-Target Effectiveness (Medium-to-Long Range): ⬤⬤◐⭘⭘
Crowd-Control Effectiveness: ⬤⭘⭘⭘⭘
Overclocks:
Lead Spray ⬤⬤◐⭘⭘
Massive DPS increase, but becomes useless past point-blank range due to extreme spread.
Experimental Rounds ⬤⬤◐⭘⭘
Big DPS increase at the cost of poor ammo efficiency.
Compact Mags ⬤⬤◐⭘⭘
More total ammo.
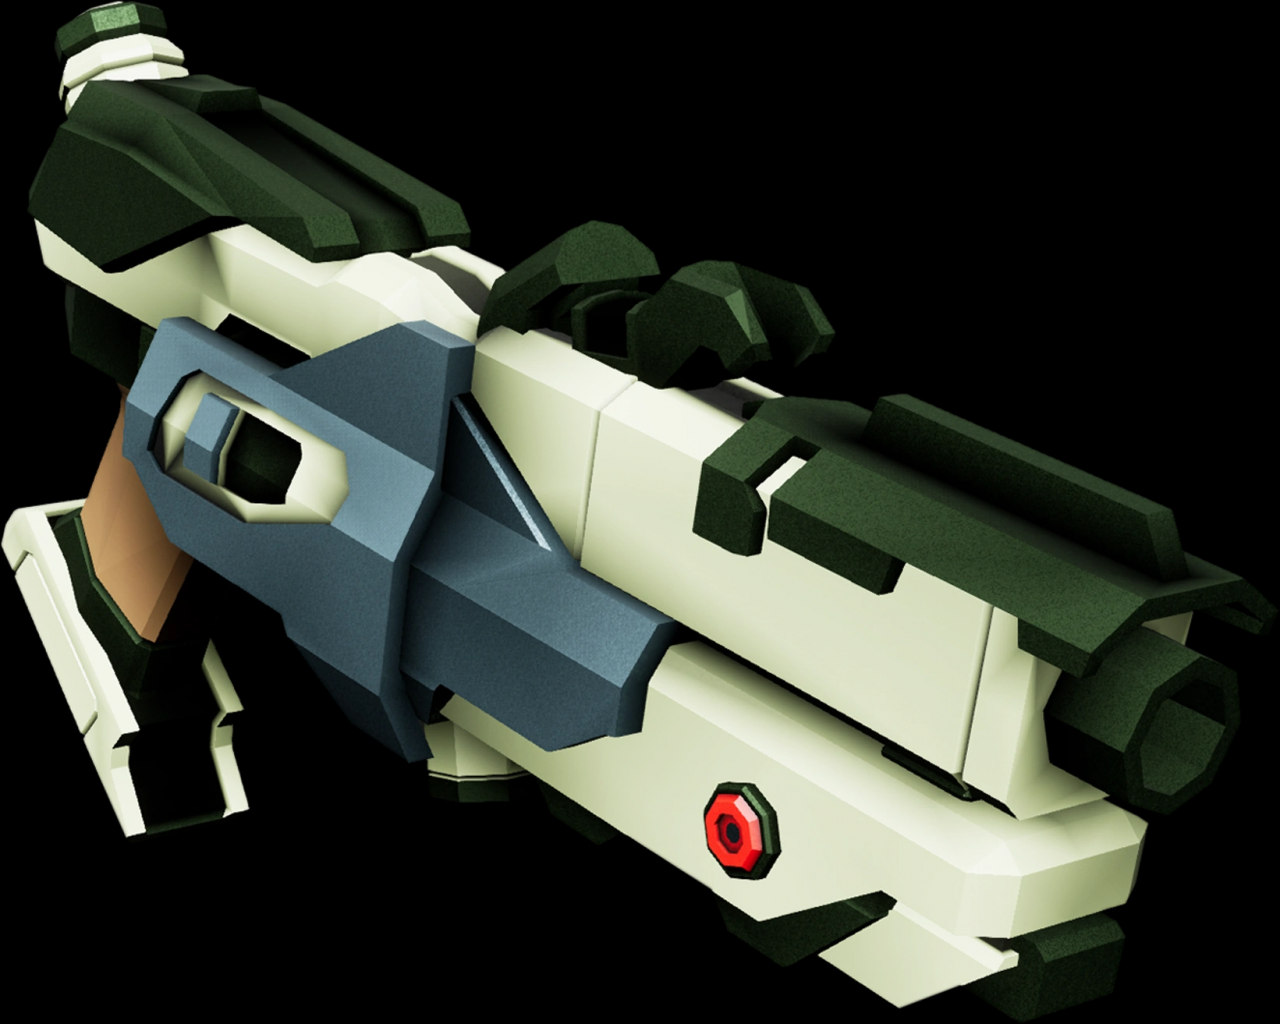
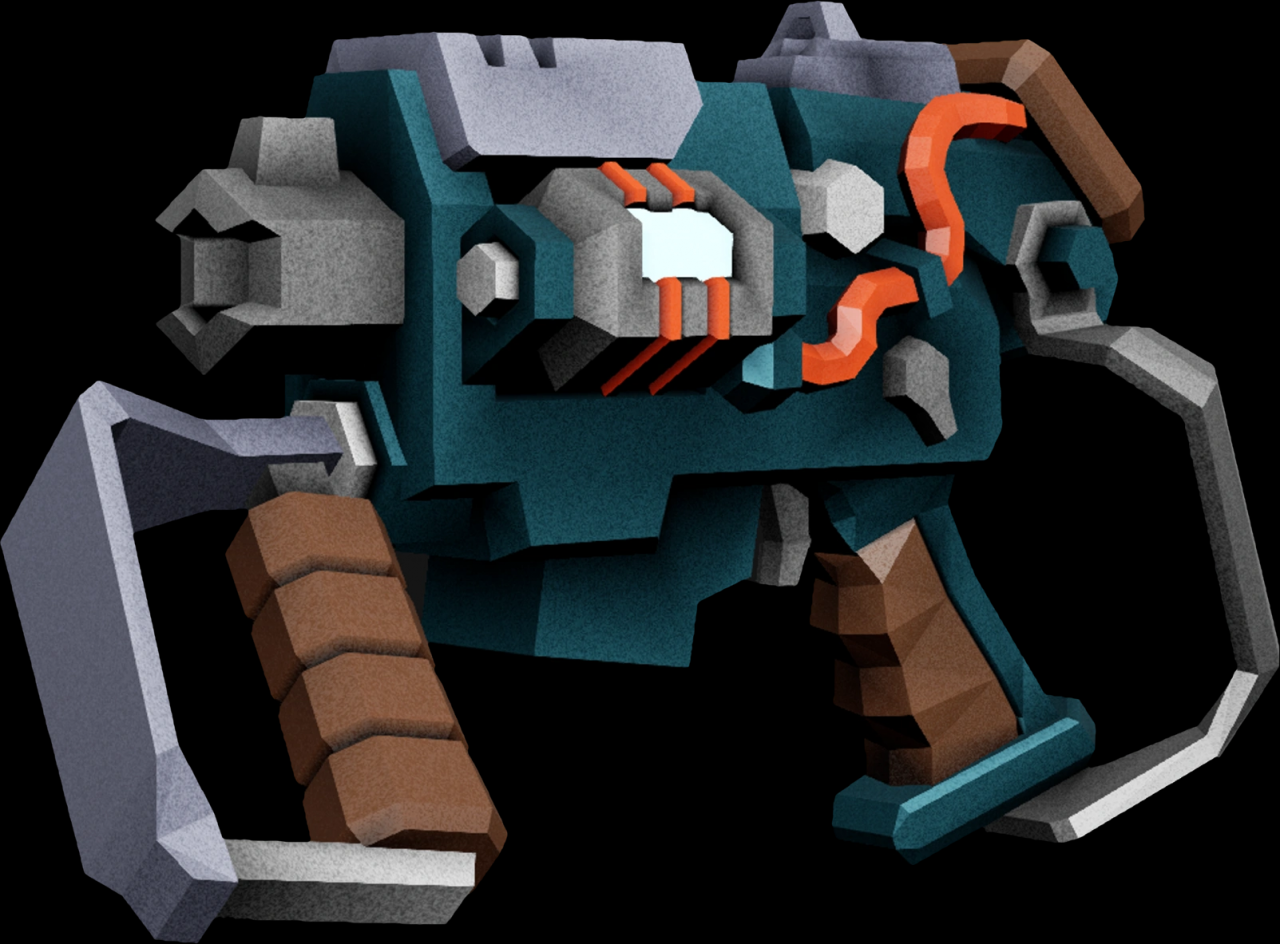
Coil Gun
Overall Rating: ★★★
– Fires in single shots that must be charged before firing, requires reloading after each shot
– Penetrates through infinite amount of enemies and most terrain
– Very good AoE and CC
– Good ammo efficiency
Stats:
Damage: ⬤⬤⬤⭘⭘, burst
Accuracy: ⬤⬤⬤⬤⬤
Gross Ammo Efficiency: ⬤⬤⬤⬤⭘
Single-Target Effectiveness (Short Range): ⬤⬤◐⭘⭘
Single-Target Effectiveness (Medium-to-Long Range): ⬤⬤◐⭘⭘
Crowd-Control Effectiveness: ⬤⬤⬤⬤◐
Best Overclocks:
Hellfire ⬤⬤⬤⬤◐
Extreme AoE and strong CC against crowds of weaker enemies. Quickly heats up enemies. Good ammo efficiency.
Mole ⬤⬤⬤⭘⭘
Extreme ST damage that is hard to capitalise on. Requires setup or favourable terrain.
Triple-Tech Chambers ⬤⬤◐⭘⭘
Allows to fire 2 more half-power shots after the initial one. Stronger CC than the standard coil gun, but doesn’t add much else. Mostly superseded by Hellfire.
Sticky Grenade
Overall Rating: ★★★
Count: 6
Hazard to user and teammates: ⬤⬤⬤⬤⭘
Clings to an enemy or surface and explodes in a fairly wide radius with moderate damage. Causes fear to affected enemies, much stronger to an enemy the grenade clinged on to. Basic, but flexible. Can stick to teammates and deal a lot of damage.

Incendiary Grenade
Overall Rating: ★★★★
Count: 4
Hazard to user and teammates: ⬤⬤⭘⭘⭘
Erupts into a big mass of fire after hitting the ground. Causes enemies to take burn damage and heat up. Strong area denial weapon against swarms of weaker enemies. Deals minor damage to team mates.

Cluster Grenade
Overall Rating: ★★★★★
Count: 4
Hazard to user and teammates: ⬤⬤⬤⭘⭘
Splits into 9 fragments after the fuse burns up, scattering in a circular shape and covering a potentially very wide area, if thrown high up in the air. Deals a significant amount of damage in total and has a chance to stun affected enemies. Can be used against both crowds of weaker enemies and tougher ones.
 Key Aspects:
- Engineer is the most flexible class, with no apparent biases for a particular role.
- Engineer has a lot of astonishingly powerful builds, which allow him to comfortably deal with any threat at any range.
Overall Rating: ★★★★
General Information
– Considerable spread, but is still mostly effective at medium ranges
– Good damage per shot
– Middling reload
– Average ammo efficiency
Stats:
Damage: ⬤⬤⬤⬤⭘, semi-sustained
Accuracy: ⬤⬤⬤⭘⭘
Gross Ammo Efficiency: ⬤⬤⬤⭘⭘
Single-Target Effectiveness (Short Range): ⬤⬤⬤⬤⬤
Single-Target Effectiveness (Medium-to-Long Range): ⬤⬤⬤⭘⭘
Crowd-Control Effectiveness: ⬤⬤⭘⭘⭘
Notable Overclocks:
Magnetic Pellet Alignment ⬤⬤⬤⬤◐
Halves spread and adds a significant weakspot damage bonus at the price of moderately reduced fire rate. The tighter spread heavily improves accuracy and helps all pellets connect with an enemy’s weakspot. Very effective against aerial enemies.
Cycle Overload ⬤⬤⬤◐⭘
A foil to Magnetic Pellet Alignment, which doubles down on DPS at the expense of accuracy, increasing the spread even further. Very good ST damage at point-blank, but very unreliable past that range, and therefore inflexible. Poor ammo efficiency due to constantly missed pellets.
Stunner ⬤⬤⭘⭘⭘
A neat synergy OC with some basic CC built-in. The increased damage to stunned targets is good, but the shotgun can’t keep things stunned long enough by itself to benefit off of it to the fullest.
Builds:
Magnetic Pellet Alignment OC + RJ250 PGL ⬤⬤⬤⬤⭘
Strong in both ST with Warthog and CC with PGL. Thanks to tighter spread, warthog is now very effective against aerial and many special enemies. PGL annihilates swarms of weaker enemies and has a lot ammo to do so. The mobility aspect of RJ250 is negligible here, but can be used in a pinch.
Overall Rating: ★★★★
General Information
– MIddling accuracy and spread
– Middling damage
– Has a chance to electrocute enemies, providing basic CC
Stats:
Damage: ⬤⬤⬤⭘⭘, sustained
Accuracy: ⬤⬤⬤◐⭘
Gross Ammo Efficiency: ⬤⬤⬤⬤⭘
Single-Target Effectiveness (Short Range): ⬤⬤⬤◐⭘
Single-Target Effectiveness (Medium-to-Long Range): ⬤⬤◐⭘⭘
Crowd-Control Effectiveness: ⬤⬤⬤⭘⭘
Notable Overclocks:
Turret EM Discharge ⬤⬤⬤⬤⬤⬤
Electrocuting a turret with stubby makes it produce a moderately strong AoE explosion in a wide radius and fear affected enemies. Colossal CC capabilities, completely locks down the selected area for most enemies, while dealing respectable AoE damage and slowing.
EM Refire Booster ⬤⬤⬤⬤⭘
Increases damage and fire rate at the expense of accuracy. Good generalist OC with very strong ST damage and some built-in CC. Mediocre ammo efficiency.
Light-Weight Rounds ⬤⬤⬤⭘⭘
Increases total ammo, but reduces damage and fire rate. Good ammo efficiency, but much lower DPS.
Turret Arc ⬤⬤⭘⭘⭘
Big decrease in ammo and RoF. Electrocuting a turret with stubby makes it produce electric discharges in a small radius, which electrocutes enemies and deals mediocre damage to them as long as they’re inside the range of the discharge. When used with gemini turrets, electrocuting both turrets when they’re close to each other additionally conducts an electric line between them with the same attributes. A much weaker counterpart of the EM Discharge OC, with weaker CC and much lower damage output.
Builds:
Turret EM Discharge + OB Diffractor ⬤⬤⬤⬤⬤
Extreme CC from stubby and extreme ST from diffractor. EM Discharge is outright broken and is the best area denial build in the game. Ridiculous ammo efficiency and good gamage against weaker enemies. Diffractor melts away anything bigger than a grunt.
EM Refire Booster OC + LWC Breach Cutter ⬤⬤⬤⬤⭘
Strong ST from both weapons, and strong AoE and CC of the breach cutter. Stubby kills isolated threats and finishes off tougher enemies after a run-through by the breach cutter. Fairly ammo efficient, but can struggle with some enemies.
Light-Weight Rounds OC + HP PGL ⬤⬤⬤◐⭘
Fairly strong CC and sustain from stubby and extreme ST from PGL.
Overall Rating: ★★★★★
General Information
– Perfect accuracy, but needs manual trajectory alignment to hit weakspots
– Strong ST damage
– Can be specced for very strong CC and AoE
– Fairly Fast Reload
– Low ammo count
Stats:
Damage: ⬤⬤⬤⬤◐, burst
Accuracy: ⬤⬤⬤⬤⬤
Gross Ammo Efficiency: ⬤⬤⬤◐⭘
Single-Target Effectiveness (Short Range): ⬤⬤⬤⬤⭘
Single-Target Effectiveness (Medium-to-Long Range): ⬤⬤⬤⬤⬤
Crowd-Control Effectiveness: ⬤⬤⬤⬤⭘
Best Overclocks:
Executioner ⬤⬤⬤⬤⬤
Slightly reduces total ammo and magsize, but vastly increases damage of each shot done to weakspots when max target lock count is reached; also hugely shortens target acquisition. Extreme ST damage output, and the downsides aren’t severe. Pretty easy to use.
Explosive Chemical Rounds ⬤⬤⬤⬤◐
Reduces total ammo and significantly reduces damage. In exchange, targets with 3+ locks on them will explode at the end of the salvo, dealing moderately strong AoE damage in fairly wide radius, with a good chance to fear. Very strong AoE and CC, but can sometimes be unreliable against huge, tightly-packed swarms and lead to worsened ammo efficiency if haphazardly used.
Builds:
Explosive Chemical Rounds OC + HP PGL / OB Diffractor ⬤⬤⬤⬤⬤
Very strong AoE and CC of LOK-I, backed up by extreme ST of either the PGL or Diffractor. Superb DPS frontloading, but mediocre ammo efficiency, especially with PGL.
Executioner OC + VIR Diffractor ⬤⬤⬤⬤⬤
Extreme ST from LOK-I and very strong area denial from the diffractor, which can also double as a strong ST weapon in a pinch. Decent ammo efficiency. Hitting weakspots with LOK-I can be problematic at times; take precautions to not waste entire salvos.
Other Notable Overclocks:
Seeker Rounds ⬤⬤⬤⭘⭘
Removes the need to adjust the bullet trajectory from the equation. Allows to ignore terrain and impenetrable armour of enemies, as the bullets will still connect with the weakspot no matter what once they’re locked in. Situationally good, and is a safe pick overall.
40mm PGL
Overall Rating: ★★★★★
– Single-shot with decent AoE and a fairly fast reload
– Can be specced for either extreme AoE or extreme ST damage
– Strong CC
Stats:
Damage: ⬤⬤⬤⬤⭘, burst
Accuracy: ⬤⬤⬤◐⭘
Gross Ammo Efficiency: ⬤⬤⬤⬤⭘
Single-Target Effectiveness (Short Range): ⬤⬤◐⭘⭘
Single-Target Effectiveness (Medium-to-Long Range): ⬤⬤⬤⬤⬤
Crowd-Control Effectiveness: ⬤⬤⬤⬤⬤
Notable Overclocks:
Hyper Propellant ⬤⬤⬤⬤⬤
Extreme ST; obliterates most special enemies in a single weakspot shot, and leaves a huge dent on tough enemies. Crazy frontloaded DPS, the best of its kind.
RJ250 Compound ⬤⬤⬤⬤⭘
Gives a ton of additional ammo to the launcher, making the standard incendiary GL build a lot more ammo efficient. The mobility aspect of the OC can prevent fall damage or grant propulsion, which is quite useful.
Fat Boy ⬤⬤⬤⭘⭘
The complete opposite of RJ250. Heavily cuts down on the spare ammo, in return frontloading a ton of AoE damage into a single nuke with added radiation DoT. Can be incredibly good against massive swarms in more open environments, but usually ends up incredibly overkilling everything and losing on ammo efficiency as a result.
Breach Cutter
Overall Rating: ★★★★
– Very high AoE damage in a straight line with decent radius
– Perfect accuracy, but limited range
– Very good ammo efficiency
– Strong CC
– Slow reload
Stats:
Damage: ⬤⬤⬤⬤⬤, burst
Accuracy: ⬤⬤⬤⬤⬤
Gross Ammo Efficiency: ⬤⬤⬤⬤◐
Single-Target Effectiveness (Short Range): ⬤⬤⬤⬤⭘
Single-Target Effectiveness (Medium-to-Long Range): ⬤⬤⬤⭘⭘
Crowd-Control Effectiveness: ⬤⬤⬤⬤◐
Notable Overclocks:
Light-Weight Cases ⬤⬤⬤⭘⭘
A bit more ammo and an ever-so-slighty faster reload. The only OC for the cutter that upgrades it somewhat without serious downsides.
Return to Sender ⬤⬤◐⭘⭘
Big ammo hit in exchange for the ability to make the projectile do a back-and-forth sweep. Increases breach cutter’s total damage output, but can become much less ammo efficient if the sweeps aren’t realised.
Inferno ⬤⬤⭘⭘⭘
Significant decrease in beam damage and much worse armour breakage. In return, converts beam’s damage type from electrical to fire, applies strong heat and an additional burn DoT. Still kills weaker enemies in a single hit, and takes less ammo to kill some tougher enemies due to their fire weakness. On the other hand, becomes much weaker against enemies with fire resistances, like oppressors and bosses. It’s a side-grade to standard breach cutter, which can perform better in some environments and specific enemies.
Spinning Death ⬤◐⭘⭘⭘
Extreme decrease in total ammo, magsize and effective distance. The beam is now almost stationary, but spins horizontally in a moderately wide radius, dealing much lower sustained DPS. Significantly increases beam’s lifetime. Requires enemies to linger inside the killzone for some time in order to build up damage on them, which isn’t always possible. Can stunlock weaker enemies. Decent area denial OC, but inflexible and too conditional compared to the standard.
Shard Diffractor
Overall Rating: ★★★★★
– Perfect laser beam accuracy, figuratively and literally
– Huge magsize and fairly fast reload
– Extreme ST damage and DPS
– Can be specced for very strong CC and strong AoE
– Middling ammo efficiency
Stats:
Damage: ⬤⬤⬤⬤⬤ semi-sustained
Accuracy: ⬤⬤⬤⬤⬤
Gross Ammo Efficiency: ⬤⬤⬤⭘⭘
Single-Target Effectiveness (Short Range): ⬤⬤⬤⬤⬤
Single-Target Effectiveness (Medium-to-Long Range): ⬤⬤⬤⬤⬤
Crowd-Control Effectiveness: ⬤⬤⬤⬤⭘
Best Overclocks:
Overdrive Booster ⬤⬤⬤⬤⬤
A clean OC in disguise. Has no real downsides, but can heavily boost DPS at player’s will, providing extreme ST damage against tougher enemies.
Volatile Impact Reactor ⬤⬤⬤⬤⬤
Very strong mixed damage and CC. Slows and ignites enemies passing through magma. Can still perform it’s ST DPS role without a hitch.
Plascrete Catalyst ⬤⬤⬤⬤⭘
Doubles AoE range and damage of the beam when shooting at plascrete. Turns plascrete into a powerful bomb when fired at with the diffractor for an entire second. Deals a lot of damage in a wide area and applies fear. Can be used as in improvised digging tool with a limited degree of success. Very strong CC and quite potent against tougher targets. You can shoot the plascrete platform for a quick moment without blowing it up to deal with small or weaker enemies, as they die quickly to it. Furthermore, a single plascrete platform can be blown up multiple times (3-5 times), as only a chunk of it is destroyed. The player and team mates caught in the explosion receive a lot of damage, making it a dangerous option in CQC. Good ammo efficiency, for as long as the plascretes are used. Can still be utilised to snipe some faraway enemies.
Feedback Loop ⬤⬤⬤◐⭘
Trades a big chunk of ammo for AoE range and damage amplification when shooting for extended periods of time. Extreme AoE damage against big swarms, a waste of ammo otherwise.

Laser Utility Refraction Emitter
Overall Rating: ★★★★
Count: 4
Hazard to user and teammates: ⭘⭘⭘⭘⭘
Deploys a hologram that attracts a certain number of enemies to attack it. Emits an electric dicharge upon destruction, dealing a small amount of damage with a chance to electrocute. Scanty.

Plasma Burster
Overall Rating: ★★★★★
Count: 6
Hazard to user and teammates: ⬤⬤⬤⭘⭘
Explodes 4 times consecutively upon impact in a wide radius. Good total damage, but slightly unpredictable. Splitting the damage into 4 instances help cover more enemies in a swarm.

Proximity Mine
Overall Rating: ★★★
Count: 4
Hazard to user and teammates: ⬤⬤⬤⬤⬤
Sticks to a surface and takes 3 seconds to arm. Explodes in a wide radius whenever any non-small enemy comes near. Each mine can be set off 4 times. Significant total damage. Inflexible and suffers greatly from poor placement. Deals a huge amount of damage to team mates.
 Key Aspects:
- Driller is the king when it comes to crowd control, effortlessly keeping huge swarms at bay and safeguarding the entire team.
- Due to limited range on most of his weapons, he often struggles to deal with aerial and distant enemies in a timely or safe manner.
- As I see it, driller has the least amount of viable builds, and many of his weapons are circumscribed by a single good build, with others having too many drawbacks.
Overall Rating: ★★★
General Information
– Perfect Accuracy, limited range
– Poor DPS, strong DoT
– Fairly slow reload
Stats:
Damage: ⬤⬤⭘⭘⭘, overtime
Range: ⬤⬤⬤⭘⭘
Gross Ammo Efficiency: ⬤⬤◐⭘⭘
Single-Target Effectiveness: ⬤⬤⭘⭘⭘
Crowd-Control Effectiveness: ⬤⬤⬤⬤◐
Builds:
Sticky Fuel OC + MPS Wave Cooker ⬤⬤⬤⬤◐
Extreme CC and very strong DoT, aided by very good ammo efficiency. Flamethrower’s sticky flames disintegrate all weaker enemies and slow down tougher ones to a halt. The wave cooker is used against ignited aerial and tougher enemies to trigger temperature shock, dealing hefty damage, or to kill distant ones. The best and arguably the only good build for the flamethrower.
Other notable overclocks:
Lighter Tanks ⬤⬤◐⭘⭘
A bit more ammo and nothing else.
Facemelter ⬤◐⭘⭘⭘
A fairly strong direct damage increase, but using flamethrower to deal direct damage leads to an extremely poor ammo efficiency. Ineffective against tougher enemies. Can be enhanced via using Blistering Necrosis Wave Cooker.
Overall Rating: ★★★★
General Information
– Perfect Accuracy, limited range
– Good DPS
– Extreme CC and damage amplification
– Instantly kills small and aerial enemies
– Good ammo efficiency
– No reloads, hard to overheat
Stats:
Damage: ⬤⬤⬤⭘⭘, sustained
Range: ⬤⬤◐⭘⭘
Gross Ammo Efficiency: ⬤⬤⬤◐⭘
Single-Target Effectiveness: ⬤⬤⬤⭘⭘
Crowd-Control Effectiveness: ⬤⬤⬤⬤⬤
Builds:
Ice Spear OC + MPS Wave Cooker ⬤⬤⬤⬤⬤
Extreme ST with Ice Spear and extreme CC with the cryo cannon itself. One-shots any frozen enemy, as long as it’s not a boss, and even the bosses feel the sting. Consumes 50 ammo to use. The wave cooker is used to exterminate small bugs and melt through frozen enemies, or to attack distant ones. Power drills and the vampire perk should be incorporated to gain a huge ammo efficiency bonus and on-demand healing. Most likely the best driller OC there is.
Other notable overclocks:
Ice Storm ⬤⬤⬤⭘⭘
Makes the cryo cannon deal a lot of damage quickly, completely shattering frozen enemies. Very strong against all ground enemies, mediocre against aerial enemies. Strong CC. Poor ammo efficiency, but can be synergised with other players running cryo builds. Can be strongly enhanced via using Blistering Necrosis Wave Cooker.
Snowball ⬤⭘⭘⭘⭘
The bad twin of Ice Spear. Consumes 35 ammo to generate a cryo grenade-like projectile that instantly freezes almost all enemies. Mildly useful against mactera infestations, awful anywhere else – the cryo cannon does the exact same thing.
Overall Rating: ★★★★★
General Information
– Good accuracy, fairly slow projectiles that are heavily affected by gravity
– Extreme ST, very strong DPS
– Strong CC, can be specced for extreme CC and AoE
– Very strong DoT that eats away armour on enemies and causes huge slow
– Great ammo efficiency
– Fairly slow reload, big magsize
Stats:
Damage: ⬤⬤⬤⬤◐, sustained
Range: ⬤⬤⬤◐⭘
Gross Ammo Efficiency: ⬤⬤⬤⬤◐
Single-Target Effectiveness: ⬤⬤⬤⬤⬤
Crowd-Control Effectiveness: ⬤⬤⬤⬤◐
Builds:
Volatile Impact Mixture OC + ER Subata ⬤⬤⬤⬤◐
Extreme ST and DPS, and very strong CC and AoE. Sludge pump eradicates anything in its range, while subata is used either for distant threats, aerial enemies, or finishers. Very ammo efficient if used in equal measure. Probably unbalanced. A contender for the best driller build.
Other notable overclocks:
Sludge Blast ⬤⬤⬤⭘⭘
Extreme ST that can outperform Volatile Impact Mixture against tougher enemies, but worse in all other aspects. Poor ammo efficiency.
Disperser Compound ⬤⬤⬤⭘⭘
Extreme CC and DoT that covers a large area, but much worse in dealing with aerial and tougher enemies.
Subata 120 Pistol
Overall Rating: ★★★
– Decent Accuracy
– Low damage
– Mediocre magsize and fast reload
Stats:
Damage: ⬤⬤◐⭘⭘, sustained
Accuracy: ⬤⬤⬤◐⭘
Gross Ammo Efficiency: ⬤⬤◐⭘⭘
Single-Target Effectiveness (Short Range): ⬤⬤⬤⭘⭘
Single-Target Effectiveness (Medium-to-Long Range): ⬤⬤⬤⭘⭘
Crowd-Control Effectiveness: ⭘⭘⭘⭘⭘
Notable Overclocks:
Explosive Reload ⬤⬤⬤⬤⬤
Very Strong ST damage in a short amount of time. Best-in-line for Subata. Mediocre ammo efficiency.
Automatic Fire ⬤⬤◐⭘⭘
Huge increase in recoil and spread severely limits the effective range of the gun. Allows to magdump at a much faster rate, but Explosive Reload does that better and more accurately. Very poor ammo efficiency.
Tranquiliser Rounds ⬤⭘⭘⭘⭘
Applies a lengthy stun, but drives the poor damage output of the gun even deeper into the ground. The stun is not particularly effective, because it has to be applied one bullet at a time, and a number of enemies are resistant or outright immune to it. Niche to the point of being useless.
Experimental Plasma Charger
Overall Rating: ★★★
– T5 Thin Containment Field deals very strong AoE damage
– Enables EPC mining
– Slow projectile speed
– No need for reload, easy to overheat
– Poor damage
Stats:
Damage: ⬤⬤⭘⭘⭘, burst
Accuracy: ⬤⬤⬤⭘⭘
Gross Ammo Efficiency: ⬤⬤⬤⭘⭘
Single-Target Effectiveness (Short Range): ⬤⭘⭘⭘⭘
Single-Target Effectiveness (Medium-to-Long Range): ⬤⬤⭘⭘⭘
Crowd-Control Effectiveness: ⬤⬤⬤⬤⭘
Notable Overclocks:
Persistent Plasma ⬤⬤⬤⭘⭘
Strong AoE and CC. Slows and deals DoT in a big sphere where a charged shot explodes.
Heat Pipe ⬤⬤◐⭘⭘
Gives more ammo efficiency to charged shots at a risk of much faster overheats
Heavy Hitter ⬤⬤⭘⭘⭘
Increases DPS of normal shots and nothing else
Colette Wave Cooker
Overall Rating: ★★★★★
– Perfect accuracy and infinite range
– No reload, hard to overheat
– Low damage
– Strong synergies with primary weapons
– Decent ammo efficiency
Stats:
Damage: ⬤⬤⭘⭘⭘ sustained
Accuracy: ⬤⬤⬤⬤⬤
Gross Ammo Efficiency: ⬤⬤⬤⭘⭘
Single-Target Effectiveness (Short Range): ⬤⬤⭘⭘⭘
Single-Target Effectiveness (Medium-to-Long Range): ⬤⬤⭘⭘⭘
Crowd-Control Effectiveness: ⬤⬤⬤⬤⭘
Best Overclocks:
Blistering Necrosis ⬤⬤⬤⬤⬤
Very strong damage amplification. Each instance of damage has a 10% chance of spawning a weakspot blister anywhere on an enemy. All weapons can benefit from hitting weakspot blisters, even flamethrower and cryo cannon, dealing 3x damage for as long as the blister is intact. This OC doesn’t take away much from the wave cooker as weapon, but gives it superb synergy potential with anything else you or your teammates might use.
Mega Power Supply ⬤⬤⬤⬤⬤
A big increase in total ammo and RoF. Gives wave cooker more sustain. Great, but nothing special.
Diffusion Ray ⬤⬤⬤◐⭘
Strong CC. Pierces through multiple enemies and slows them down. Pretty good with T5 boiler ray against big swarms.
Gamma Contamination ⬤⬤⬤⭘⭘
Good DoT. Each instance of damage has a 25% chance of inflicting radiation DoT on an enemy, which also deals small AoE damage to other enemies in a small radius. Doesn’t offer any CC, and decreases total ammo and AoE coverage.
Impact Axe
Overall Rating: ★★★★★
Count: 8
Hazard to user and teammates: ⬤⭘⭘⭘⭘
Deals a significant amount of damage to an enemy it hits, and mediocre AoE damage to other enemies in a small radius. Can be picked up on misses. Abundant.

High-Explosive Grenade
Overall Rating: ★★★
Count: 6
Hazard to user and teammates: ⬤⬤⬤⭘⭘
Deals a significant amount of damage in a wide radius. Strong against swarms, with a healthy supply of 6. Breaks armour and fears enemies. Not very useful on Driller, since his primaries are already very good at swarm clearing.

Overall Rating: ★★★★
Count: 4
Hazard to user and teammates: ⬤⬤⭘⭘⭘
Emits toxins in a very wide radius, dealing mediocre DoT and slowing enemies for 10 seconds. Doesn’t deal damage to players, but the cloud can be ignited by any source of heat, the explosion itself dealing moderate damage to everything.

Fire
Effectiveness: ★★
Applies a rather weak DoT whenever an enemy’s temperature reaches a certain mark. The weakest debuff in most cases. Burning foes can, in turn, ignite other nearby enemies, which is very effective against weak enemies, but only chips at anything sturdier. Fire also has zero crowd control capabilities. However, fire is extremely effective when used against rival robots, as they instantly explode upon ignition.

Frost
Effectiveness: ★★★★★
Freezes enemies in place whenever their temperature reaches a certain mark. Frozen enemies become completely idle and receive 3x more damage from all sources for the duration. Aerial enemies fall to the ground and shatter, dying instantly, upon being frozen. Frost is an extremely powerful debuff, offering both unrivaled CC and ST damage amplification.

Electrocution
Effectiveness: ★★★
Applies a weak, brief DoT and a very strong slow effect. Repeated inflictions refresh the duration. A better version of fire in most situations, as the 80% slowing helps keep enemies of swarms well at bay, while still pouring in chip damage.

Corrosion
Effectiveness: ★★★★★
Applies a strong DoT and strong slow for a short time. Exclusive to driller’s sludge pump. Sludge on an enemy and from puddles apply slows independently and can be combined, resulting in extreme slow. A very effective debuff, that dishes out a lot of damage quickly, whilst at the same time slowing enemies.

Neurotoxin
Effectiveness: ★★★★
Applies a moderate DoT and moderate slow for 10 seconds. Repeated inflictions refresh the duration. No enemy has resistances to this debuff, which ensures that the effect is always administered in full force. A good debuff, with a balance for both damage and CC, and fairly lengthy as well.

Stun
Effectiveness: ★★
Stops enemies in their tracks for the duration and cancels out their attacks. Good against swarms of weaker enemies, but is a lot less effective against tougher targets, which tend to have stun resistance or complete immunity to it.

Fear
Effectiveness: ★★★
Makes enemies flee away from the source of fear to a certain distance. Provides strong CC and synergises particularly well with other slowing debuffs. Makes some enemies reveal their weakspots as they turn their back.

Thermal Shock
Effectiveness: ★★★★
Does 200 damage to burning enemies when affected by frost or vice versa. Kills most weaker enemies outright, and is moderately strong, but slow-to-kill against tougher targets.
More Guides:
- Deep Rock Galactic: Driller’s Secondary Guide (Season 3 Updated)
- Deep Rock Galactic: Hazard 5 Loadouts (Season 1 Update)
- Deep Rock Galactic: How to Turn a Cave into a Nuclear Wasteland as Engineer