After completing(most of) the campaign on the ‘Old school’ difficulty, I decided to share some tips that will help you have fun in the game.
I am very average player. My fps skills does not suck but they aren’t anything spectacular. However I would still like to have fun and maybe even master the game. If I play like COD I struggle on ‘hard’ mode. But with some strategy(by spacing myself and enemies and controlling the pace of combat), Old school became quite doable.
Weapons and combat Tips
If you could do that, you will find the game much manageable. Now, onto the good stuff.
I will start with the weapons. You can see my load out on the title image. I will explain the use of each weapon, and why they are useful for surviving Oldschool.
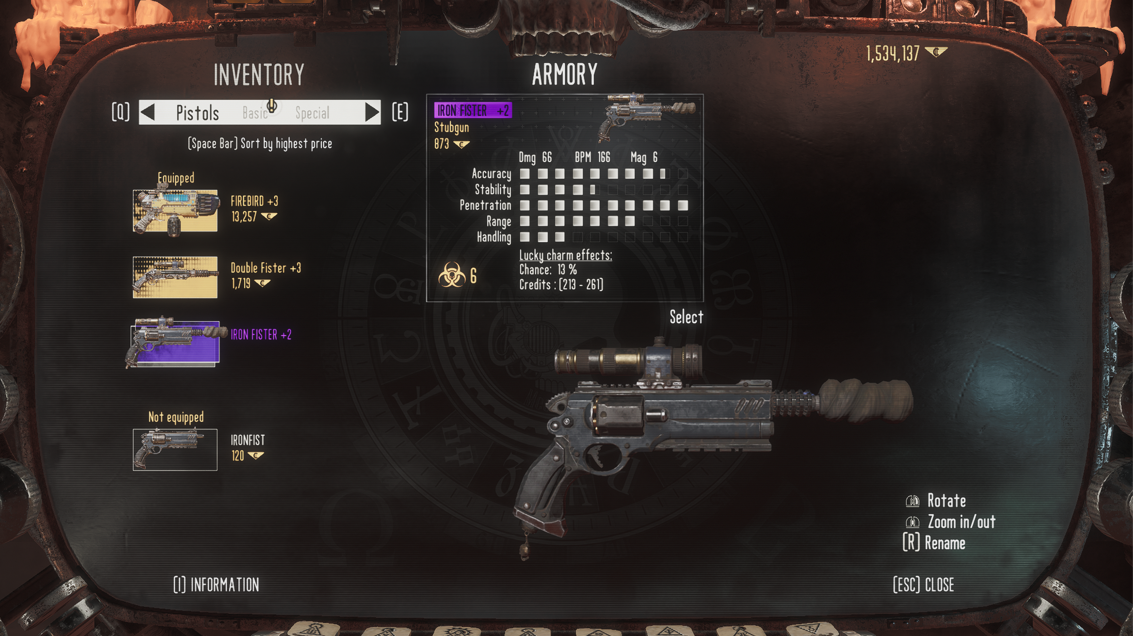
-Iron fist. The mandatory weapon. Notice you can swap it with other iron fists of higher quality.
The iron fist seem like a small gun for so much enemy. It is not. With proper configuration iron fist makes an excellent assassination weapon. Yes. Stealth is an option in some parts of the game. Not core item, but can be very useful.
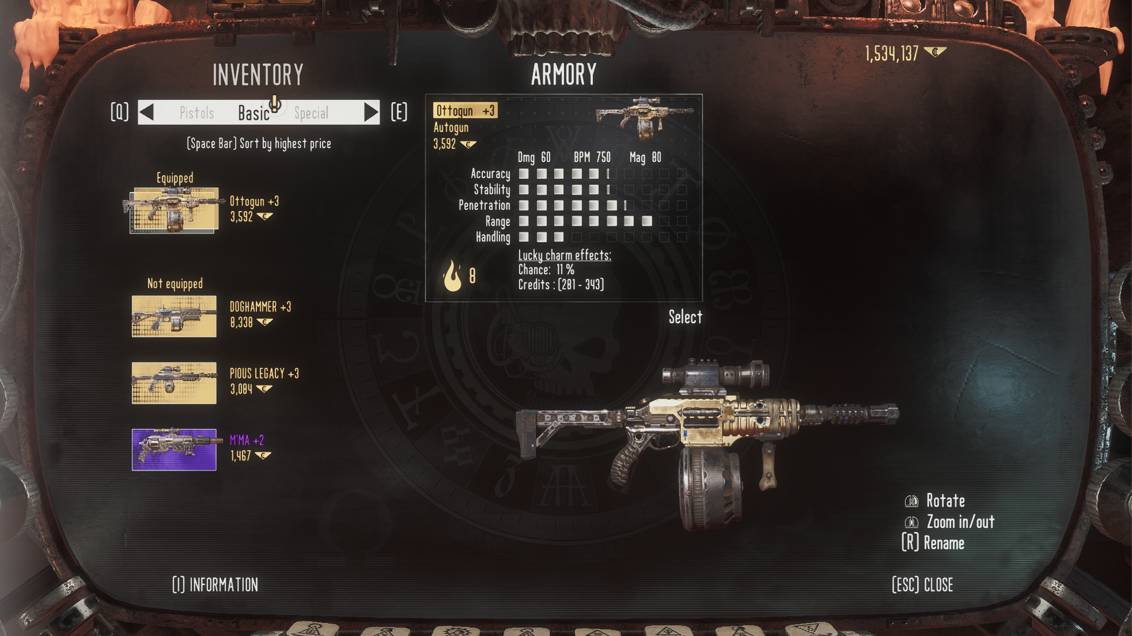
-Vpanther. The bread and butter of a good purge. I use magnetic barrel+drum magazine. Makes a mean hipshot killing machine. Combined with perfect aim and heightened senses you can take down hoards of mobs in seconds. If you are feeling fancy, do a wall run while all that to increase kill score and decrease chances of getting hit.
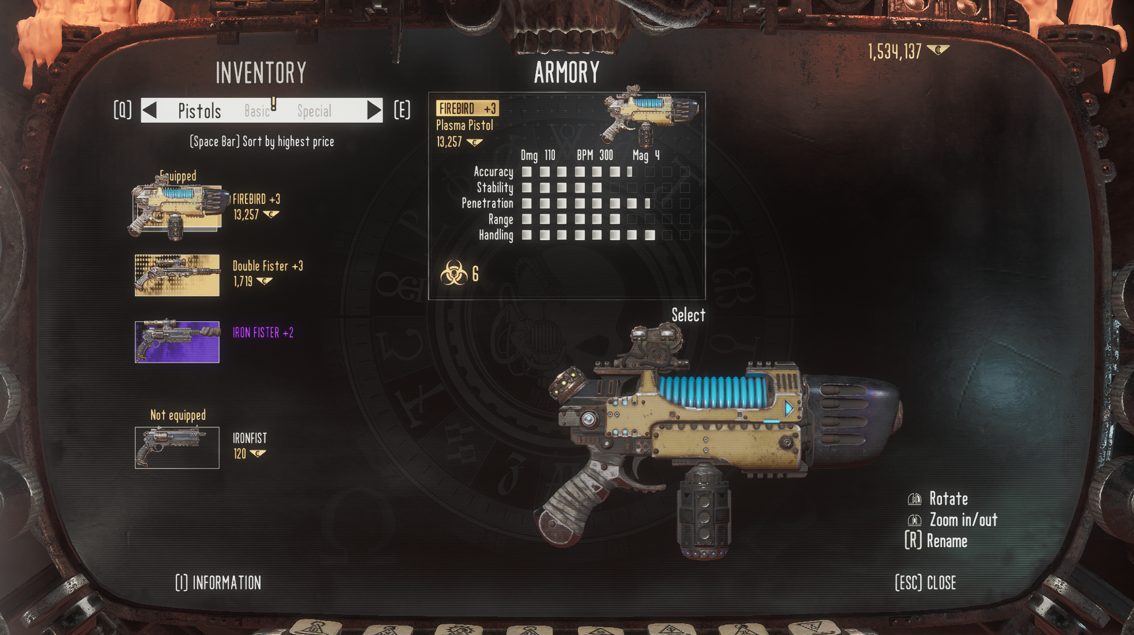
-Firebird. Very effective against ambots. High damage. Kills flesh enemies fast too, but limited magazine capacity. Useful for ambots and quickly taking out of elites.
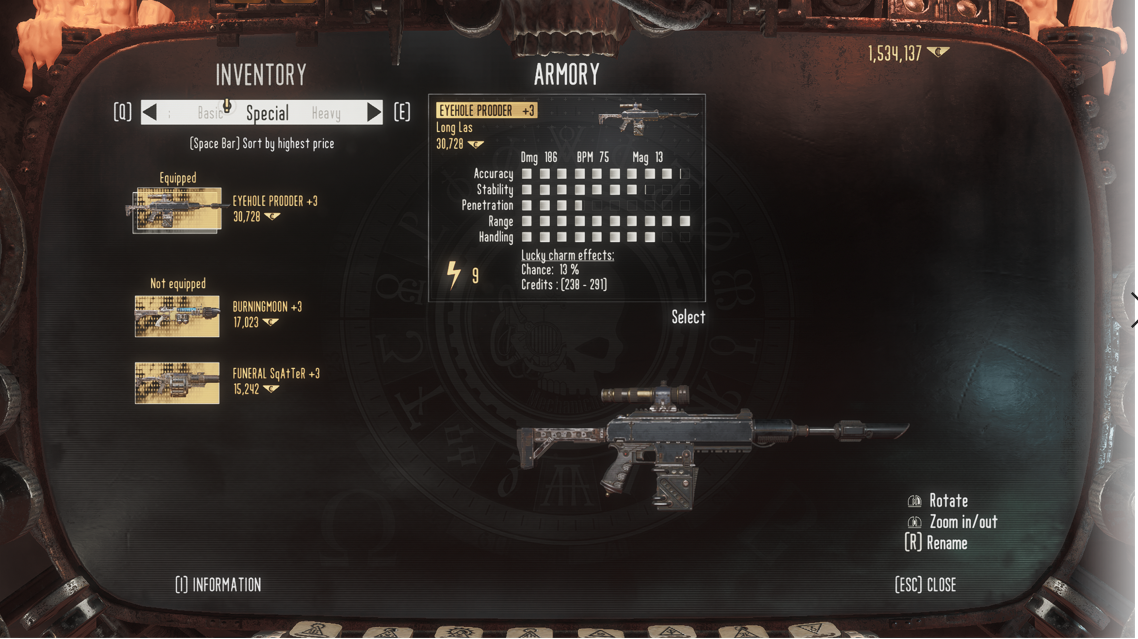
-Hashin’s eye. My favorite weapon. Basically a semi automatic sniper rifle. Has practically infinite range. Kills basically anything fast. I never leave base without that one. It is one of the most important part of my build, allows me to engage 70% of combat from mid to long range, which effectively reduces my poor little hp bar’s suffering.
-Epitaph. Ridiculously high damage. Also ridiculously low tolerance for misses. You miss a shot when you are face to face with an elite on high difficulty, you die. Bam. But very very high damage and high range. Notice that the third ammo option is a single projectile. So its more like a two shot pistol than a shotgun with that option.
I leave one long gun slot to de-clutter. Don’t really find myself needing anything else.
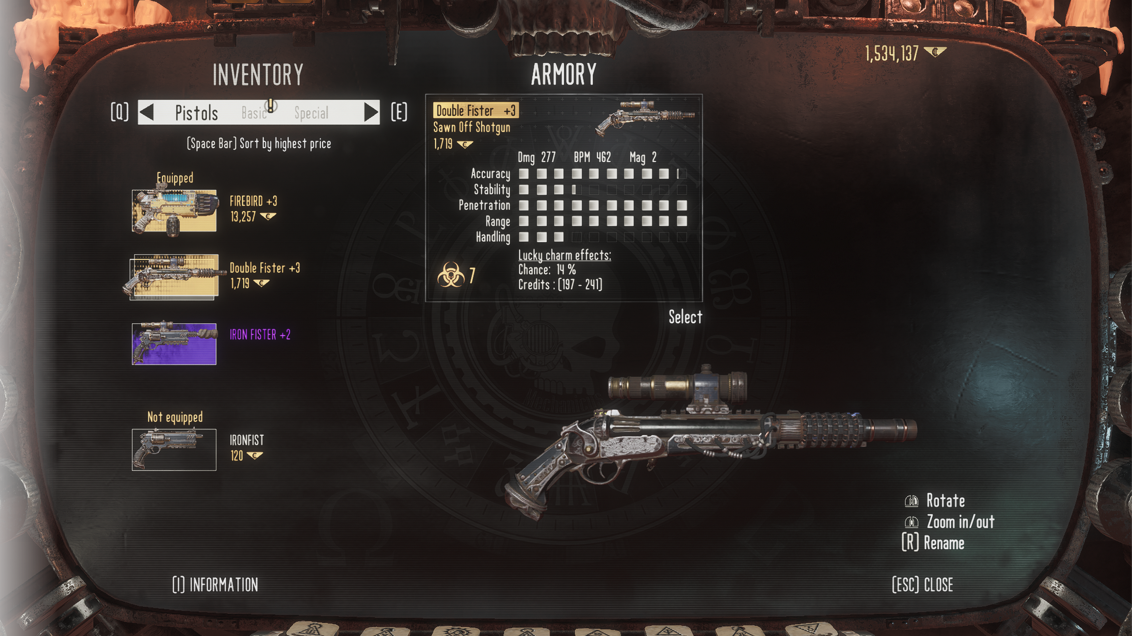
I would like to take some time to bring your attention to the ‘penetration’ aspect of the weapon. Penetration refers to the effectiveness of the weapon against shields. If the penetration is below half you will seriously struggle with shielded enemies. Who will be crawling all over the place on later missions. Other concepts are rather easy to understand so I will not waste time on them. There is a menu on load out screen that you can access by pressing ‘I’. It explains all the concepts.
Now, you got all these fun weapons. Time to use them against your enemies.
Please notice, weapons are at most 50% of your capacity. Don’t forget to use your abilities!
-Crush and blast. These two are similar abilities so I include them in one section. These are pretty much what you wanna use when you find yourself facing multiple enemies. Crush will teleport you forward for a distance and annihilate enemies in the cast direction. But blast has more effective area. Don’t be shy to use them once they are up. If you can memorize where groups of enemies spawn in certain missions and scenarios, simply sneak up to the spot and cast blast when enemies are still in one spot to make life much easier.
-Perfect aim. Provides a cone of auto aim. But you still have to point the weapon in the general direction of enemies. You should be utilizing this one fairly often because it allows you to travel around fast without having to slow down and aim. Remember! The top 1 goal is to not get overwhelmed by groups of enemies and mobility is your best friend!
Also notice that you get a (smaller) cone of auto aim when doing slide, wall run and wall jump. Use that to your advantage.
-Heightened senses. Often cast along with perfect aim or strength booster, it slows everything down, except the player. Allows you to dodge most enemy projectiles and attacks. Very useful in chaotic situations and boss fights. Has very short cool down(with full upgrade), so spam it! Spam it!
-Strength booster. Replaces your weapon with a machete and greatly boost your strength and speed. You can not call the mastiff, switch to weapons, or use grenade during the ability. However you can slide, use E to execute and grapple. You can also turn it off(or any ability) by selecting it again in the ability wheel. Be careful with this one! Your hp bar is just as squishy as it is when you don’t have strength booster on so don’t have too much fun.
-Haywire pulse. I find this the most useless so I put it on the last. This ability will temporarily disable ambots and ‘other electronic devices’. The second part is from the description, and I wonder if it means there are certain stages on missions that I could use this ability on the environment to get to loot. This ability is most useful to stop ambots from digging around.
Some general strategies to employ:
-Always be on the move! The fast you are, the less you get hit. The easiest way to die over and over in this game is to charge stoically into a group of enemies with a heavy stubber. Don’t. Just don’t. Ideally, a contact should last less than 3 seconds. One, two, three, you are gone. Whoever just faced you are dead.
-To kill enemies fast so you could be gone fast, combine weapons and abilities. Certain weapons work best on certain enemies. The regular humans and dogs are best dealt with auto gun, they come in swarms, just kick on perfect aim and enjoy the slaughter. Kill Bullgryns quickly by pressing E. As long as you have the shock module unlocked. With fully upgraded bionics you kill anything in one shot with crush/blast/shock(the big fist to the face thing), except ambots, and bosses. Kill ambots fast with plasma gun and haywire pulse.
-On tougher enemies like elites(psykers stacies, heavy bolter chads, radiation guys with lots of energy shield and riot shield guys), don’t be afraid to weaken them with gun fire, then land a killing blow with your abilities. Or the other way around. Use your grapple hook to deprive them of their shield and approach quickly.
-Crush is best for entering close combat. But do keep an exit plan in mind. Some enemies could withstand the crush and quickly crush you afterwards.
Needless to say you don’t want that.
-Switching weapons is always faster than reload! If you find yourself overwhelmed by all the weapons you have equipped, please refer to the last section of the guide.
-If you can take them out from far away, do that. Staying the ♥♥♥♥ away from the enemies is the top 1 best survival tip I could give. Sure under ultra concentration and some nicotine I could even machete my way through some old school chaos, but once I slip a little bit I instantly get plastered over the floor along with all my victims.
Boss Fights!
I did them all on hard. Maybe I could probably snake my way through, just like how I cheesed through steel way, but I am simply just not going to ask for it. Period.
The mini bosses are not much at all. They are at most a glorified guardsman and will go down with some casual gunfire, maybe followed by an ability.
The difficult ones are the couple on the end of some missions. Namely the guy in the end of steel way, the goliath boss during citadel or goibniu pit, and the two final bosses(shadow guy and the silver talon).
These bosses all have high mobility(movement skills and tp), high damage, multiple means of attack and multiple stages. Meaning you have to kill them multiple times. On top of that you will also be swarmed by a lot of mobs.
-Wall running with an auto gun is by far the easiest way I found to kill the bosses. Wall run significantly reduces the chance of you getting hit, and provide aim assist. Auto gun is recommended because you can only wall run for so long during a single cast. so naturally you would like to get as many bullets on target as you could in that short window.
-Use heightened senses to avoid enemy projectiles. This is especially useful for the final boss, as her weapon is a plasma gun with low projectile speed. Use heightened sense along with strength booster to run around the boss and attack from behind. Yeah I know. Real low blow, but this is 40k. Anywhere is above the belt in 40k.
-Use doge to slow down the boss and scent other enemies. Precious help! You can cast it during jump or slide. So next time when you get a little overwhelmed by all the enemy bullets, remember you got a little bullet sponge of your own!
-You should really avoid looking eye to eye with the boss. If you can see its eyes you are most certainly too close for him to snatch your p*****. If you need to get close to unload some shotgun rounds or abilities, disengage quickly to avoid getting snatched in the p*****.
-If there are a lot of mobs around, kill them first! At this point you should be pretty good at that. Crush. Blast. Shock. Penetrate their shields along with their frail ego. Give em some of the good old wham’bam thank u ma’am. A rolling stone gathers no moth.
So keep moving! Use all your resolves! Think quickly and do quickly!
-Opening the weapon or ability wheel slows down the game to a literal halt, use that precious time to come up with your exit plan!
-Don’t get stuck on elite enemies. It’s okay that you can’t kill the ambot or the boss in one blow. Maximize your damage in single engages and zip around often. Like Alex once said; play the in-out-in-out game. Get in or get out. Just don’t stick around.
-Don’t stick around will be the best survival tip I could ever give you for this game.
Loot Tips
There are five types of loot. Guns(Pistol, special, heavy and basic), status item(increases your stats, you can own up to four, and equip up to three), lucky charms(equipped on weapons to increase money gain), artificers(damage modifiers for weapons) and armor.
Loot quality WILL NOT increase with your character level.
Loot quality WILL increase with difficulty.
I suspect loot quality also increase when you open a second or third character, but my sample size is too small to say that for sure.
Most of my relic guns I got on my second character doing hard difficulty, so that’s that.
Now, where should you get the loot? Loot will drop from enemies and bosses, but the most reliable way to obtain guns is loot chests. Each of the 13 mission have 3 to 9 loot chests. All hidden pretty well. This guide will not point out the specific location of each chest(there are videos online that shows you the location), but provide general tips on finding them.
Don’t expect to get all the loot chests on your first run. The third time you do the mission would be much easier, since now you are familiar with the spawn locations and types of enemies you will face. Here are some general tips on spotting these chests.
Assuming that you have at least reached the koloss mission.
I will define the area of one single room on the koloss train(very cool design btw, good job devs)(including top and bottom level) as a standard unit of area. The rule of thumb is for each one of these area you traverse through, there’s probably a chest. Most missions have an average of 5 chests, rather evenly spaced out in an total area roughly about five train carts.
Combine that with your knowledge of the missions(as for where you are at in terms of progress and how close you are to the end), you should have a pretty good idea where chests are at.
A couple mission have a chest right under your nose around the spawning area.
The guide would be rather superficial if I stop right here. I won’t.
Now you know when to expect chests. But where?
At least half of them pesky little boxes are hidden above or below. So expect to go up and down. If you have played Doom or Wolfenstein or Deus Ex, you will be right at home. Follow your old instincts and you will find these chests lying in the most familiar corners. These games share high similarities in terms of tucking the good stuff away from the player.
Sometimes you can see the outline of the chest through gates/crevices/buildings. Pay attention!
If you see multiple routes, platforms, holes, pipes, ledges, EXPLORE THEM! Even not knowing where the chests are or using augar array, I can still find a couple chests per mission just by randomly exploring a little bit.
Now, allow me to introduce you to your best friend in terms of finding loot: The augar array.
So I kept this to the last because the augar array is like the auto gun. The auto gun is nice, but it is useless without you being able to put the cross hairs on the heretiks’ heads. Your knowledge of the mission/map and common sense regarding the distribution of the chests, is the aim my friend.
So for every different scene, don’t shy away from using the augar array! It will reveal enemies(shown as heat signatures)(but take notice it will only show enemies behind cover as white), beacons(shown as white circles, telling you where to go, objectives/switches(elevators, buttons, gates) and loot chests(both shown as white square with red dot in the middle).
The issue is both objectives/switches and loot chests have the same symbol. So they will often confuse you. I find the most effective way to be taking a good look at the environment before activating augar array. If there are switches, I remember their location, and filter them out.
Also, lucky charms and artificers will also show up as white squares on your augar.
-In early game, you wanna stock up on some defusers and ratskin maps. Once you complete the campaign once you should have fully upgrades bionics, money should not be a problem any more. Time for the expensive map. It is worth it.
-Medkit and stims always have higher priority than loot items early game.
-Running blessed pslams while simultaneously sacrificing 69 virgin tech priests to the Omnissiah significantly increases the drop rate. Not.
Random tips and mechanics
-Pressing control and a movement key in mid air will rapidly shift you towards that direction. This is helpful for avoiding enemy fire, and exploring.
-You can cancel a grapple by pressing shift again.
-You can use grapple hook to remove enemy’s shield. Very useful for those riot shield guys.
-Penetration works well against the riot shields too. And energy shield.
-Pressing reload before performing an execution will replenish your magazine automatically at the end of the kill animation.
-You don’t take damage from nearby enemies during the execution animation.
-The execute move should be your last resort since it takes a long time compared to other more effective skills, and allows enemies to gang up on you, despite you don’t take damage during the animation.
-In general, taking the high ground means much less trouble. There are certain types of enemies that can still reach you, but the rest of the 70% can only stay on the ground and kick dirt. Height effectively keeps dogs away. Being on the high ground also grants you a better look at the battle field, and all types and makes of enemies coming at you.
Don’t get knocked down into a group of angry mobs, and high ground will always be your friend.
– A lot of the combat could be engaged from long range, in the form of an ambush. If you are familiar with the maps you will find yourself surprising the enemies. Not the other way around. Remember! The last thing you want is a nasty surprise! Single close encounter with heavy bolter chad on hard mode is instadeath within seconds. If you run into a group and don’t react quick enough, you will probably see the ground coming up before you even can cast medkit.
-Speaking of medkit and consumables. Each mission there are at least two servoskulls somewhere around places you will most certainly be at, that allows you to replenish your stims. But you only get 3 medkits per game. Remember.
-Stims are cheapest to buy on mission start menu. The price increase as mission progresses. I strongly recommend keeping at least two charges around. There are also plenty of stims laying around random places in missions. Be sure to grab them.
How to un-equip guns?
Step one: Go to weapon dealer, and buy cheapest weapon of the same type with the one you wish to un-equip(pistol/special/basic/heavy).
Step two: Go to mission load out page, replace the weapon you wish to un-equip with cheap weaon.
Step three: Go back to weapon dealer and sell the cheap weapon straight from the slot. Bingo.
The same works for the mandatory iron fist, but you can only replace it with iron fist. But of better quality.
-Focus on the cerebral implant, specifically the ‘vocal implant’. Each upgrade significantly increases the gain from side missions. If you find yourself behind on bionics progress, just spam a couple side missions for the cash.
-Destroy ambot missions and kill psi slaves missions give the most credits. They are also the hardest. In some of those ambot missions there are even non target random ambots just hanging around. In some of those psyker missions there are also random ambots hanging around.
-Destroy the fan/supply missions are rather easy, as you could avoid most of the combat and just, literally, destroy the fans. They also pay the least.
-Enemies will keep spawning in side missions, unlike main missions, where you kill off a finite number in one stage and you can sit easy and explore. They keep coming. So be ready for surprises.
-Some side missions will have loot chests. The side mission maps are sections of campaign mission maps. And you guessed it. The location of the chests are also the same. However, sometimes a side mission might not have a chest on the spot where you normally would find a chest in campaign mission.
-At last, lucky charms on your weapon increases the amount of credits you get from kills. So far the top one I got is 14% chance to gain 200-300 or something. It’s not much, but adds up.
How to have some silly fun
Funny things that you can do:
-If you kill a bullgryn or a jumping enemy exactly at the moment he takes off, the body will still take off and maybe one in twenty times, funny physics stuff happen and the killing floor turns into dystopian dance party. It is quite rare, but really funny.
-Sometimes enemies accidentally fall to their death. I was able to push a handful of enemies down the abyss throughout my 50 something ours of game play. So it is definitely uncommon. But doable. Say, if you blast a bullgryn when he jumps and about to land on your side on the citadel mission. Or use the grenade launcher on a jumping enemy.
-Shooting enemies in the crotch seem to do more damage than plain body shot or limb shots. I was even able to one shot a couple shielded enemies with one to the nuts. Normally requiring two.
-You can get killed by several mission events. Such as the Koloss train(Just stand in the way of the cogs) or the crate full of wood falling out from the door in the mission ‘steel ways’.
You get nothing except instant death and my respect.
-Turn on heightened sense and murder a bullgryn, you will see his face go from disbelief and shock, to something I would even call remorse, then those innocent puppy eyes quickly dull out like grey marbles. If there are explosions and other stuff going on around, it’s almost comical.
I always feel bad killing bullgryns. Given their poor intelligence level, their keenness to participate in the war is at least questionable. I will gleefully hammer 40 thousand hatchets into 40 thousand sentient enemies as I murmur some nursery rhymes, since it’s their free choice of will. And my will is to murder them all. XD. But bullgryns man. Bullgryns.
Some other funny things I noticed
-You might have already noticed the Wilhelm screams throughout the game. I find it hilarious. Hammering a hatchet into some poor dude should be pretty grim dark under any setting but the arrrrrghhhiii just lol. I vouch for 100% more and louder screams.
‘Your anguish sustains me’
-You might start paying attention to all the rag-dolling. Sometimes bodies takes a couple seconds to drop. If you shoot their head off they keep bleeding from the neck.
-Sometimes, actually quite often, enemy dogs get confused. More than a few times I got a dog right in my face but he apparently forgot how to be a dog and just stood there as I cleared out its human masters from far away, and finally realizing oh I got a dog up my face.
-Most of the times when you are high up the dogs will just bark from below, making good targets. But once in a while the AI will decide that the dog should be able to fly and the result is hilarious. Just the thing ascending straight from ground floor. Some times they even fall out of map.
-If you keep shooting at your mastiff, it will also just leap into oblivion. Ending its unappreciated existence out of, free will.
-Two guards in one of the early missions were talking about the red mushrooms around the cave. The conversation goes something like
‘Can you eat the red mushrooms?’
‘I caught my mastiff sniffing them. Right before he died.’
-I always find punching the door cogitator hilarious. Can we please have a couple more punching animations please? It’s flipping straight hilarious and I burst out laughing even just thinking about it.
OPEN
THIS
RUST
DAMNED
DOOOOOOOOR
It is 100x funnier with Dutch audio.
