Melffy is a fan favorite archetype, but proper documentation on what to run and why in competitive play is shockingly limited. This is a guide on how to play Melffy competitively.
Introduction
The main issue that people face when deckbuilding Melffy is that they assume that the best way to play Melffy is to fire off their hand summoning effects as much and as often as possible. This is wrong. The main strength in Melffy is in it’s support.
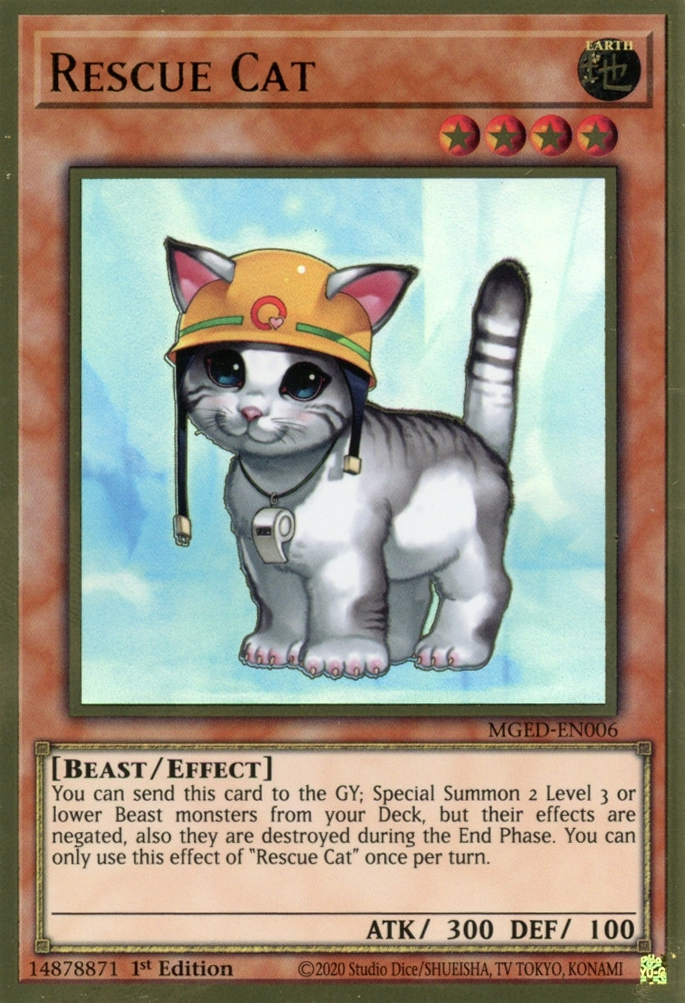 Rescue Cat is a great card both going first and going second.
 Obedience Schooled can potentially turn a single card into 3 interruptions that dodge Nibiru, allowing you to load your main deck with handtraps and other interactions.
With this in mind, think of the hand summoning effects of Melffy as a sort of backup strategy.
This guide will only instruct you how to play the Melffy aspect of your deck. This guide is written to explain how Melffy works in a vaccum, and assumes that you at least know enough about the base deck that you’re ready to run the Melffy variant.
Rescue Cat is a great card both going first and going second.Obedience Schooled can potentially turn a single card into 3 interruptions that dodge Nibiru, allowing you to load your main deck with handtraps and other interactions.With this in mind, think of the hand summoning effects of Melffy as a sort of backup strategy.
This guide will only instruct you how to play the Melffy aspect of your deck. This guide is written to explain how Melffy works in a vaccum, and assumes that you at least know enough about the base deck that you’re ready to run the Melffy variant.
Deckbuilding
Run 3 Obedience Schooled; 3 Rescue Cat; 2 Tri-Brigade Kerass; 1 Hop Ear Squadron; and 2 Kalantosa, Mystical Beast of the Forest. For the Melffys in the Main Deck, you need either 2 Melffy Catty and 1 Melffy Puppy, or 2 Melffy Puppy and 1 Melffy Catty. For the Extra Deck: 1 Herald of the Arc Light; 1 Sky Calvary Centaurea; 1 Joyous Melffys; 1 Downerd Magician; and 1 Divine Arsenal AA-ZEUS – Sky Thunder. And then go ahead and fill the rest of the slots with whatever else – The good handtraps like Ash Blossom and Infinite Impermanence; draw cards like Pot of Prosperity or Upstart Goblin; the other archetype you’re trying to mix with it, probably Tri-Brigades.
Pure Melffys
No.
Flowchart
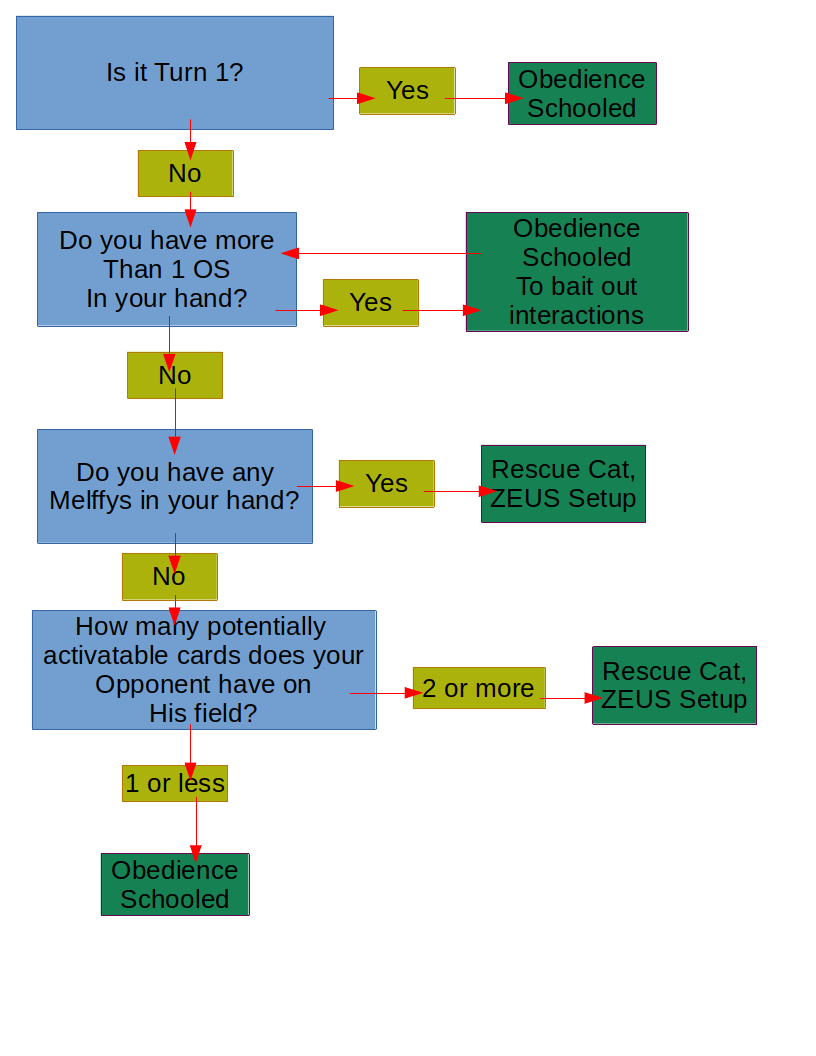
Consult this flowchart if you have both starter cards in your hand. From here, proceed to the Section relevant to the turn order.
Going First
With Obedience Schooled:
- Summon Melffy Catty; Melffy Puppy; and Kalantosa, Mystical Beast of the Forest
- Xyz Summon the three monsters into Joyous Melffys
- Set, pass to opponent
- When your opponent places a card on the field that destroying would affect their gamestate (generally, their Normal Summon is a safe bet), activate Joyous Melffys
- Summon Melffy Catty; Melffy Puppy; and Kalantosa, Mystical Beast of the Forest
- Activate Kalantosa, targeting the card you decided on during Step 4, to destroy it
- Proceed to the “With Catty and Puppy on the field” subsection
With Rescue Cat:
- Tribute Rescue Cat to activate it’s effect
- Summon Melffy Catty and Melffy Puppy
- Xyz Summon the two monsters into Joyous Melffys
- READ THIS SECTION CAREFULLY: Press the Activation Confirmation Button (the last blue button from the right on the bottom of your screen) and set it from Auto to ON
- While carefully attempting to avoid misfiring any Maxx “C” in your hand, set, pass to your opponent
- As soon as the game allows you to act on your opponent’s turn (usually immediately following their draw, as long as you followed the above steps carefully), activate Joyous Melffys, and go ahead and set the Activation Confirmation Button back to Auto
- Summon Melffy Catty and Melffy Puppy
- Proceed to the “With Catty and Puppy on the field” subsection
With Catty and Puppy on the field, and when your opponent summons a monster and triggers their effects:
- Activate Catty, then chain Puppy
- Optional: Set the Activation Confirmation Button to ON before you chain Puppy during Step 1, if you’re worried about Puppy being negated. If it is negated, proceed to Step 4, treating any remaining Level 2 Beast Type on your field as the Kalantosa that wasn’t summoned
- With Puppy‘s effect; summon Kalantosa, Mystical Beast of the Forest
- With Catty‘s effect, search Hop Ear Squadron
- Activate Kalantosa, targeting the card that activated the Melffys; chain Hop Ear Squadron, targeting Kalantosa
- With Hop Ear Squadron‘s effect, Synchro Summon into Herald of the Arc Light
- Go ahead and negate whatever else your opponent activates from here on with Herald of the Arc Light
Going Second
With Obedience Schooled:
- Proceed to the “Going First” Section and follow the “With Obedience Schooled” Subsection
With Rescue Cat; the ZEUS setup as mentioned in the flowchart:
- Double-check your opponent’s board to see if either his Monster Zones are all empty, or if he has a monster on the field that does not do anything when attacked. If neither of these are valid, proceed to the “Going First” Section and follow the “With Rescue Cat” Subsection
- Tribute Rescue Cat to activate it’s effect
- Summon Kalantosa, Mystical Beast of the Forest and Tri-Brigade Kerass
- XYZ Summon Sky Cavalry Centaurea, using the 2 monsters
- Go to the Battle Phase; and with Centaurea, attack your opponent directly, or any monster that fits the qualities described in Step 1. DO NOT USE CENTAUREA‘S EFFECT!
- Go to Main Phase 2; and XYZ Summon Downerd Magician, using Centaurea
- XYZ Summon Divine Arsenal AA-ZEUS – Sky Thunder, using Downerd Magician
- Go ahead and activate ZEUS immediately if your opponent has enough of a setup to warrant doing so, or hold off on it until you are confident that doing so would affect their gamestate. Remember to detach Kalantosa!
The Grind Game
From here, the gameplan gets considerably simpler. You mainly want to focus on keeping both Kalantosa in the field or the graveyard. The best part about Joyous Melffys is that it’s effect is completely XYZ Material agnostic, so as long as you have access to any 2 Level 2 Beast Types on the field, then you have a guaranteed 2 pops on your opponent’s turn. On the flip side, try to keep your opponent from banishing your Kalantosa, because if they do, your strategy is completely neutered.
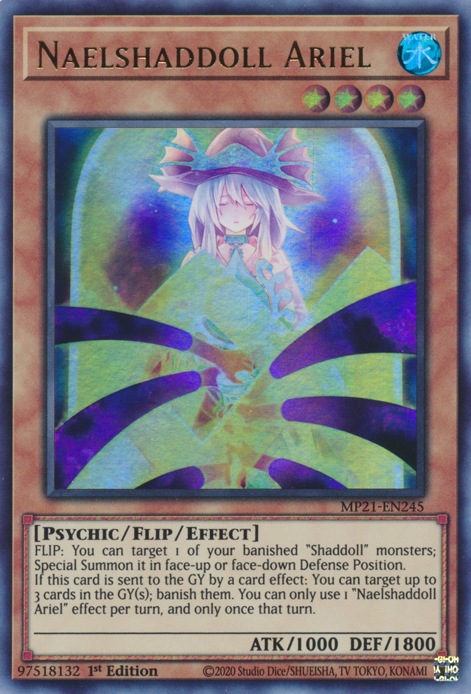
Two big cards to watch out for are Naelshaddoll Ariel and Sky Striker Mecha – Shark Cannon, which Melffy is extremely vulnerable to! Be very careful when dealing with any archetype with graveyard banishing cards.
Two big cards to watch out for are Naelshaddoll Ariel and Sky Striker Mecha – Shark Cannon, which Melffy is extremely vulnerable to! Be very careful when dealing with any archetype with graveyard banishing cards.
Tips on Salvaging Bad Hands
Everything that’s been said is making the best of a best case scenario. As important that Kalantosa is to the main strategy of this deck, it’s still a garnet. And any competitive YGO veteran knows that garnets are attracted to the hand like flies to honey. This Section is a miscellaneous selection of situations in which you have drawn a Kalantosa, in descending order of desirability.
- Drawing Kalantosa is the reason why you’re running Tri-Brigade Kerass (other than padding out potential OS targets). With it’s effect of discarding a Beast Type to Special Summon it, you can safely dump a Kalantosa to the graveyard without wasting our Normal Summon for Rescue Cat. You can even get an extra interaction out of it, but do mind that this will put you in Nibiru range. If you don’t have a Rescue Cat in hand but you do have another Melffy card, hey, still makes a Joyous Melffys.
- If you draw a Kalantosa and are making an Obedience Schooled play, just Normal Summon it. You’ll also have to use both Kalantosa at the same time, which I find to be extremely awkward on the first turn, also it puts you in Nibiru range. Sorry, I guess.
- If you have a Kalantosa, a Hop Ear, but none of your starters, Normal Summon your Kalantosa, then set, pass. Herald of the Arc Light is a play.

- The dreaded 2kal is when you draw both Kalantosa in your starting hand. It only occurs 1% going first and 2% going second; it is the game telling you that the fun stops here. If you don’t even have Kerass or Hop Ear so you can at least do something, push the big red button and try again. Don’t try to fight it.
This Section mostly exists because I wanted to tell you what a 2kal was.
Final Notes
I’ve seen Tri-Brigade Melffy lists that run the tiniest ratios needed to use OS as possible – 2 Kalantosa and only 1 Puppy. I feel like that misses the point entirely. OS still locks you into Beast types which heavily restricts what you can do, you’re not getting the most out of OS, and either way you’re still going to draw 2kal and hate yourself.
Go ahead and run another Joyous Melffys if you are absolutely strapped for anything else as your 15th Extra Deck slot. JM is able to dodge any Lightning Storm that your opponent will occasionally throw at you, but there are situations where you’ll be screwed over before even your opponent’s turn.
If you have read this guide over, you may be discomforted by the idea that this entire archetype is hyper-focused around lucksacking two cards which are disproportionately stronger than anything else that it has to offer. I understand your frustration, but this is just how it tends to go with jank. A lot of archetypes don’t even have that second card.
I understand that this guide grossly over-analyzes an archetype with two good cards.
Credits
This guide is possible thanks to Youtube user Melffy Rabby. The guide is a variant of his theories and would not exist without the incredible effort he made to create optimal strategies for the archetype. If you liked this guide, please subscribe to his channel at https://www.youtube.com/channel/UCMF7bWkZ3x1W_by_nnbY5kQ
By thegwall
More Guides:
- Yu-Gi-Oh! Master Duel: Dogmatika Punishment Generic Targets
- Yu-Gi-Oh! Master Duel: Metaphys Guide
- Yu-Gi-Oh! Master Duel: Sylvans Guide
- Yu-Gi-Oh! Master Duel: 10 Best Vampire Cards
- Yu-Gi-Oh! Master Duel: 10 Best Staple Cards For Any Deck
please rerun your guide scraper mr. hackerman, i updated it for dpe format :>