Hard time understanding what’s important? I’ll let you know the ins and outs of potionmaking, telling you the things you should be very aware of when playing this game.
The Basics
What this isn’t: This isn’t about the haggling minigame *at all*. You want card strategies, this is not the guide for that. This one is about one thing: Potionmaking.
The tutorial does a decent job of familiarizing you with how potions are created. Here’s a quick primer.
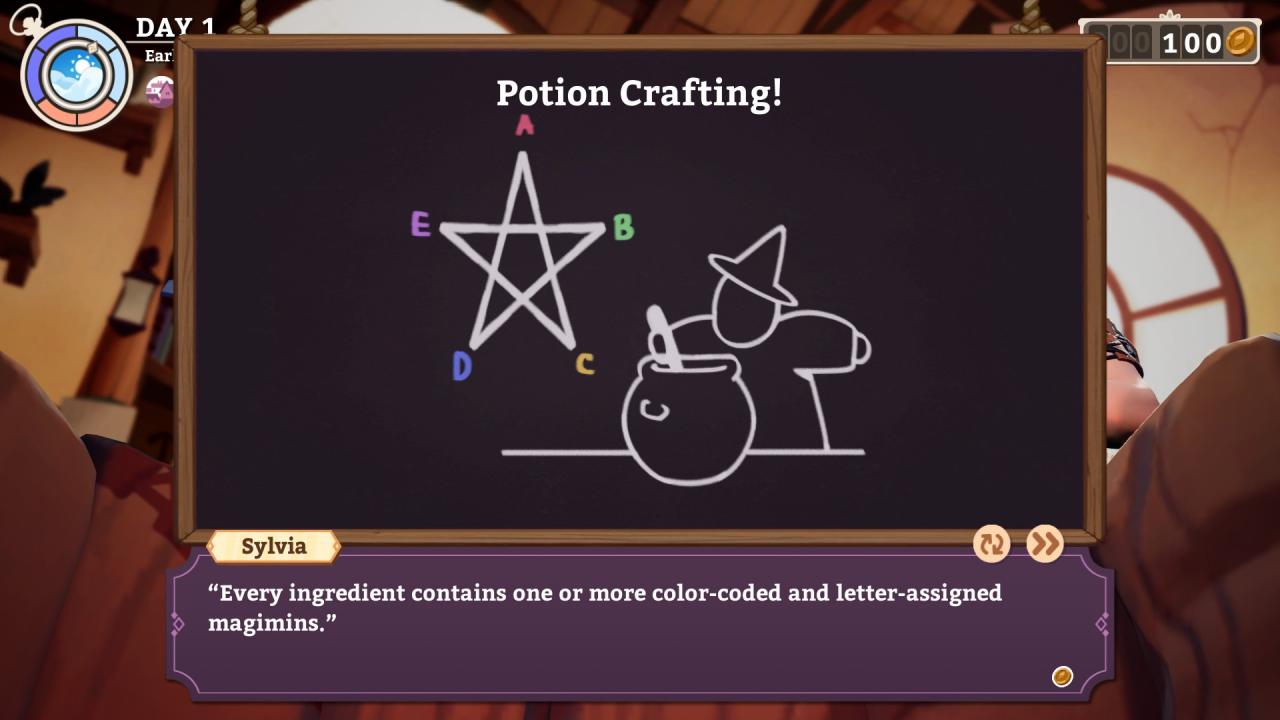
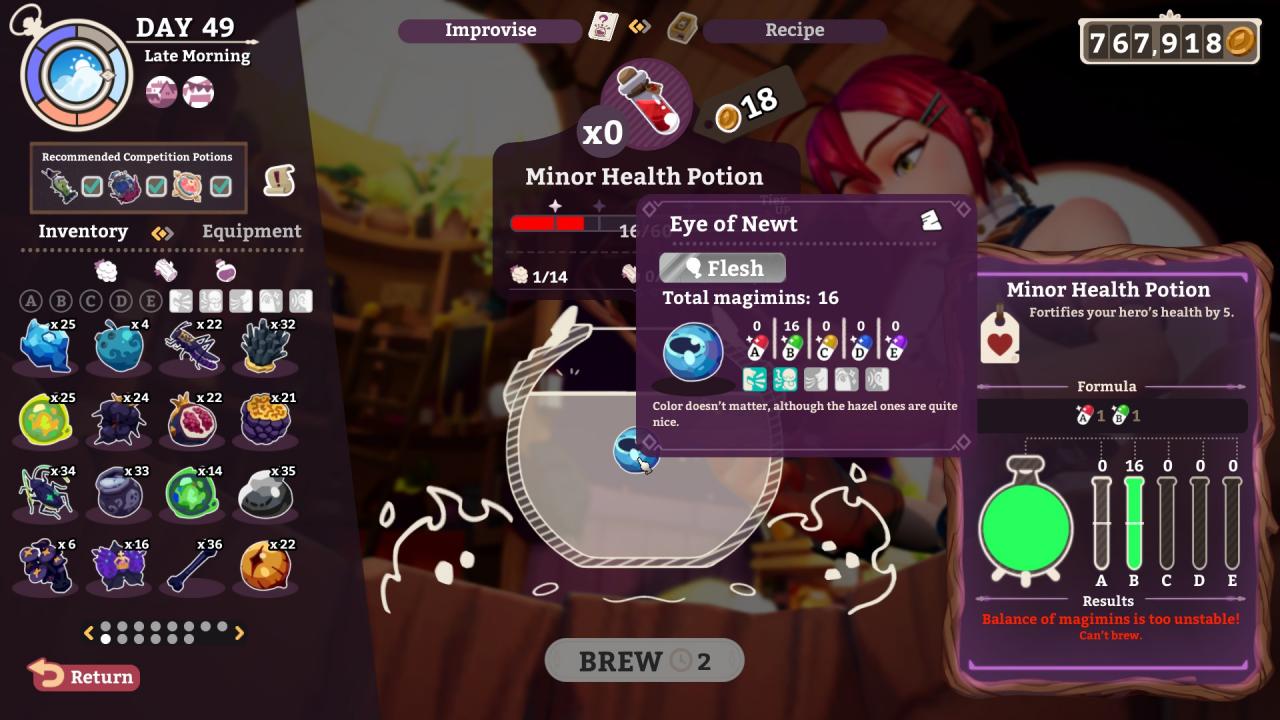
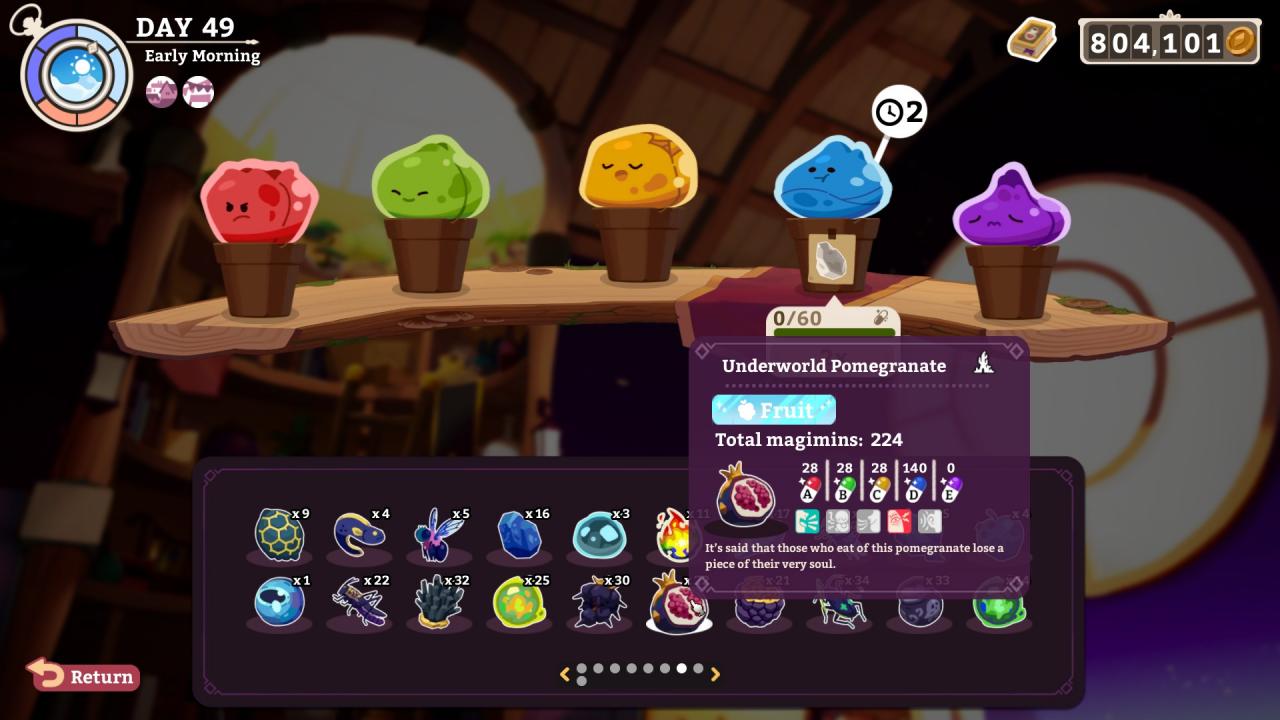
Every ingredient contains at least one of five color / letter coded Magimins. Some ingredients can have all five.

You place them in your cauldron, mixing and matching magimins with a recipe until a stable brew can be created.
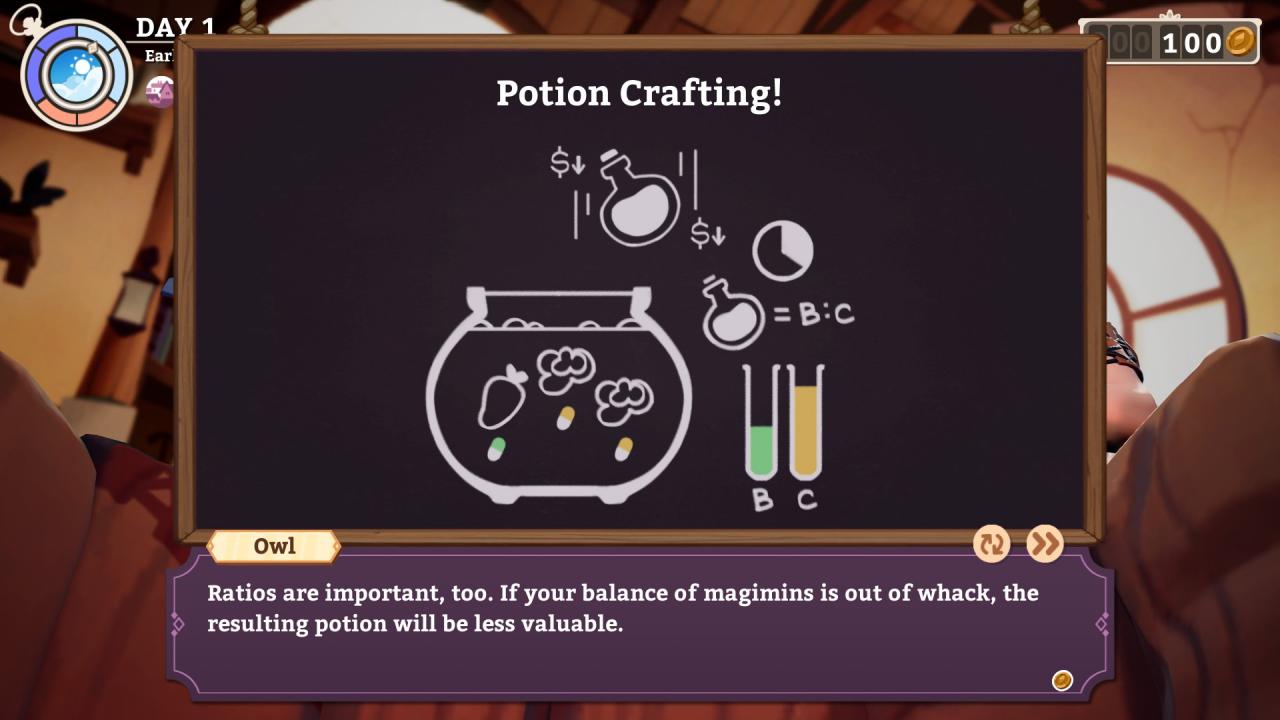
The Ratio of magimins is important. If it’s not matched enough, no potion can be created. Depending on the accuracy of the ratio, there are a few different outcomes for your potions.
- Unstable – Will potentially lose a star quality level.
- Stable – Potentially gain a star quality level.
- Very Stable – Will automatically gain a star quality level, with the possibility of a second.
- Perfect – Will automatically gain two star quality levels, with the possibility of a third.
Note that these ratio levels are not exact. Meaning that there’s a threshold, mathmatically, to determine if the ratio is Perfect or not. It’s probably about 1% error, so you need to be perfect at lower magimin quantity levels, but at higher quantities you can be less exact.
Hovering over the different parts of the interface will let you know what each do, but I will re-iterate the important things to remember:
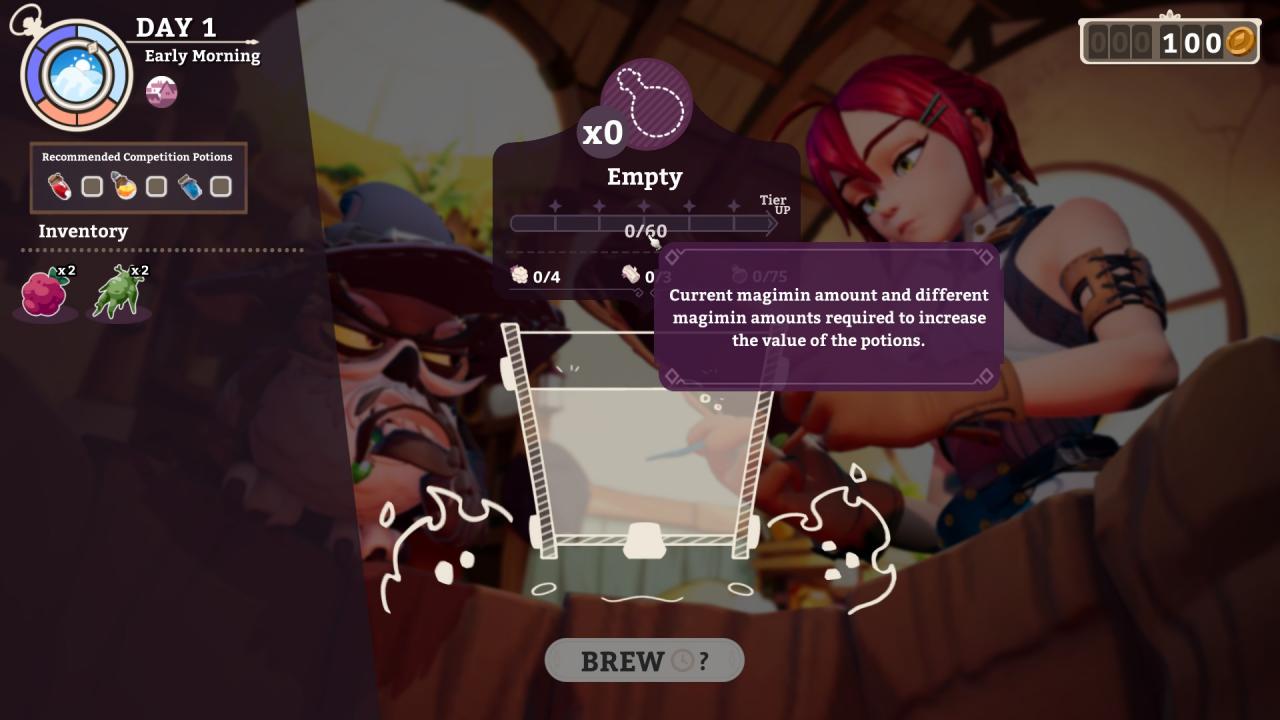
The total amount of magimins in the potion determines the quality. Therefore, ingredients that have more magimins = better quality potions and Using more ingredients = better quality potions.
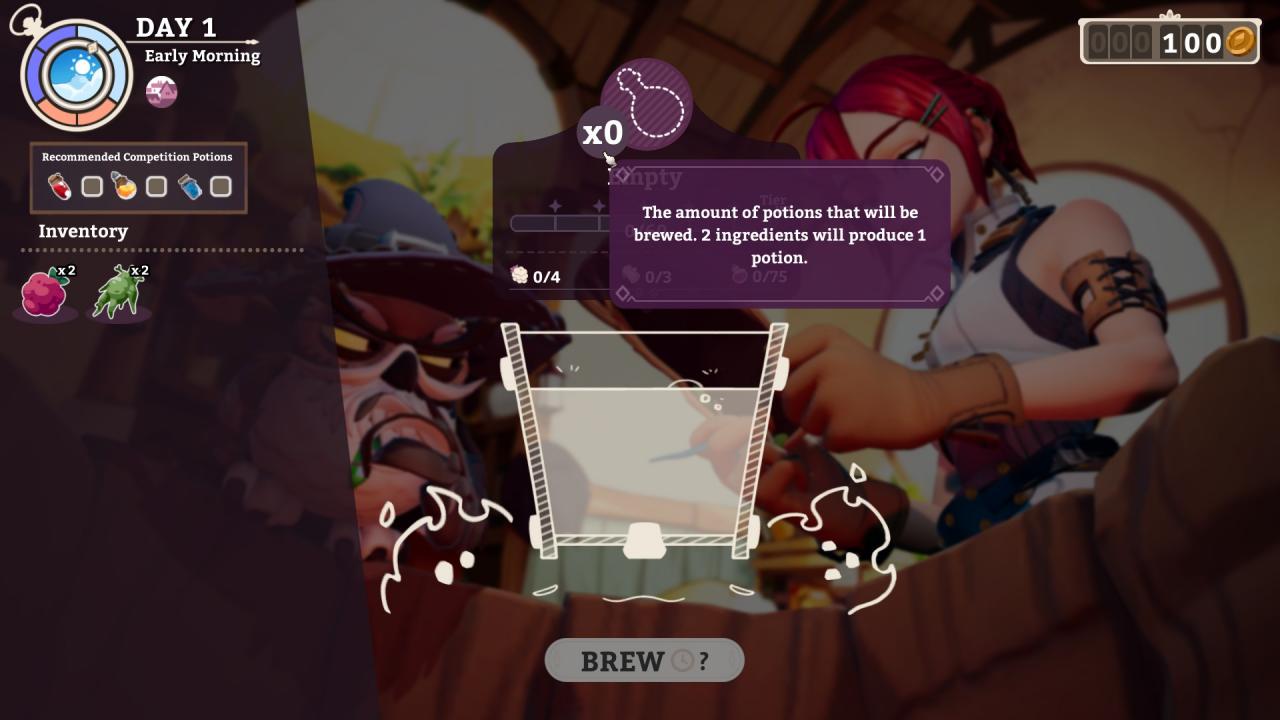
The amount of ingredients used determines how many potions are created. Every Two Ingredients Creates an Additional Potion. Always shoot to create additional potions.
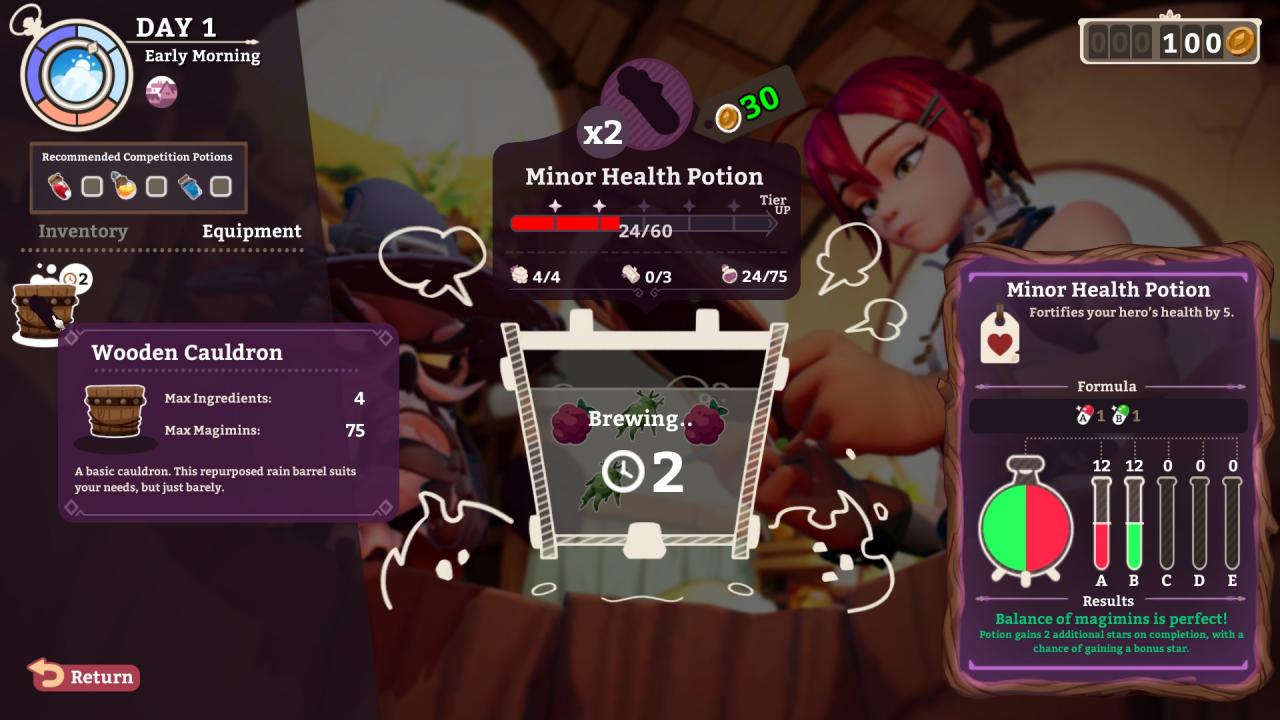
Cauldrons have stats, notably how many ingredients you can brew at a time (therefore the maximum number of potions you can create per cauldron) and the maximum number of magimins it can brew safely (therefore limiting the quality of potions you can create.)
I didn’t do a cost analysis, but it seemed on playthrough the price difference between star quality of singular ingredients (especially at low magimin totals) is nowhere near the price difference between having an additional potion be created. I always opted to increase my cauldron size for ingredients if I could over total magimin quantity. At highest level there’s only one cauldron so my suggestion is always opt for the largest (meaning EVEN NUMBER) cauldron you can make potions in.
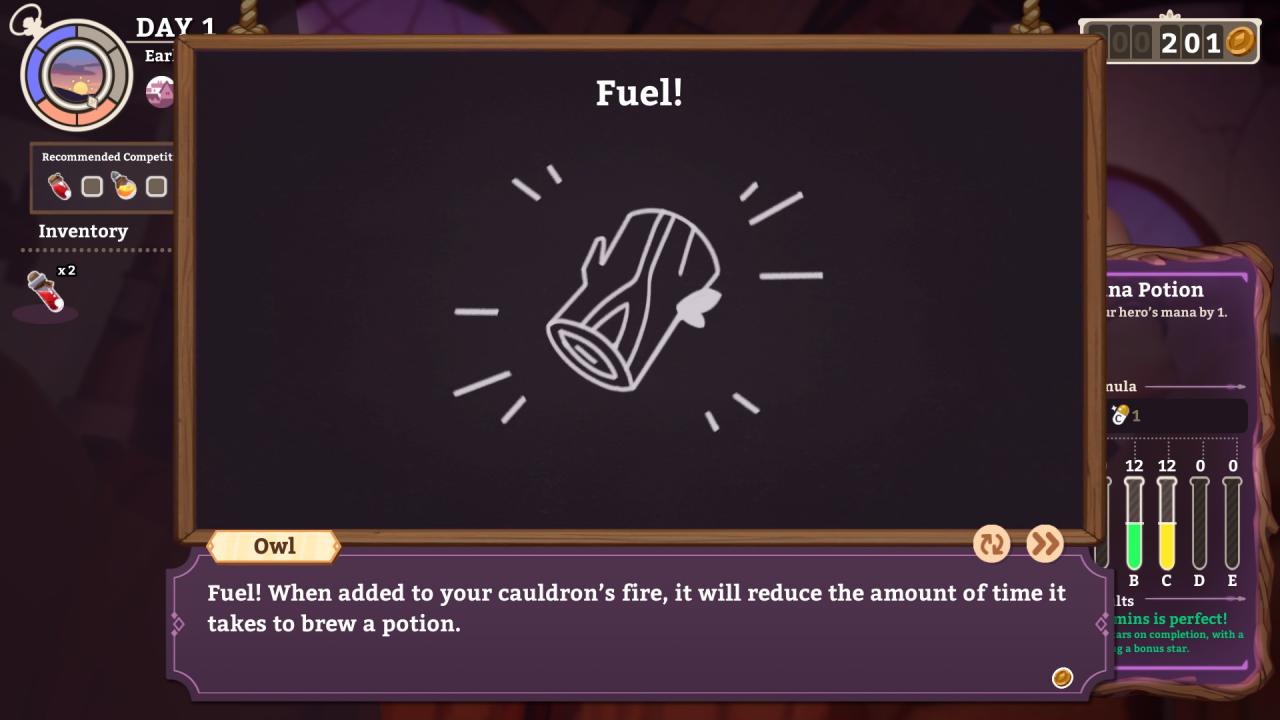
An additional ingredient you can utilize is Fuel. It doesn’t go directly into the potion, you use it to heat up the pot and improve cook times. Fuel can be purchased after meeting Saffron, and also collected when your Heroes complete missions (sometimes). The most reliable way to get fuel is to purchase it from Saffron daily.
What’s *actually* important to know: The Potionmaking Meta
This is a game about time management. That means, you are always pressed for time. Let’s lay some other ground rules you should be very keenly aware of, then.
1. Potions take a specified number of time slots depending on magimin quantity / potion quality. The more magimins you use or the higher quality potion you create, the longer it will take for a potion to be done. Brew time is mitigated by another ‘ingredient’ you must be keenly aware of: Fuel.
So, it takes a long time to brew potions, and brewtime is mitigated by Fuel.
2. The number of ingredients determines the number of potions created. However, the amount of magimins in the ingredients are what will increase the total magimin count, which is how quality is determined.
So from these two facts we learn the first truth about potionmaking, which is memed by the devs in their loading hints, but is a fact:
Always make your strongest potions.
And not *only* that, but:
Always make the most possible of your strongest potions
The true limit on your ability to make potions is cauldron vacancy and brew time. The bottleneck will sometimes be ingredients, but when you expand Quinn’s shop and unlock the Slime Garden, the only bottlenecks are time and quality ingredients for making extra special potions.
If you found yourself failing or flailing in the beginning, it’s probably because you decided to waste time on a perfect potion, but if you waited for ingredients you probably could’ve made two. The trip to Quinn’s takes 1 time slot, but brewing at a minimum takes two. You do the math.
Since potion brewing time is at a premium, the most cost efficient thing to do is to purchase Fuel to offset that. Hay goes for 10g per piece, which will reduce brewtime by one round. Wood is cost equivalent, at 20g per piece and reducing brewtime by two rounds. All other fuels have increased costs because they are more fuel efficient – as Combustofer can only accommodate three fuel items at a time. Early on these costs seem awful, but they’re quickly replaced by the quantity of potions you’re selling. This game is about surviving on margins early. As long as you win the tournament, you will have your money for rent.
Additional Tips for Getting Better

After unlocking Muktuk, make sure to save up for a new cauldron, and for new shelves / pedestals for your products. Cauldrons first, because they increase your efficiency at making potions. I Opt for the cauldron that allows you to make the most potions, but it’s up to you after all.

Saffron unlocks after you visit her on day four (I think). She sells you Fuel but also:

Saffron is a carpenter and can upgrade your shop. I would quickly increase the size of your shop to include more cauldrons to allow for more potions to be brewed simultaneously. Be warned though – the upgrades require Fuel and a substantial amount of gold. These will probably come after cauldron upgrades.

Discounts from relationships can really save you money over time, especially Quinn’s, whose 10% and 20% discount coupons can add up quickly.

Lastly, near the end game, you unlock aging barrels. For six slots of time, you can increase a potion’s price by a fixed amount, up to 25% for the highest level barrels. This is simultaneous to your potionmaking, so it only extends the amount of time before peak prices, and doesn’t interfere with any ongoing operations.
The Ingredient Meta
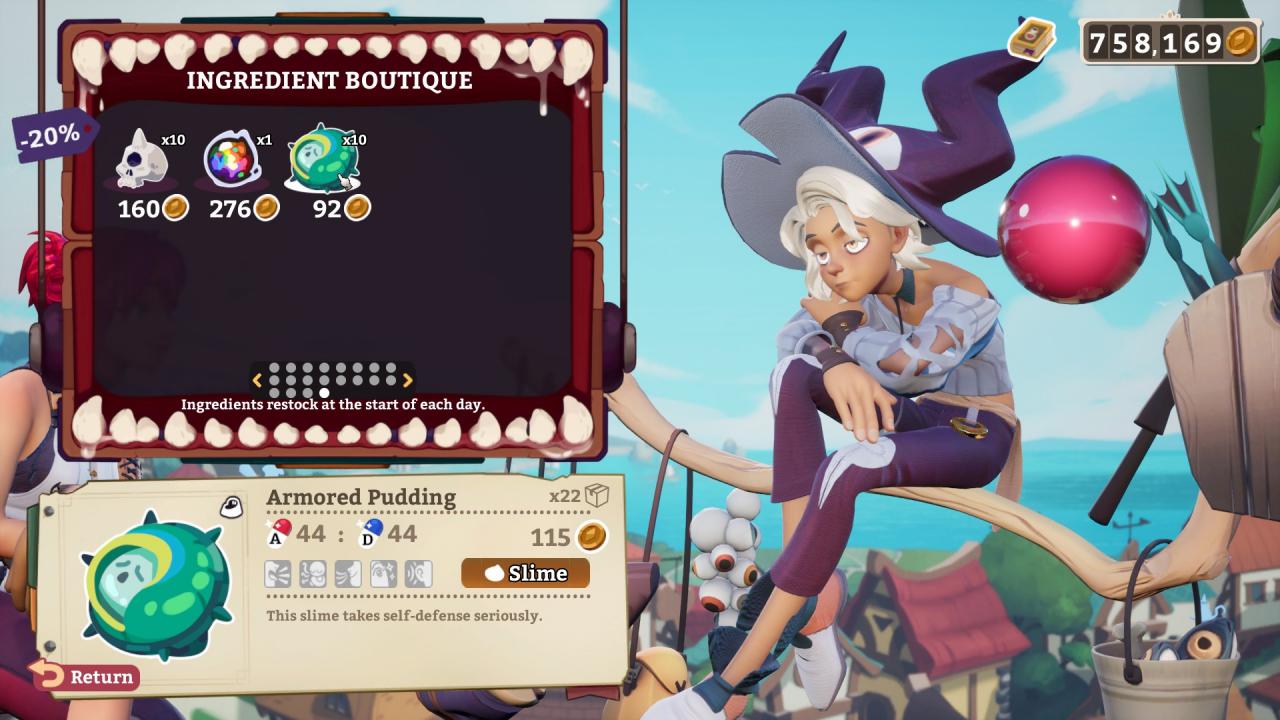
1. If you acquire a new ingredient, Give it to Quinn.

Quinn unlocks very early after visiting your shop. After acquiring a new ingredient, returning to Quinn will unlock giving them ingredients to find. Quinn will never fail to add an ingredient to their store, and they will always have new stock daily. There are no shortages in Rasta, only price changes. That being said, Quinn only stocks a *specified* amount of any particular ingredient daily, so your own shortages because of mismanagement of potion types while brewing can be mitigated once you have the Slime Garden.
2. If you see an ingredient you haven’t seen before for investing on hero guild missions, Invest!
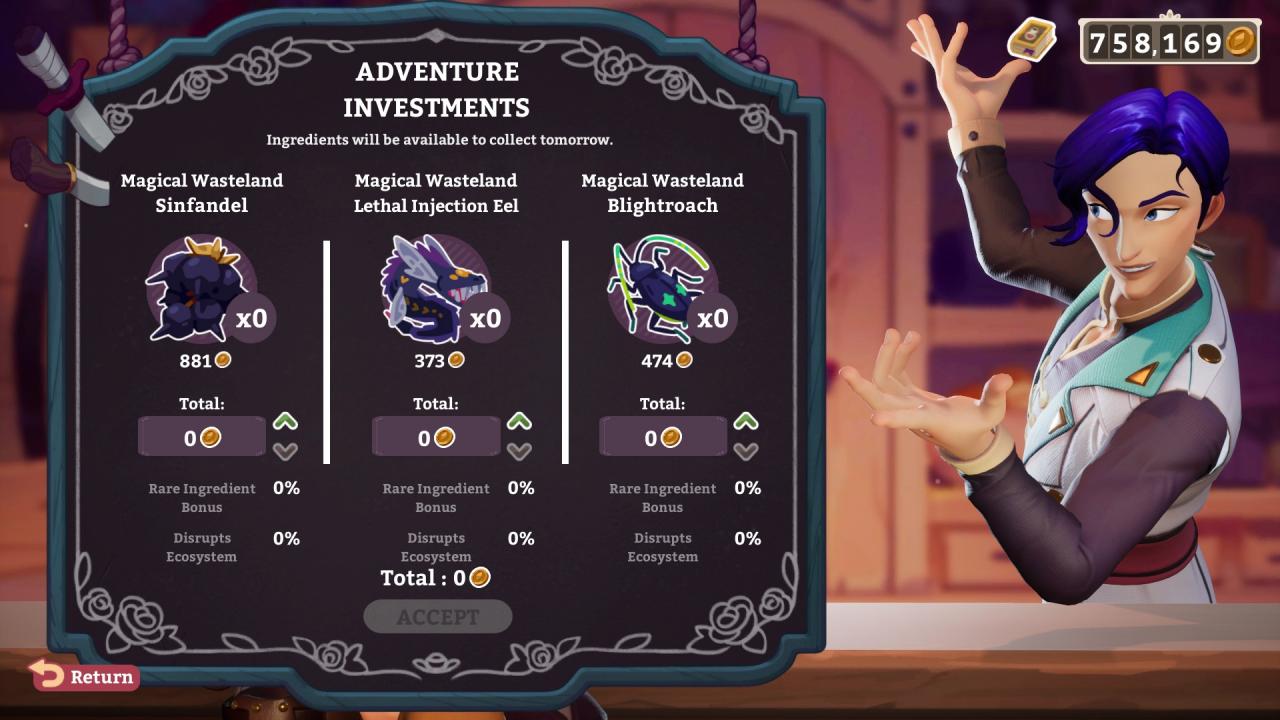
Ingredients have all sorts of uses, but the ones you get from expeditions tend to be rarer or ones you don’t already have. Acquiring them and giving them to Quinn basically unlocks a steady supply of whatever you find. Investing for rarer ingredient chances help get you ingredients for your playthrough.
3. Sending heroes on missions is probably the most cost effective way of acquiring ingredients.

If you have potions available (which you should if you follow this guide) you should be sending Mint, , and on missions whenever available. Put it this way, the Enchanted Forest costs 25 gold, and sending Mint through it, while using potions, nets you many ingredients. Generally you create crappy potions to use on your heroes, and they will get you good ingredients to make better potions to sell.
4. If you have enough money at the end of the day, Spend them on ingredients. Always buy out common / good quality (ones with neutral or good traits).
That’s after you’ve sent off every expedition, mission, bought every piece of fuel, crafted or upgraded your cauldrons, shelves, store… if you have money left, get ingredients. They’re always worth having around.
5. Ingredients with Equal amounts of any combination of 2 or 3 magmins are the workhorses of potionmaking.
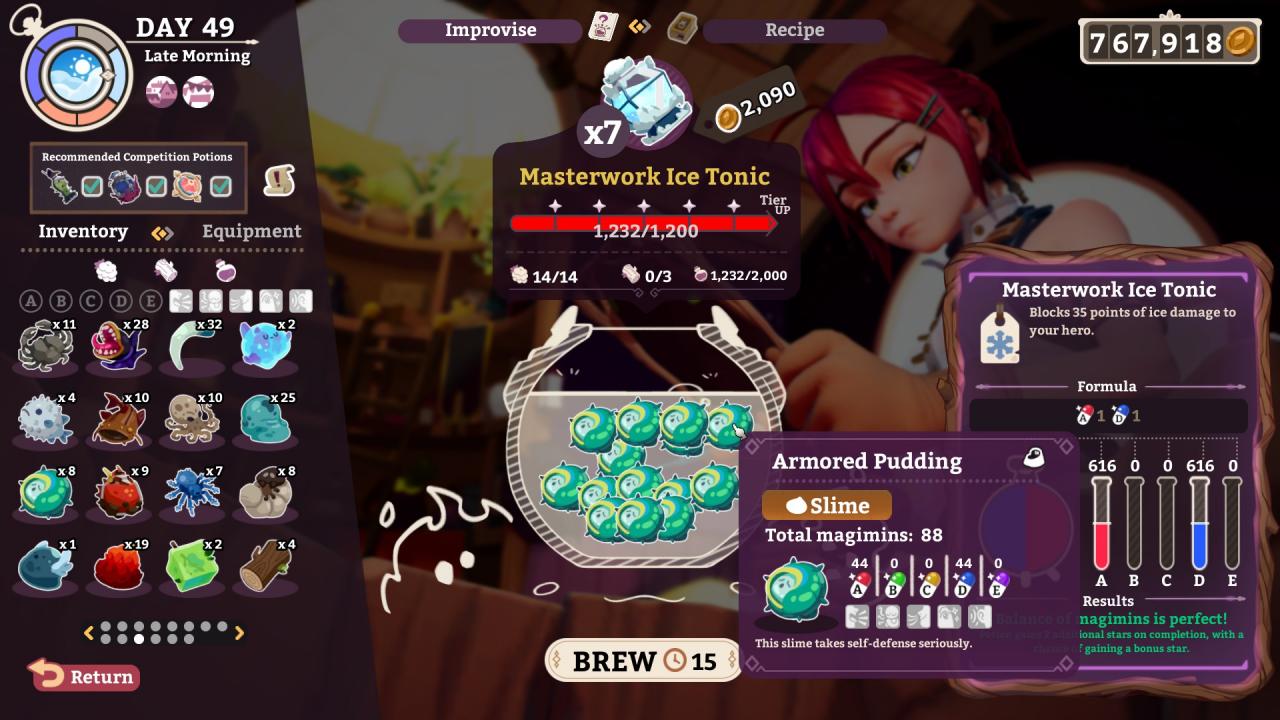
Almost always slightly higher magimin counter than the default ingredients, meaning you can create perfect potions and tonics (the only potion types that use two magimins at a time) with just a single ingredient.
6. Ingredients with combinations of four or magimins are Slime Food.
Just hold onto them until you unlock the Slime Garden. The Slime Garden is a core component to the potionmaking meta, and potions only ever require combinations of two or three magimins. Meaning that you will never get Perfect brews with ingredients with four or more magmins. However, they are hyper efficient foods for our slimes which we’ll go over later.
7. Ingredients follow Archetypes, which increase in quality by Weekly Tier.

Just as each week is a challege, when you overcome the challege, the next tier of adventure locations, potion recipes, gear, etc all are unlocked. Many ingredients have tiered varieties in each adventure zone. For a simple example, the one that came up most often in my first run: the Rotfly. A C-magmin Ingredient, it increases in magimin count as you find higher tiers of it. Always use the largest magimin ingredients in your potions to maximize quality.
The Traits Meta
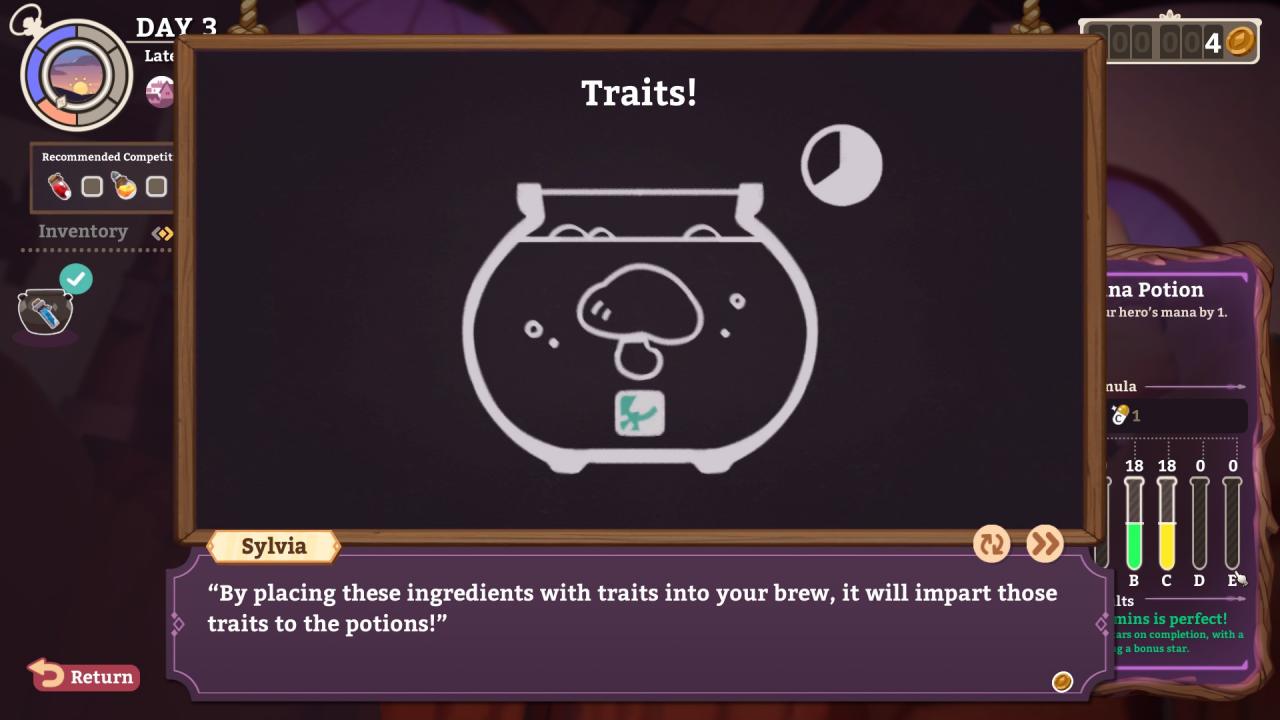
Each ingredient can have a positive or negative trait that associates with one of the senses: Taste (Taste Trait), Touch (Sensation Trait), Smell (Aroma Trait), Sight (Visual Trait), Hearing (Sound Trait).

When building potions, you can consider singular ingredients as the ‘potency’ of a particular trait. Meaning, if you brew a potion that has one ingredient with positive Taste, and one ingredient with Negative Taste, the resulting potion will be Neutral Taste.
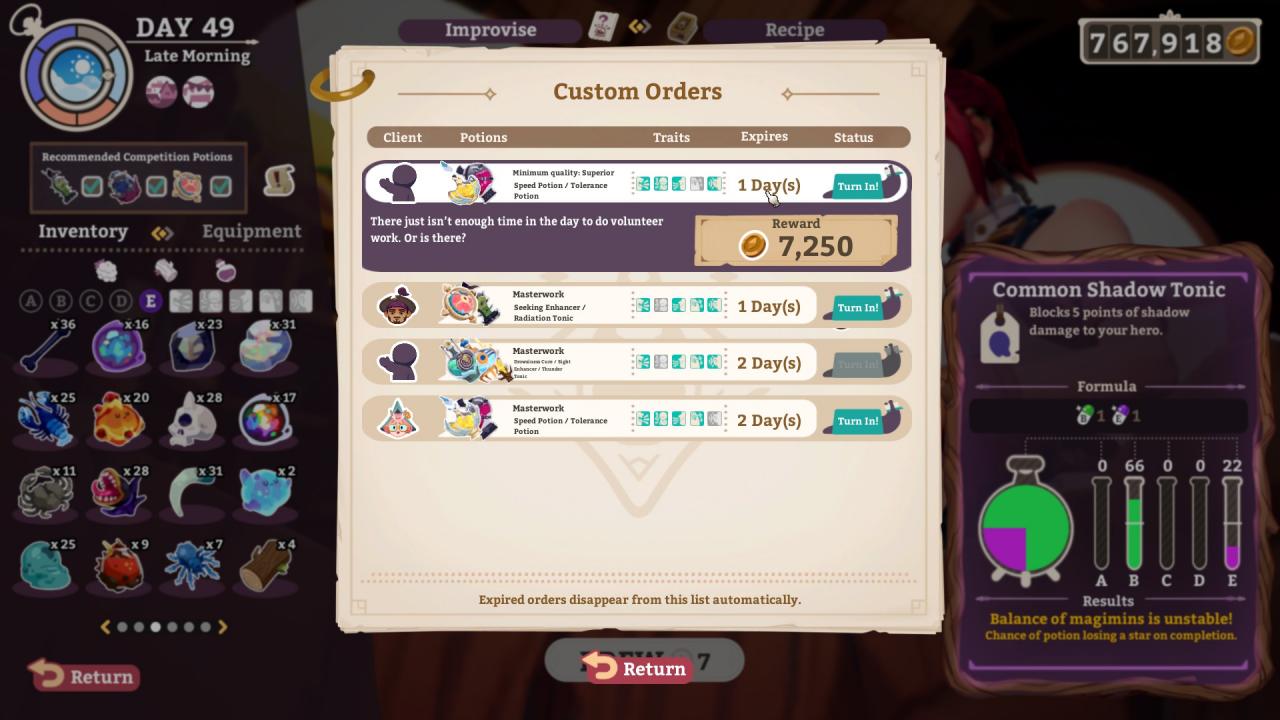
Traits are important: Firstly – each positive trait automatically increases the price of a potion by 5%. Negative ones will reverse that, obviously. Secondly – Potion requests always have trait requirements. You need to find ingredients with good traits to be able to take and perform requests which get you a lot of pocket money.
This simplicity of the trait system actually leads to the complexity of better potions: Most of the best trait ingredients are either very narrow in scope
or have alternate, undesirable traits.

The trick is obviously, balance in all things. My methods of operation in finding new potions are two strategies:
Trait First – Select the ingredients with the traits and magimins you want to start the base. Once your compliment of traits is solidified, finish the potion with whatever neutral ingredients you have to max out its quality. I found that it was easier to fix and finalize larger magimin count potions with this method.
Max Magimins First – Select the ingredients to form a solid base, usually the ingredients that already give you 1/1 or 1/1/1 ratios. From there, tweak the formula until you get the traits you want. I found this method good for things that just needed to match, and not be perfect, like for custom orders.
Obviously you work with what works for you best, it’s a lot of trial and error. Miscounting your traits can lead to a set of potions you can’t turn in for a custom order, so you’re force to either use them or sell them in the shop, wasting space / time you could be selling your more profitable potions.
So final mention: Obviously ingredients with *only* good traits are super valuable! Don’t forget give them to Quinn and buy them up whenever available.
The Slime Garden Meta
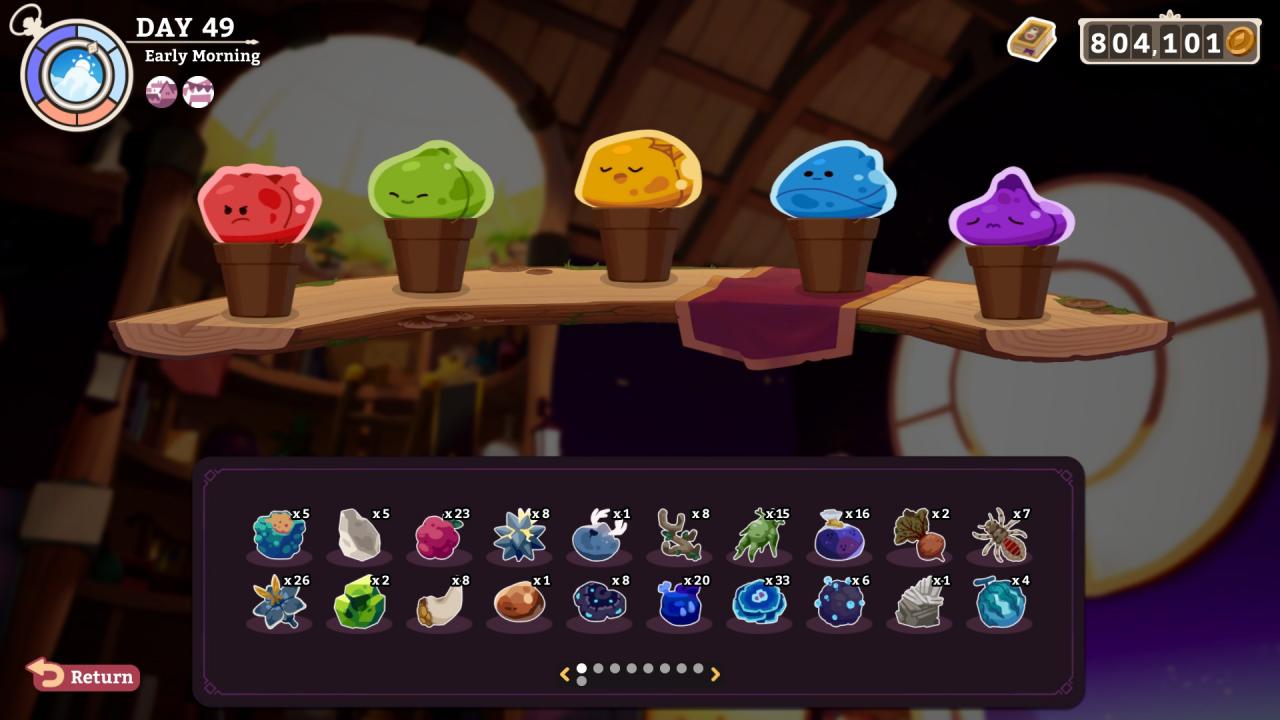
The Slime Garden, unlocked when you is another invaluable tool in the potionmaking process.
The Slime Garden allows you to duplicate ingredients you already own. The rules are pretty simple – feed a slime an ingredient, and that will be the ingredient they will duplicate. Any additional ingredients given will give bonus points towards another duplicate. Points required for any duplicate grow exponentially.
A special thing you should know: If the ingredient you feed to the slime contains a magimin that matches the slime’s color, then the ingredient’s magimin quantity is doubled before applying the points.
A secondary element you should know: Duplicating an ingredient that doesn’t include the slime’s preferred color takes longer, and some very high quantity-magimin ingredients take longer as well.
Color matches: 2 slots minimum. (3 for high quality)
Color doesn’t match: 4 time slots. (5 for high quality)
Since there’s diminishing returns when duplicating, it’s good to hang onto those 4+ magimin ingredients like I mentioned earlier – they are the most efficient way of generating points to duplicate your better ingredients.
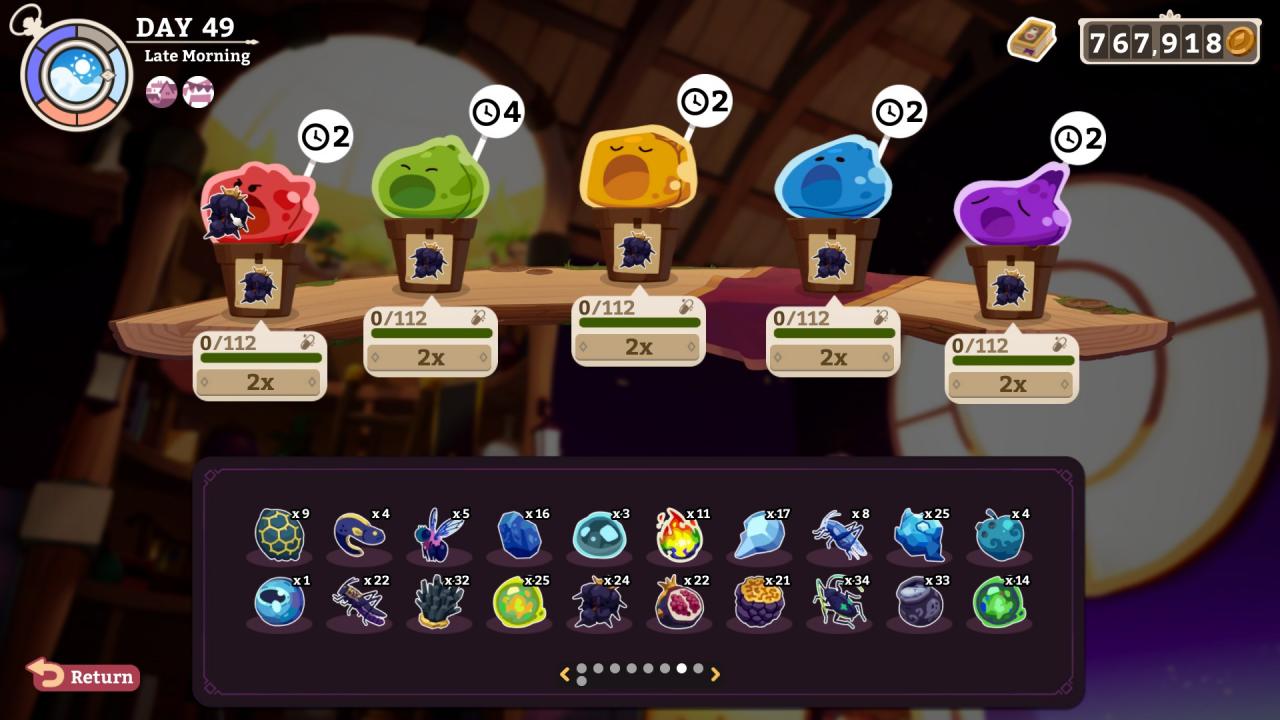
With all this in mind: It’s best to feed your slimes your feeder food to have enough feeder food to duplicate the actual ingredients you want. Whenever you’re low on your ‘feeder’ food for slimes, just duplicate it amongst every slime to replenish. Late game, it’s possible to just collect what you need from hero missions instead of wasting time duplicating feeder food.
The best slime foods therefore are the highest magimin count ingredients you have that match the slime you’re feeding. For this purpose, all Pure Mana ingredients are essentially interchangeable.
There’s quite a few four-magmin ingredients as well, and they make great food for any slime that they match. Late game, Mass Grave Enoki, a whopping 336 magimins in one ingredient, is easily the best food for your A-D slimes.
Personally, the 210 Pure Mana’s, like the Mana Vortex(B) or Mana Prism(C) were the foods I used for the longest, before I was able to reach the Magic Wasteland area. Two of them was enough to get several duplicates – duplicating itself you would go from 3 to 6. (You place one, feed two, and get six.) Because of diminishing returns, feeding three will reduce returns to 1 for 1, so it’s inefficient to put in more than two. But 6 ingredients is usually enough to make many potions, especially if your slimes are pumping that out every two time slots or so (5 ingredients x 6 duplicates = 30 ingredients, enough for at least 2 sets of 7x masterwork potions.
Hey, You’re not Going to Walk Away without giving me a Recipe or Two, Right?
But I’m sure there’s a few of you that are like, but man, give me some potion recipes!
Well I didn’t start recording them down until probably midgame, and I noticed something:
Unless it was an already perfect potion from base ingredients, I barely ever made a potion twice.
Of all the recipes I wrote down, I think only two or three I revisited, rebrewed and/or revised. I always just tried to make the most/best potions with my available ingredients, while making sure I had a good cache of potions for my adventurers to go on missions with.
But who cares, you just want recipes! So I’m just going to write the ones (I’m pretty sure) are ‘perfect’ all down here from my run.
The format will be as follows:
[IF I Recorded the Final Traits it will be listed like this: [] [] [] [] [] where it will either be o (positive) – (neutral) or x (negative) Traits are always listed in the same order.]
(Quanty of) Potion Class: Potion Type [Minimum Quality] (Magimin Count) / Ingredient List
(4x) Potion: Mana [Grand] (400) Banshee’s Tongue (2), Weeping Metal Ore (3), Unicorn Horn, Mandrakee Root, Manwyrm Root
(4x) Tonic: Thunder [Grand] (344) Medusa Spore (2) Photonic Spore (2) Saltwatermeon (2), Eye of Newt, Banshee’s Tongue
(4x) Cure: Petrification [Grand 2] (360) Fairy Flower Bloom (3), Mosquito Plant (3), Spriggan Antler (3)
(4x) Tonic: Radiation [Grand 4] (368) Thunderbird’s Feather (4), Wepulcher Widow (3), Silver Stag Antler
(4x) Potion: Tolerance [Grand 5](384) Lamia’s Shed Scales (4), Crag Crab (4)
(5x) Tonic: Fire [Superior](608) Nessie Pheremons (4) Ogre’s Shadow (7)
(5x) Tonic: Fire [Superior 2](480) Oger’s Shadow (5), Bramble Rose (3), Celestial Ore, Rotfly Matriarch
(4x) Enhancer: Sight [Superior2](480)Hangman Eel (6), Serpent’s Tongue, Giantstool Mushroom (2)
(3x) Enhancer: Alertness [Superior 1](400) Jeweled Scarab (5), Rotfly Adult(2)
(3x) Enhancer: Seeking [Grand 2](300) Dropspider’s Shadow, Lamia’s Shed Scales, Rotfly Adult, Stalking Skeleton’s Fibular, Mrkwater Pearl, Sepulcher Widow
(5x) Tonic: Shadow [Superior 3](512) Naga’s Fang(5), Crag Crab(40, Sepulcher Widow, Eye of Newt
(5x) Cure: Curse [Superior 6](640) Grffin’s Whetstone Diamond(5), Owlbear Pheremones(5)
(4x) Tonic: Ice [Superior 2](464) Harpy’s Heart of Stone, Djinn Blossom, Shelled Pudding (6)
Cure: Poison [Masterwork 1](666) Jotun’s Frozen Heart (4) Dragonbreath Blossom (4), Amphithere’s Shadow (4), Warg Pheremones(4)
[o – o o o] Tonic: Radiation [Masterwork 2](790) Bedazzled Custard (7) Rotfly Matriarch(2), Dragon Pheremones, Abominable Tarantula, Nether Ore, Blackfrost Lobster(2)
[o o x o -] Cure: Curse [Masterwork 4](880) Direwolf’s Breath Diamond (4), Dragon Pheremones (4), Basilisk Cornea (2), Nether Ore (2), Blackfrost Lobster (2)
[o o o o o] Potion: Health [Masterwork 4](900) Space Nautilus’ Shell (9) Antlered Jelly, Fairy Flower Bulb, Inverted Bramble Rose, Basilisk’s Cornea, Mandragon Root
[?????] Potion: Tolerance [Masterwork1](768) Djinn Blossom, Rock Salt, Body Snatcher’s Sloughed Skin(3), Dragonfire Pearl (2), Blackfrost Lobster (5), Abominable Tarantula
[o o o o o] Cure: Poison [Masterwork 2](794) Amphithere’s Shadow (3), Armored Pudding (3), Dragon Breath Blossom (2) Inverted Bramble Rose, Combweb Crayfish (2) Jotunn’s Frozen Heart, Nether Ore, Kappa Pheremones
[o o o o o] Potion: Tolerance [Masterwork] (748) Abombinable Tarantula (3) Winged Gelatin (3) Dragonfire Pearl (3) Blackfrost Lobster (3) Dragonbreath Blossom, Diamond Salt
[o o o o o] Cure: Drowsiness [Masterwork MAX] (1241) Orchid of the Witch Queen (3), Cosmic Quartz (3), Dragonfire Pearl (4), Inverted Bramble Rose (4), Basilisk’s Cornea
[o o o o o] Potion: Stamina [Masterwork 2] (676) Diamond Salt (6) Stalking Mold (3), Inverted Bramble Rose(2), Blackfrost Lobster, Bogeyberry, Static Spiderling
[o o o o o] Tonic: Radiation [Masterwork 1] (692) Bedazzled Custard (7), Blackfrost Lobster(3) Crag Crab, Rotfly Matriarch, Impstool Mushroom, Static Spiderling
More Guides:
- Potionomics: Quick Tips for the First 10 Days
- Potionomics: 100% Achievement Guide
- Potionomics: All Masterwork 5 Star Potions (Recipes)
- Potionomics: x2 Price Deck
- Potionomics: Roflstomp Haggling Deck