This guide will show you how NOT to play the game; and how to rely on others. (WARNING: THIS GUIDE CONTAINS DLC!)
Intro
The Leech perk deck is one of the most powerful decks in the game. Being able to revive yourself, and being able to tank massive amounts of damage, both sound really appealing for people starting to get into DSOD. Well, what if I told you you were WRONG, and that you will not be using this deck to benefit yourself, but your teammates.
The Deck


The Skills
We will be using a combination of skills to ensure that you can support your teammates, as well as being able to deal enough damage to not die in mere seconds due to you almost never having armor with this build.
Mastermind
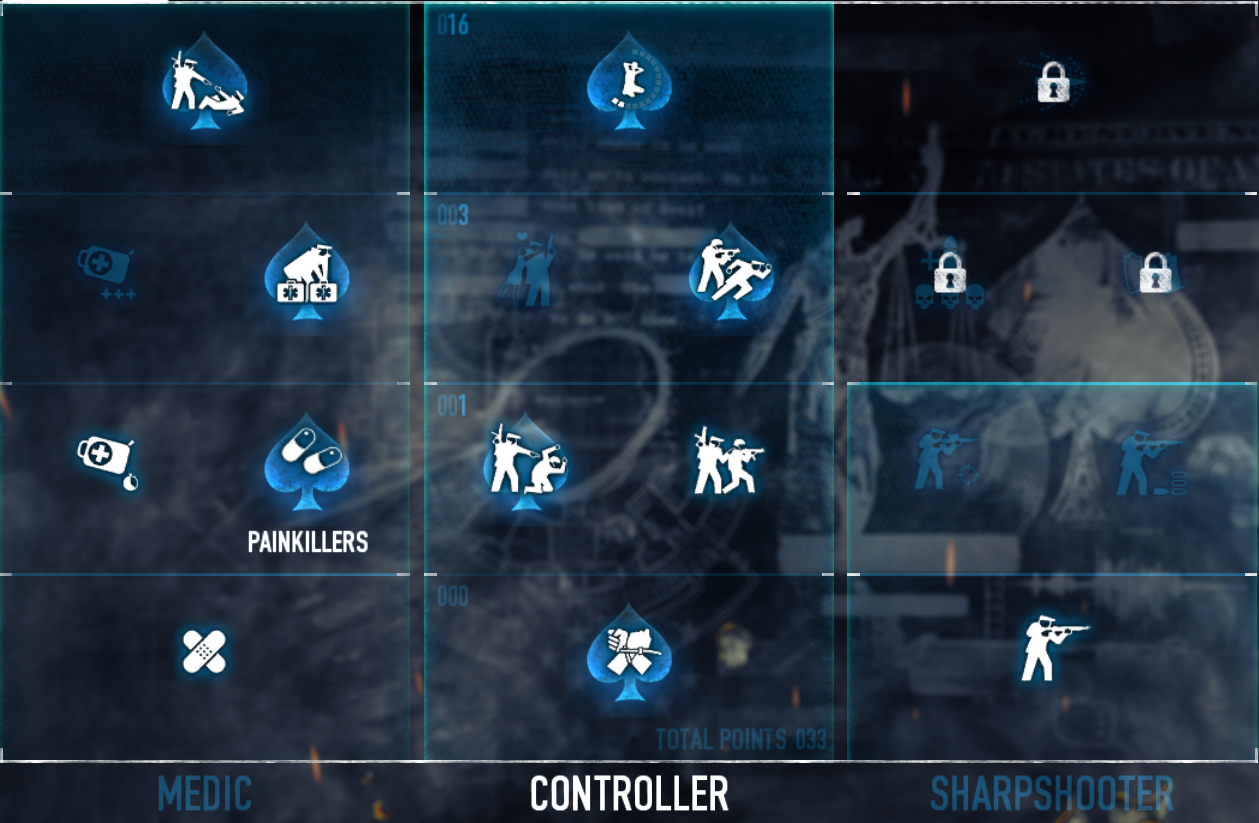
- Combat Medic Basic: Damage reduction from our constant damage being taken.
- Quick Fix Basic: We will be running doctor bags in this build, and we’ll need to deploy them faster.
- Painkillers Aced: Since we will be reviving our teammates a lot, it’ll be nice for them to have damage reduction as to conserve our inspired ace (more on that later)
- Combat Doctor Aced: Just as simple as needing more downs in the One Down difficulty.
- Inspired Aced: This will make reviving your crew a way easier job. Not only can you keep your distance from the enemy by reviving them from a distance, and trough walls, but you can also revive them from completely different floors, rooms. etc… So even when it would be a hassle to revive someone, it’s as simple as a click of the [f] key.
- Forced Friendship Aced: The damage absorption gained from taking hostages is applied to your crew as well, making it a good support tool.
- Confident Aced: Being able to dominate ZEAL units from a further range can come in handy sometimes, but your mainly after the extra convert (explained in Joker Basic)
- Joker Basic: This will allow you to convert enemy ZEAL units to your team. Along with being an extra source of damage and crowd control, it excels at one thing in particular, being a damage sponge. With Partners In Crime Aced (explained there), your jokers can distract enemies while you do other things. This is one of the main reasons I’m adding it in this guide. It’s simply to valuable as a offensive and defensive tool not to include.
- Partners In Crime Aced: Another part of the support function of this build. Having at least one converted enemy will increase your movement speed by 10%. Having this skill aced, however, will also add an additional 30% to your health. Along with this, your jokers also get a 54% damage reduction, allowing you and your crew to survive longer.
- Hostage Taker Aced: Simply put, this skill is good for when nobody in your crew is running first aid kits, or you run out of them. If neither of these are a problem to you, you may be able to use the skill points for something else that may be more valuable to you, but I haven’t tested this, so results may vary.
- Stable Shot Basic: We’re really only using it for the weapon stability boost and nothing else.
Enforcer
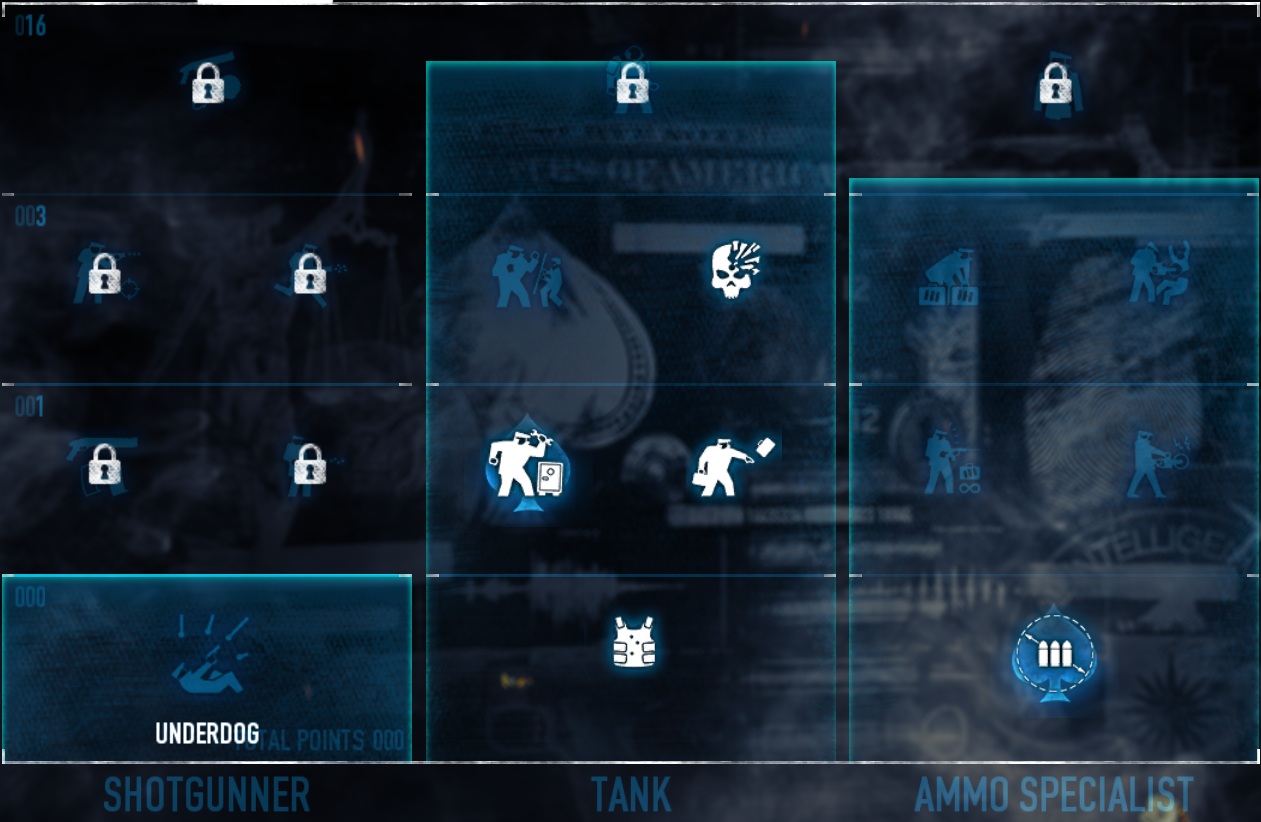
- Resilience Basic: Extra armor regen good
- Die Hard Aced: Since you are basically a dartboard wile doing objectives, half damage is always nice, and the extra 20 armor isn’t so bad either.
- Transporter Basic: Bag throw far.
- Bullseye Basic: For the off chance you accidentally hit a headshot, you get free armor regen (you won’t need to hit headshots due to body expertise aced (more on that later)).
- Scavenger Aced: Free ammo
Technician
- Steady Grip Aced: Free accuracy and stability.
- Loch N’ Load Basic: Hip-fire while sprinting is amazing when your pissing yourself, sprinting to your daddy anarchist crew member, and trying your hardest to revive them.
- Surefire Aced: Piercing body armor from all ranges is great due to almost everything having it.
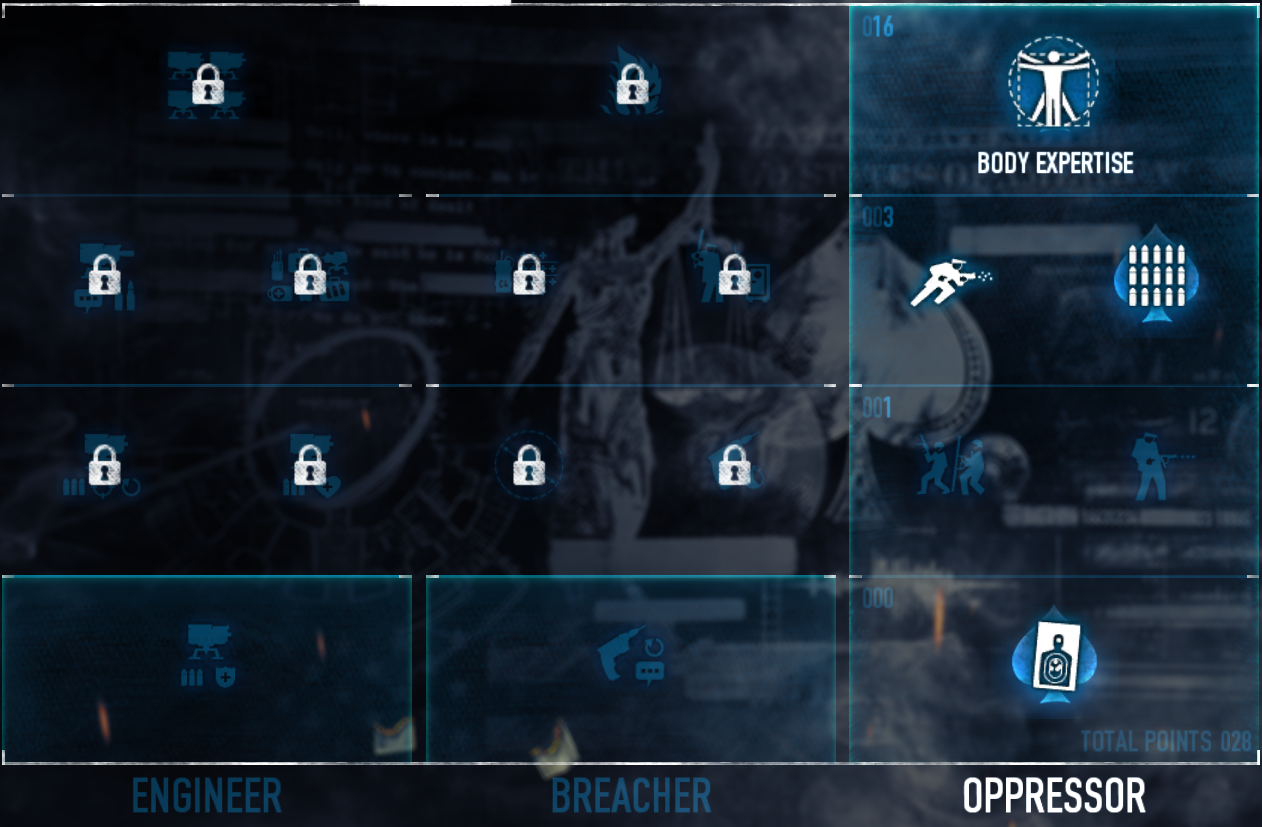
- Body Expertise Aced: Who needs skill? ppppfftttttttt… Not me!
Ghost
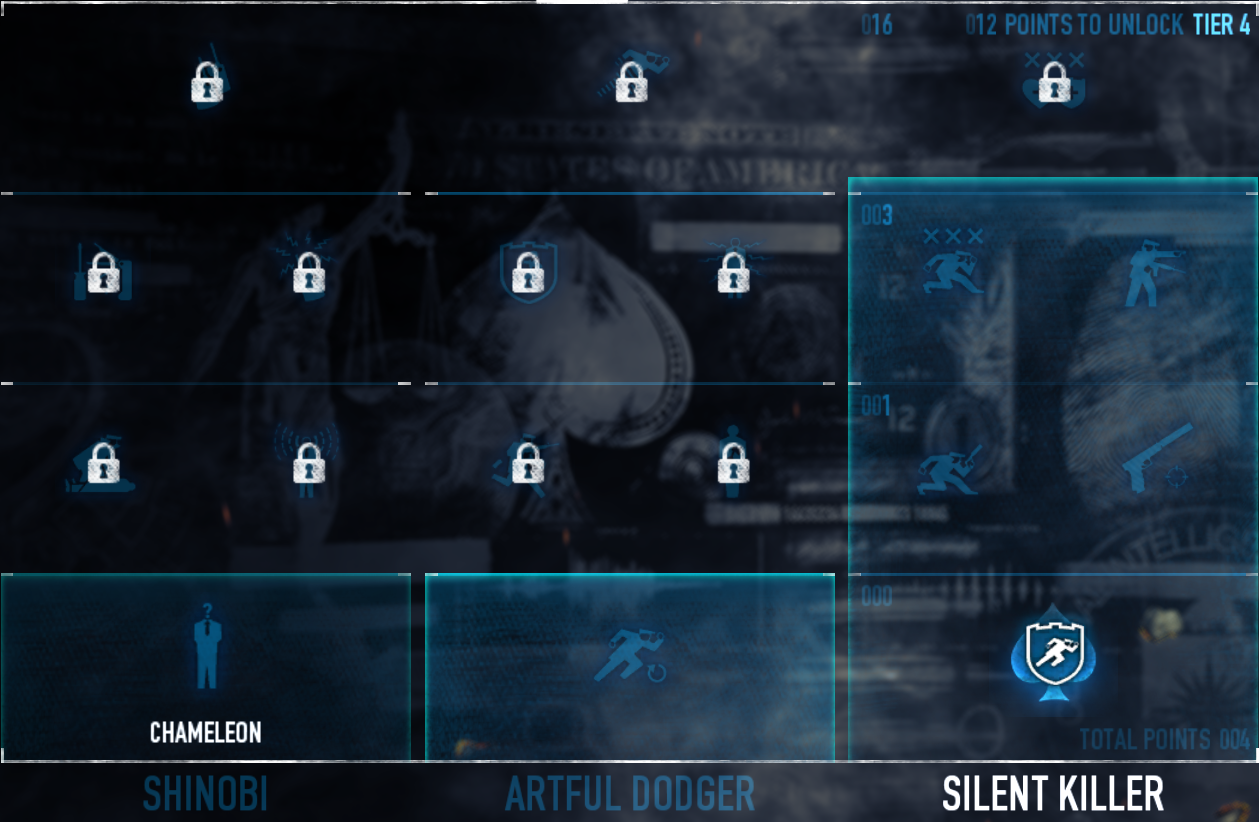
- Second Wind Aced: If activating leech breaks your armor, and enemies break your armor, consider yourself sonic you sissy femboy pissbaby.
Fugitive
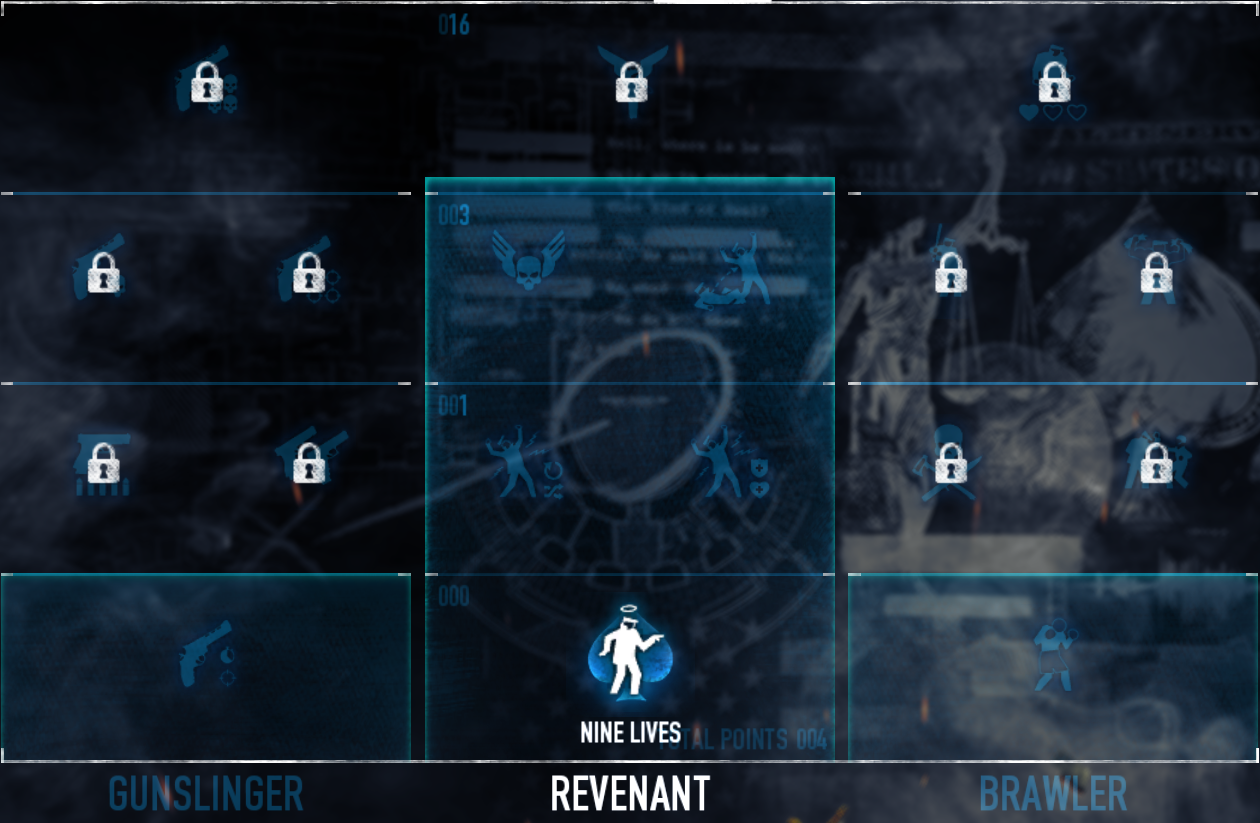
- Nine Lives Aced: Two downs? In one down? Oh the irony!
Primary Weapon
In this build, we are going to be using an LMG, but not for the reason you may think. We will be modding the absolute ♥♥♥♥ out of this LMG to increase the accuracy to ungodly amount. “Why accuracy?” you may ask. Well, that’s where body expertise aced comes in. If body shots do pretty much the same damage as headshots, then your going to need to hit the enemy. And how do you hit the enemy? Your right, with concealment! Naah! I’m just messing with you. It’s accuracy.
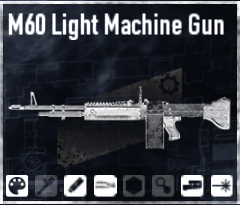
The gun we’ll be using is the M60 LMG due to it’s higher than average base accuracy and stability, as well as its good ammo economy.
Modifiers we will be using:
- The Bigger The Better Suppressor: Not for suppressing, but for increase to accuracy and stability.
- Lion Bipod: Obligatory bipod
- Tactical Foregrip: Obligatory stability boost
- Accuracy Boost: Obligatory accuracy boost
- LED Combo: I just think it’s neat
Secondary Weapon
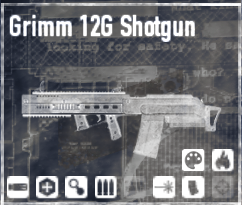
I’m just going to outright say it. If you use this in a public lobby, you will be called a racist, facists, redpill taker, fatherless child, and only then will you be kicked. The Grimm 12G Shotgun is hands down the best crowd control weapon in Payday 2. Using Dragon Breath Rounds, Auto Fire, and a combination of attachments to make the accuracy go to ♥♥♥♥ (because of certain mechanics that I don’t care to explain, decreasing accuracy increases spread on shotguns), you can make this thing Heroshima 2 Remastered.
Modifiers we will be using:
- Donald’s Horizontal Leveller
- Minus Accuracy Boost
- Auto Fire
- Big Brother Magazine
- Dragon Breath Rounds
Equipment, Armor, and Melee Weapon
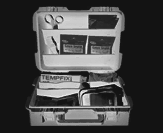
Use Doctor bags (if you want to know why, refer to the medic skill tree
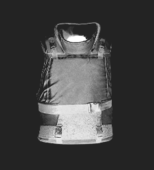
Heavy Ballistic Vest: Decent armor while not restricting movement entirely. Gonna use Leech and activate Second Wind a lot anyway so CTV and ICTV won’t be very useful
Idgaf what you use for a melee. I just use this big ass gold spoon lmao
More Guides:
- PAYDAY 2: Leech Akimbo Build Guide
- PAYDAY 2: Stoic One Down Build
- PAYDAY 2: Solo With AI Loud Assault Rifle Build
- PAYDAY 2: Death Sentence Loud Build
- PAYDAY 2: Anarchist SMG Build Guide